Your Blink security camera has stopped recording, won’t connect to live view, or goes offline overnight. Thousands of users face these exact frustrations despite strong Wi-Fi signals and fresh batteries, especially with Blink Mini and newer Blink 4 models. This guide delivers immediate, actionable fixes backed by real troubleshooting steps so you can restore your camera’s functionality fast.
You’ll learn how to diagnose the root cause, perform each fix step by step, and decide whether to repair or replace your device if problems persist.
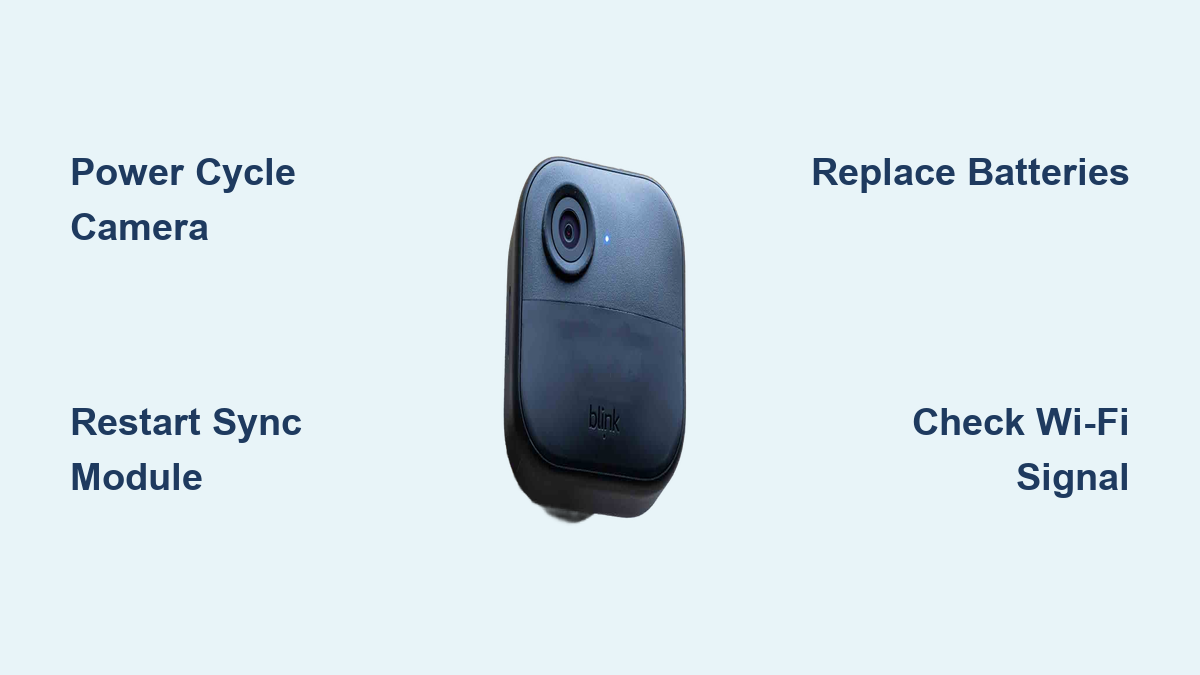
Power Cycle Your Blink Camera
One of the fastest ways to fix a non-responsive Blink camera is a full power cycle. This simple step clears internal glitches and forces a clean reboot.
Remove Batteries for 10 Seconds
For battery-powered cameras like Outdoor, XT2, or Doorbell models, follow these steps:
- Open the battery compartment on your camera
- Remove all batteries completely
- Wait exactly 10 seconds
- Reinsert fresh batteries (use Energizer Lithium Ultimate for best results)
- Allow the camera to reconnect and check its status in the app
This process resets internal memory, renews the Wi-Fi handshake, and clears temporary firmware hangs. Users report cameras returning online within 30 seconds after this step.
Restart the Sync Module
The sync module acts as the brain of your Blink system. When it stalls, cameras go dark even when they appear connected in the app.
Unplug and Reboot the Hub
- Unplug the sync module from its power source
- Wait 10 seconds before plugging it back in
- Watch for the LED indicator to turn solid green
- Confirm all cameras show as online in the app
A solid green light means the sync module is online and ready. A blinking green light indicates setup mode and means you need to re-pair the device. Perform this restart when cameras show as online but fail to record, live view won’t load, or one camera drops while others work normally.
Factory Reset the Camera or Sync Module

When devices won’t reconnect or respond to app commands, a factory reset restores them to default settings.
Press and Hold the Reset Button
- Locate the small pinhole reset button on the bottom of your camera or sync module
- Insert a paperclip or SIM ejector tool into the hole
- Press and hold for at least 5 seconds
- Release when the LED flashes red or changes its pattern
- Re-add the device through the Blink app
This step erases custom settings like motion zones and schedules, so you’ll need to reconfigure them afterward. Factory resets work best for cameras stuck in connecting mode, failed firmware updates, or persistent offline status despite having good signal.
Reinstall the Blink App
A corrupted app can block live feeds, hide recordings, or display incorrect camera statuses.
Clear Cache and Update the App
- Close the Blink app completely from your phone’s recent apps
- Go to your phone settings, find Apps, then Blink
- Select Clear Cache to remove temporary data
- Uninstall the app from your device
- Download the latest version from the App Store or Google Play
- Log back in and check your camera status
One user reported that reinstalling the app suddenly revealed missing clips that had been stuck in a sync loop. This fix resolves UI bugs, reconnects to Blink servers, and eliminates sync delays.
Update Camera Firmware
Outdated firmware causes bugs, crashes, and missed recordings across all Blink models.
Check for Updates in the App
- Open the Blink app and navigate to Device Settings
- Select the affected camera from your device list
- Tap Check for Updates
- Install any available firmware updates
Firmware updates happen automatically only when your camera has stable power and Wi-Fi. Weak connections may interrupt downloads, so ensure your camera stays powered during the update process. Check for updates monthly or after any major system reset.
Test Wi-Fi Signal and Interference
Even with four signal bars, poor signal quality can break connectivity and cause cameras to stop working.
Check Signal Strength in the App
- Tap on your camera in the app
- Review the Wi-Fi signal (camera to router) and sync signal (camera to sync module)
- Look for 3-4 bars on both metrics
Less than 2 bars indicates you need to improve the connection.
Improve Your Connection
Move your camera closer to your router or sync module to reduce distance-related signal loss. Add a Wi-Fi extender or mesh node near the camera location for better coverage. Avoid placing cameras near metal doors, brick walls, microwaves, or baby monitors that cause interference. Test by bringing the camera indoors; if it works inside but fails outside, placement or environmental interference is the culprit.
Replace Batteries or Power Source
Low power ranks as the number one cause of recording failures in Blink cameras.
Check Battery Level in the App
- Tap on your camera
- Look for the Battery Level indicator
- Replace batteries when the level drops below 25%
Use Lithium Batteries for Outdoor Cameras
Alkaline batteries drain quickly in cold weather and may fail to deliver consistent voltage. Rechargeable batteries often underperform in demanding conditions. Switch to lithium batteries like Energizer Lithium Ultimate for longer life and better performance in extreme temperatures. One user reported that switching to lithium batteries stopped their outdoor camera from dropping offline at night.
For wired models like Doorbell or Mini, test the outlet with another device. Try a different USB cable or adapter. Ensure your power supply meets Blink’s minimum specs of 5V/1A.
Adjust Motion Detection Settings
Cameras may not record because motion sensitivity is set too low to detect activity.
Increase Sensitivity
- Open the Blink app and tap on your camera
- Tap the gear icon for settings
- Select Motion Detection
- Slide sensitivity to 7-9 for outdoor use
- Save your changes and test with movement
The default sensitivity is often set to 3-4, which misses small animals, wind-blown branches, or slow-moving intruders. One user shared that changing sensitivity from 2 to 8 made their camera catch every event.
Enable Night Vision Mode
Cameras stop recording at night if night vision is disabled or malfunctioning.
Turn On IR LEDs
- Go to Video and Photo Settings
- Select Vision or Night Vision
- Set to Auto (IR activates in low light) or Manual (toggle remotely)
- Save your settings
Check for a faint red glow from the camera lens in dark conditions, which confirms the IR LEDs are active. One user discovered their camera worked perfectly during the day but recorded nothing at night because night vision had been accidentally turned off.
Disarm and Re-Arm the System Daily
Some users rely on this workaround to keep cameras active when other fixes fail.
Reset the System Every 24 Hours
- In the app, tap Arm then Disarm
- Wait 10 seconds
- Tap Arm again to re-activate monitoring
This clears background errors, refreshes cloud sync, and renews device connections. One user noted they must perform this daily or one of their cameras goes offline by midnight. While effective, this is not a permanent solution and adds ongoing maintenance burden.
Reset Your Router and Internet
Network issues silently disrupt Blink operations even when everything appears normal.
Full Network Restart
- Unplug your router and modem from power
- Wait 30 seconds
- Plug in the modem first and wait for it to fully boot
- Plug in the router and wait for it to initialize
- Once internet is live, power cycle your sync module and cameras
Combine this with battery removal and app reinstallation for a complete system refresh. One user reported that leaving batteries out all day, resetting their router, and rebooting everything resolved persistent issues.
Reposition the Camera for Better Range
Strong signal bars don’t guarantee reliable performance if environmental factors interfere.
Conduct a Location Test
- Bring the camera indoors and test live view and motion detection
- Move it to your front door and test again
- Place it at the original installation spot and observe performance
This identifies dead zones or specific interference points. Use a temporary mount or tape to test positions before committing to final installation. One user discovered their camera worked fine at the side door but failed at the back gate due to a metal fence blocking the signal.
Know Which Models Have More Issues

Not all Blink cameras are equally reliable, and some models require more troubleshooting than others.
Blink Mini Has Higher Failure Rates
The Blink Mini model shows the most reported issues including won’t record, no motion detection, and keeps going offline. Some users report only 1 out of 4 Minis works long-term. Factory resets help temporarily, but issues often return within hours. Multiple users have returned two or three Minis before finding one that works consistently.
Blink 4 and Newer Models Show Mixed Results
Blink 4 cameras advertise better range but still fail to detect motion or maintain stable connections. The newer Sync Module 2 is required for some models, and older hubs are not compatible. Some users report improved performance after firmware updates, while others continue experiencing failures.
Address Nighttime Failures
Cameras stopping after midnight represents a critical flaw reported by many users.
Why Cameras Stop Working at Night
Possible causes include a power-saving bug in firmware, server-side sync issues during low-traffic hours, or battery voltage drop in cold conditions. Blink has not officially confirmed a fix despite months of user reports. One user shared that their cameras stop working exactly at midnight when they need security most.
Workarounds include replacing batteries with lithium, setting a daily disarm/arm reminder, or considering supplemental lighting or motion-activated lights as backup coverage.
Understand LED Status Lights
LED indicators provide real-time clues about camera health and connection status.
Sync Module LED Meanings
Solid blue indicates the module is booting up. Blinking green means setup mode and requires re-pairing through the app. Solid green confirms the module is online and operating normally.
Camera LED Meanings
A red flash signals low battery or offline status. No light at all means dead battery or complete power failure. On Blink Mini models, a blue flash indicates booting or syncing activity.
Always check LED status first when troubleshooting, as no light points directly to power problems.
Follow a Maintenance Routine
Prevent failures before they happen with regular maintenance checks.
Weekly Tasks
Open the app and confirm all cameras show as online. Check battery levels on each device. Test live view on every camera to verify functionality.
Monthly Actions
Power cycle your sync module to keep it running smoothly. Check for firmware updates on all devices. Clean camera lenses with a microfiber cloth to maintain clear video quality.
Seasonal Steps
Replace batteries even if levels stay above 25%, as older batteries degrade over time. Reassess camera placement as vegetation grows or weather changes. Update your router firmware to maintain optimal network performance.
When to Contact Support or Replace
Contact Blink Support If
Your camera fails all troubleshooting steps. Firmware updates fail repeatedly. The device shows no LED response or power at all.
However, many users report never receiving responses after submitting support tickets. Be prepared for potentially poor customer service experience.
Replace Your Camera If
You own Blink Mini cameras with repeated failures. Night recording is essential but unreliable. You rely on alerts that don’t trigger consistently.
Users who switched to alternative brands report better reliability with Arlo Pro, Eufy (local storage, no subscription), or Ring (stronger app, better support).
Frequently Asked Questions About Blink Security Camera Issues
Why does my Blink camera show online but not record?
This typically indicates a sync module issue or motion sensitivity set too low. Power cycle your sync module first, then increase motion detection sensitivity to 7-9 in your camera settings.
How do I fix my Blink camera that won’t connect to live view?
Start by reinstalling the Blink app and clearing cache. If that fails, power cycle the camera and sync module. Check for firmware updates and ensure your Wi-Fi signal is strong.
Why do my Blink cameras stop working after midnight?
This is a known issue reported by many users, possibly related to power-saving bugs or server sync problems. Workarounds include using lithium batteries, performing daily disarm/arm cycles, or considering replacement with a more reliable brand.
Why is my Blink Mini camera not recording?
Blink Mini models have higher failure rates than other Blink products. Try factory resetting the camera. If problems persist, consider replacing it, as many users report persistent issues despite troubleshooting.
How often should I power cycle my Blink sync module?
Monthly power cycling helps maintain optimal performance. Some users perform weekly cycles if they experience frequent dropouts or live view failures.
What batteries are best for Blink outdoor cameras?
Energizer Lithium Ultimate batteries perform best in outdoor conditions, especially in cold weather. Alkaline and rechargeable batteries often underperform and drain faster.
Final Thoughts on Fixing Your Blink Camera
Blink offers affordable, easy-to-install home security, but reliability falls short of rock-solid performance. The most effective fixes are power cycling the sync module, using quality lithium batteries, and keeping firmware updated. Most issues resolve in under 10 minutes with these steps.
However, if you own Blink Mini cameras with repeated failures or depend on nighttime security, don’t waste months waiting for a fix. Replace problematic devices with more dependable alternatives like Arlo or Eufy. Treat Blink as a supplemental system rather than your only defense, and implement proactive maintenance to keep your cameras running reliably.