Installing an ADT security camera system is a smart step toward protecting your home and loved ones. Whether you choose DIY setup or professional installation, ADT provides flexible, user-friendly options that integrate seamlessly with the ADT+ app and 24/7 professional monitoring. This guide walks you through every step, from preparing your network and setting up cameras to choosing the right installation method and troubleshooting common issues.
ADT’s dual installation paths cater to all experience levels. Tech-savvy homeowners can set up their system in under an hour using the ADT+ app, while those with complex layouts or no time to spare can schedule a same-day technician visit. With support for WPS and AP mode setup, cellular backup, and video verification, ADT delivers a reliable, future-ready security solution.
Choose Your Installation Method
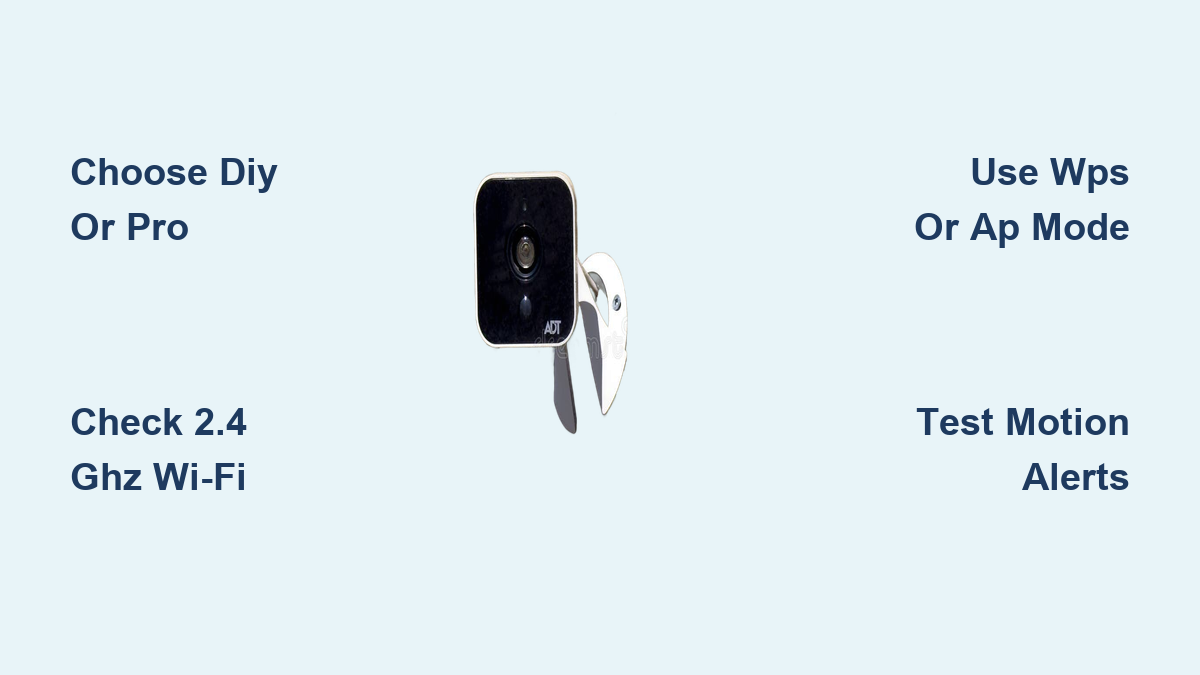
ADT offers two clear paths for adt security camera installation: DIY self-install and professional installation. Your choice depends on technical comfort, home size, and desired support level.
DIY vs Pro Install: Key Differences
DIY installation puts setup responsibility on you, takes 30 to 90 minutes, and is included or low-cost. Professional installation uses an ADT technician, takes approximately one day, and may include a premium service fee. DIY is ideal for renters, tech users, and small homes. Pro install suits first-timers, large homes, and those wanting full coverage with expert placement.
When to Choose DIY
Opt for self-install if you are comfortable using smartphone apps, rent and need a portable system, want to set up quickly without waiting for a technician, or prefer no long-term contracts. Use the ADT+ app as your main tool since it guides you through pairing devices, connecting Wi-Fi, and enabling monitoring.
When to Choose Professional Installation
Choose professional installation if you have a large or multi-story home, want cameras and sensors placed for maximum coverage, are new to smart security systems, or want on-the-spot training and blind spot analysis. Technicians bring tools, mounts, and expertise to install everything correctly in one visit.
Prepare for Installation
Before adding cameras, ensure your home network and devices are ready for adt security camera installation.
Check Your Wi-Fi Requirements
ADT Wi-Fi cameras require a 2.4 GHz network since 5 GHz is not supported. You need a minimum of 2 Mbps upload speed per camera and a stable connection with no dead zones where cameras will be placed. Use a Wi-Fi analyzer app to test signal strength at planned camera locations since weak signals cause buffering or disconnections.
Gather What You Need
For DIY installation, you need a smartphone with Bluetooth enabled, the ADT+ app downloaded from iOS or Android, power adapters for each camera, and a pencil and tape to mark mounting spots. For professional installation, ensure electricity and Wi-Fi are active, download the ADT+ app and log in, and if using Google Nest, have your Google account and Google Home app ready.
Set Up Your ADT+ Account
Open the ADT+ app and tap Get Started. Enter your name, email, and password, then accept terms to create the account. If you received a Welcome Letter email, use those credentials to log in directly. No letter? Click Get Started in the email to activate your system.
Connect the Smart Home Hub
The Smart Home Hub is the central brain of your ADT system and must be connected first for successful adt security camera installation.
Power and Pair the Hub
Plug the hub into a power outlet near your router and wait 1 to 2 minutes for it to boot. The LED will blink during startup. Open the ADT+ app and follow the on-screen setup wizard, then select your Wi-Fi network and enter the password. Once connected, the LED turns solid green, meaning the hub is online and ready to pair devices.
Verify Hub Connection
In the app, go to Devices > Hub and confirm status shows Online. Check that both broadband and cellular indicators are active for redundancy. If the hub fails to connect, restart your router, move the hub closer to the router, or call ADT support at (800) 493-7807 for remote video assistance.
Install ADT Wi-Fi Cameras
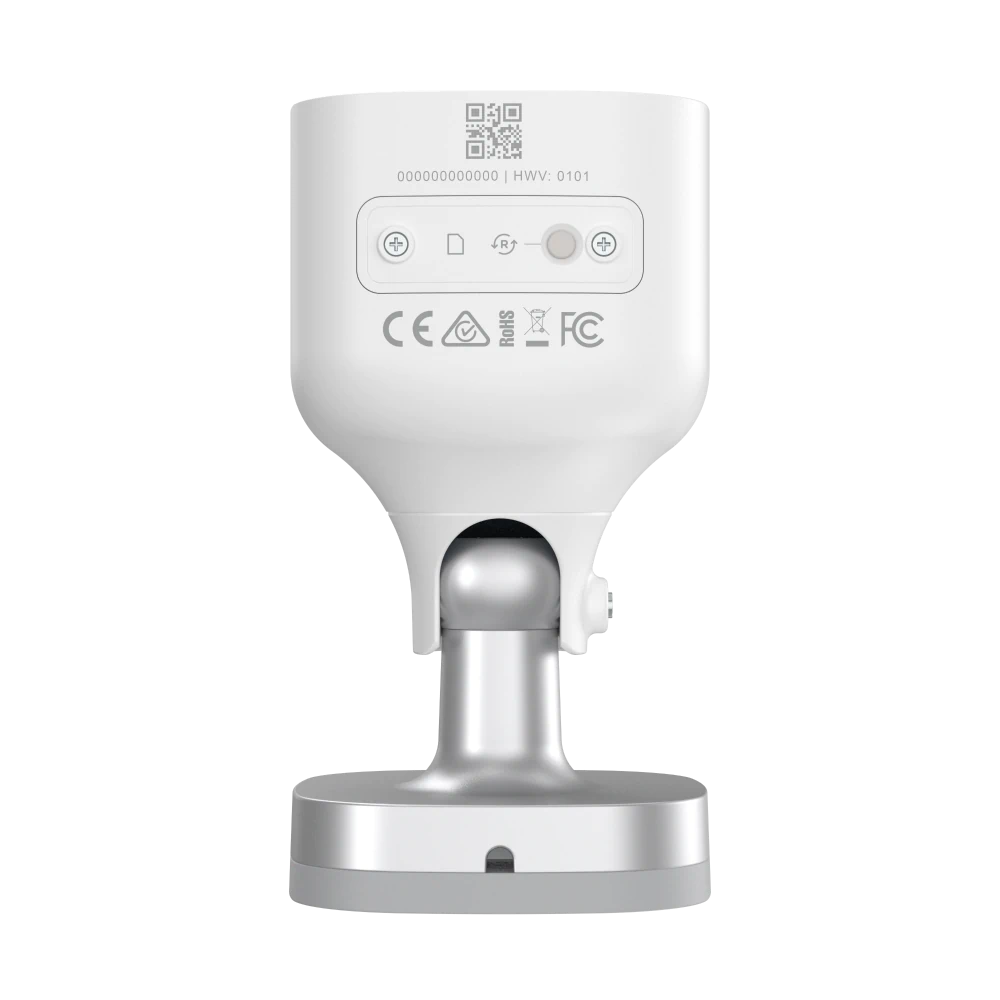
ADT’s most common models are the ADC V723 for outdoor use and ADC V523 for indoor use. Setup is nearly identical for both.
Choose Your Connection Method
Two ways to connect your camera during adt security camera installation include WPS Mode for the fastest setup if supported, and AP Mode as a universal fallback. Pick based on your router’s capabilities.
Use WPS Mode (Quick Setup)
For ADC V723 or V523, plug in the camera and press and hold the reset button until the LED flashes blue. Within 2 minutes, press the WPS button on your router. Wait for the LED to turn solid green. Your router must have WPS enabled in settings for this method to work.
Use AP Mode (Manual Setup)
If WPS fails or your router lacks a WPS button, press and hold the reset button until the LED flashes white. On your phone, connect to the temporary network ADC V723XXXXXX or ADC V523XXXXXX, found on the camera label. Open a browser and go to http://192.168.1.1, click Scan to find your home Wi-Fi, select your network and enter the password, then click Submit. Wait for the LED to turn solid green. Your phone will lose internet during setup, so reconnect to your home Wi-Fi when done.
Add Cameras to ADT System
After Wi-Fi connection, register the camera in your ADT account to complete adt security camera installation.
Link Camera via ADT Interactive
Log in to ADT Interactive using Welcome Letter credentials. Go to Video > Add Camera. The system auto-detects online cameras. If not found, click Refresh Devices or manually enter the 12-digit MAC address on the camera label. Name the camera (Front Door, Backyard, etc.) and click Install. The camera now appears under Video Devices Installed.
Verify Camera Functionality
Test each camera by opening the ADT+ app > Video and confirming live feed is visible. Walk through the camera’s view to check motion detection and push alerts. Test night vision in low light and use two-way audio if available. Reboot the camera, check Wi-Fi, or re-pair via AP mode if no video appears.
Integrate Google Nest Devices
ADT supports select Google Nest products for unified control in your adt security camera installation.
Compatible Nest Devices
ADT supports Nest Cam indoor and outdoor models, Nest Doorbell wired and battery versions, Nest Thermostat, Nest Learning Thermostat, and Nest Hub. These appear in the ADT+ app once linked.
Link Nest to ADT+ App
Open ADT+ app and go to Smart Home > Add Device > Google Nest. Log into your Google account and select devices to sync. Confirm, and devices appear under Video or Thermats. You must install the Google Home app and set up your Google account first as prerequisites. Nest devices require internet and are not for life-sustaining use.
Schedule Professional Installation
For hands-off setup, book a pro install for your adt security camera installation.
Benefits of Pro Installation
Professional installation provides custom layout design for full coverage, blind spot detection and correction, on-site training for app and emergency use, same-day service in most areas, and a 6-month money-back guarantee with qualifying plans. Technicians handle wiring, mounting, app setup, and monitoring activation.
Who Should Be Present
For homes without Google devices, one adult aged 18 or older must be present to grant access and approve locations. With Google devices, the Google Account Owner must be present for authentication.
Prepare Your Home
Before the technician arrives, mark desired camera and sensor spots with tape, secure pets in another room, and ensure access to the electrical panel for hardwired systems, router and hub location, and entry points including doors, windows, and garage. Confirm power and Wi-Fi are active, ADT+ app is installed, Google Home app is ready if applicable, device locations are marked, and pets are secured.
Troubleshoot Common Issues
Even smooth adt security camera installation can hit snags. Here is how to fix them fast.
Camera WonT Connect to Wi-Fi
Reset the camera by holding the reset button for 10 seconds. Use AP mode instead of WPS. Confirm you are on 2.4 GHz, not 5 GHz. Move the camera closer to the router during setup. Call (800) 493-7807 for live video support if it still fails.
No Live Video in App
Check camera power and LED status, Wi-Fi signal strength, app permissions for camera and microphone access, and whether there is an internet outage in your area. Reboot the camera and app. If unresolved, remove and re-add the device.
Motion Alerts Not Working
In the ADT+ app, go to Devices > Camera > Settings and ensure Motion Detection is On. Adjust Sensitivity to Low, Medium, or High. Check Activity Zones if supported to exclude false triggers from trees or pets. Test by walking through the view, and alerts should arrive within 10 seconds.
Maximize Security Features
Once installed, enable ADT’s advanced protections for complete adt security camera installation.
Turn On Video Verification
Video verification allows ADT monitoring agents to view camera feeds during alarms. In the app, go to Monitoring Settings and enable Video Verification. Confirm your verbal password and emergency contacts. This helps prevent false alarms and speeds up emergency response.
Activate Theft Protection Guarantee
ADT offers up to $500 reimbursement for stolen items during a break-in with terms applying. To qualify, the system must be armed and monitored, a police report is required, and the claim must be filed with ADT within 30 days. This is not a replacement for homeowners insurance.
Use ADT Alarm Messenger
Get text-based alarm confirmation by receiving SMS when an alarm triggers. Reply YES to confirm or NO to cancel, which prevents accidental emergency dispatch. Enable this feature in Monitoring Settings > Alarm Messenger.
Compare ADT to Competitors

ADT stands out in key areas for adt security camera installation.
Why ADT Over Ring or Xfinity
ADT operates six U.S.-based monitoring centers while Ring and Xfinity outsource theirs. ADT offers professional installation when Ring does not. ADT provides a 6-month money-back guarantee compared to 30 days for competitors. ADT integrates with Google Nest while Xfinity does not. ADT has 151 years of experience, longer than any competitor, and operates the largest network of U.S.-based monitoring centers.
App Performance
The ADT+ app ranks high for reliability with 4.8 stars on iOS and 4.7 stars on Android. This outperforms Ring, Brinks, and Xfinity in user satisfaction.
Understand Pricing and Contracts
Know what you are paying for with your adt security camera installation.
Monitoring Plans
Basic monitoring starts at $24.99 per month and includes 24/7 monitoring, app access, and cellular backup. Premium tiers add cloud video, extended warranty, and automation. Nest add-ons may require Nest Aware subscription as a separate cost.
Contract Rules
DIY systems require no contract and can be canceled anytime. Pro install systems often require a 36-month monitoring contract, especially with free activation offers. Early cancellation fees apply if you cancel before the term ends.
Final Tips for Success
Get the most from your ADT security system with these expert recommendations for adt security camera installation.
For DIY Users
Follow the ADT+ app step-by-step guide and do not skip steps. Use AP mode if WPS fails. Test each camera’s view and motion detection immediately. Enable two-factor authentication in your ADT+ account.
For Pro Install Customers
Schedule a virtual consultation first to plan device layout. Be present during installation with your Google account ready. Ask the technician to explain emergency arming and geofencing.
For Renters
Choose DIY installation since it requires no drilling and has no long contracts. Use battery-powered cameras for easy relocation. Remove and take your system when you move.
For Large Homes
Opt for professional installation to avoid blind spots. Consider multiple cameras and motion sensors at all entry points. Use indoor cameras for pet monitoring or child safety.
Frequently Asked Questions About ADT Security Camera Installation
What is the difference between DIY and Pro Install for ADT cameras?
DIY install is self-setup using the ADT+ app with no heavy tools required and is ideal for tech-savvy users. Pro install means a technician visits your home, customizes the system, installs all devices, and provides training.
Can I switch from DIY to Pro Install after setting up my cameras?
Yes, you can schedule a professional installation at any time by calling ADT customer service if your needs change.
Can I add new cameras after the initial ADT security camera installation?
Yes, both DIY and Pro Install systems allow adding cameras, sensors, and smart devices post-installation via the ADT+ app or by scheduling a technician visit.
Do I need a subscription to use ADT cameras?
Yes, 24/7 Pro Monitoring is required for full functionality including alarm response and cloud features. Basic app access may be available without monitoring, but emergency services will not be alerted.
How long is the warranty on ADT camera equipment?
Standard warranty terms vary by device, but most ADT equipment includes a limited warranty typically lasting 1 to 2 years. Extended warranties are available with premium plans.
Key Takeaways for ADT Security Camera Installation
ADT security camera installation is flexible, reliable, and backed by over a century of expertise. Whether you self-install in under an hour or schedule a technician for a custom setup, you gain access to 24/7 U.S.-based monitoring, real-time alerts, and seamless smart home integration. By following this guide, you ensure your cameras are properly connected, monitored, and optimized for maximum protection. Choose the method that fits your technical comfort level, prepare your network properly, and enable advanced features like video verification and theft protection to get the most from your ADT system.