You are not alone if your Arlo security camera is not charging. From the app showing only a plug icon to flashing lights and complete power failure, these issues are common, especially after firmware updates or prolonged storage. The good news is most charging problems are fixable without replacing hardware. Whether you own an Arlo Pro 4, Essential, or Floodlight model, this guide delivers proven solutions including a powerful battery revival trick that brings dead batteries back to life.
You will learn how to diagnose the real cause, whether it is low-voltage lockout, faulty cables, temperature effects, or camera defects, and take action fast to get your camera powered up and protecting your home again.
Diagnose the Charging Issue
Before replacing parts, confirm what is really happening. Arlo cameras use visual and app-based cues to signal charging status, and understanding these indicators is the first step to fixing the problem.
Check App and LED Indicators
In the Arlo app, look for these key symbols. A plug icon only means power is detected but no charging is happening, which points to a battery or hardware issue. A visible lightning bolt means charging is in progress. A solid green icon means the battery is fully charged.
On the charger itself, watch for these patterns. An orange light that flashes once or twice then goes off means the charger is not recognizing the battery, which is common with deep discharge. No light at all means no power delivery, so check the outlet, cable, and adapter first.
If the camera shows no response, no sound, no LED, and no app feedback, it is likely in a deep discharge state or has a hardware fault.
Rule Out False Battery Drain
Some users mistake rapid battery drain for charging failure. High video quality, long recordings, or sensitive motion detection can deplete a full charge in just one to two days.
To fix this, consider these adjustments. Lower video resolution to 720p. Reduce recording length to 15 seconds. Adjust motion sensitivity and set activity zones to ignore irrelevant movement.
These changes reduce power draw and extend battery life without needing a hardware fix.
Test Power Source and Adapter
A bad outlet or weak adapter is often the culprit, especially if multiple batteries fail. Testing these components takes just a few minutes and can save you from unnecessary repairs.
Verify the Wall Outlet
Plug in a lamp or phone charger to confirm the outlet has power. If nothing works, the outlet is dead. Try a different circuit in your home to isolate the issue.
Use the Correct Voltage Adapter
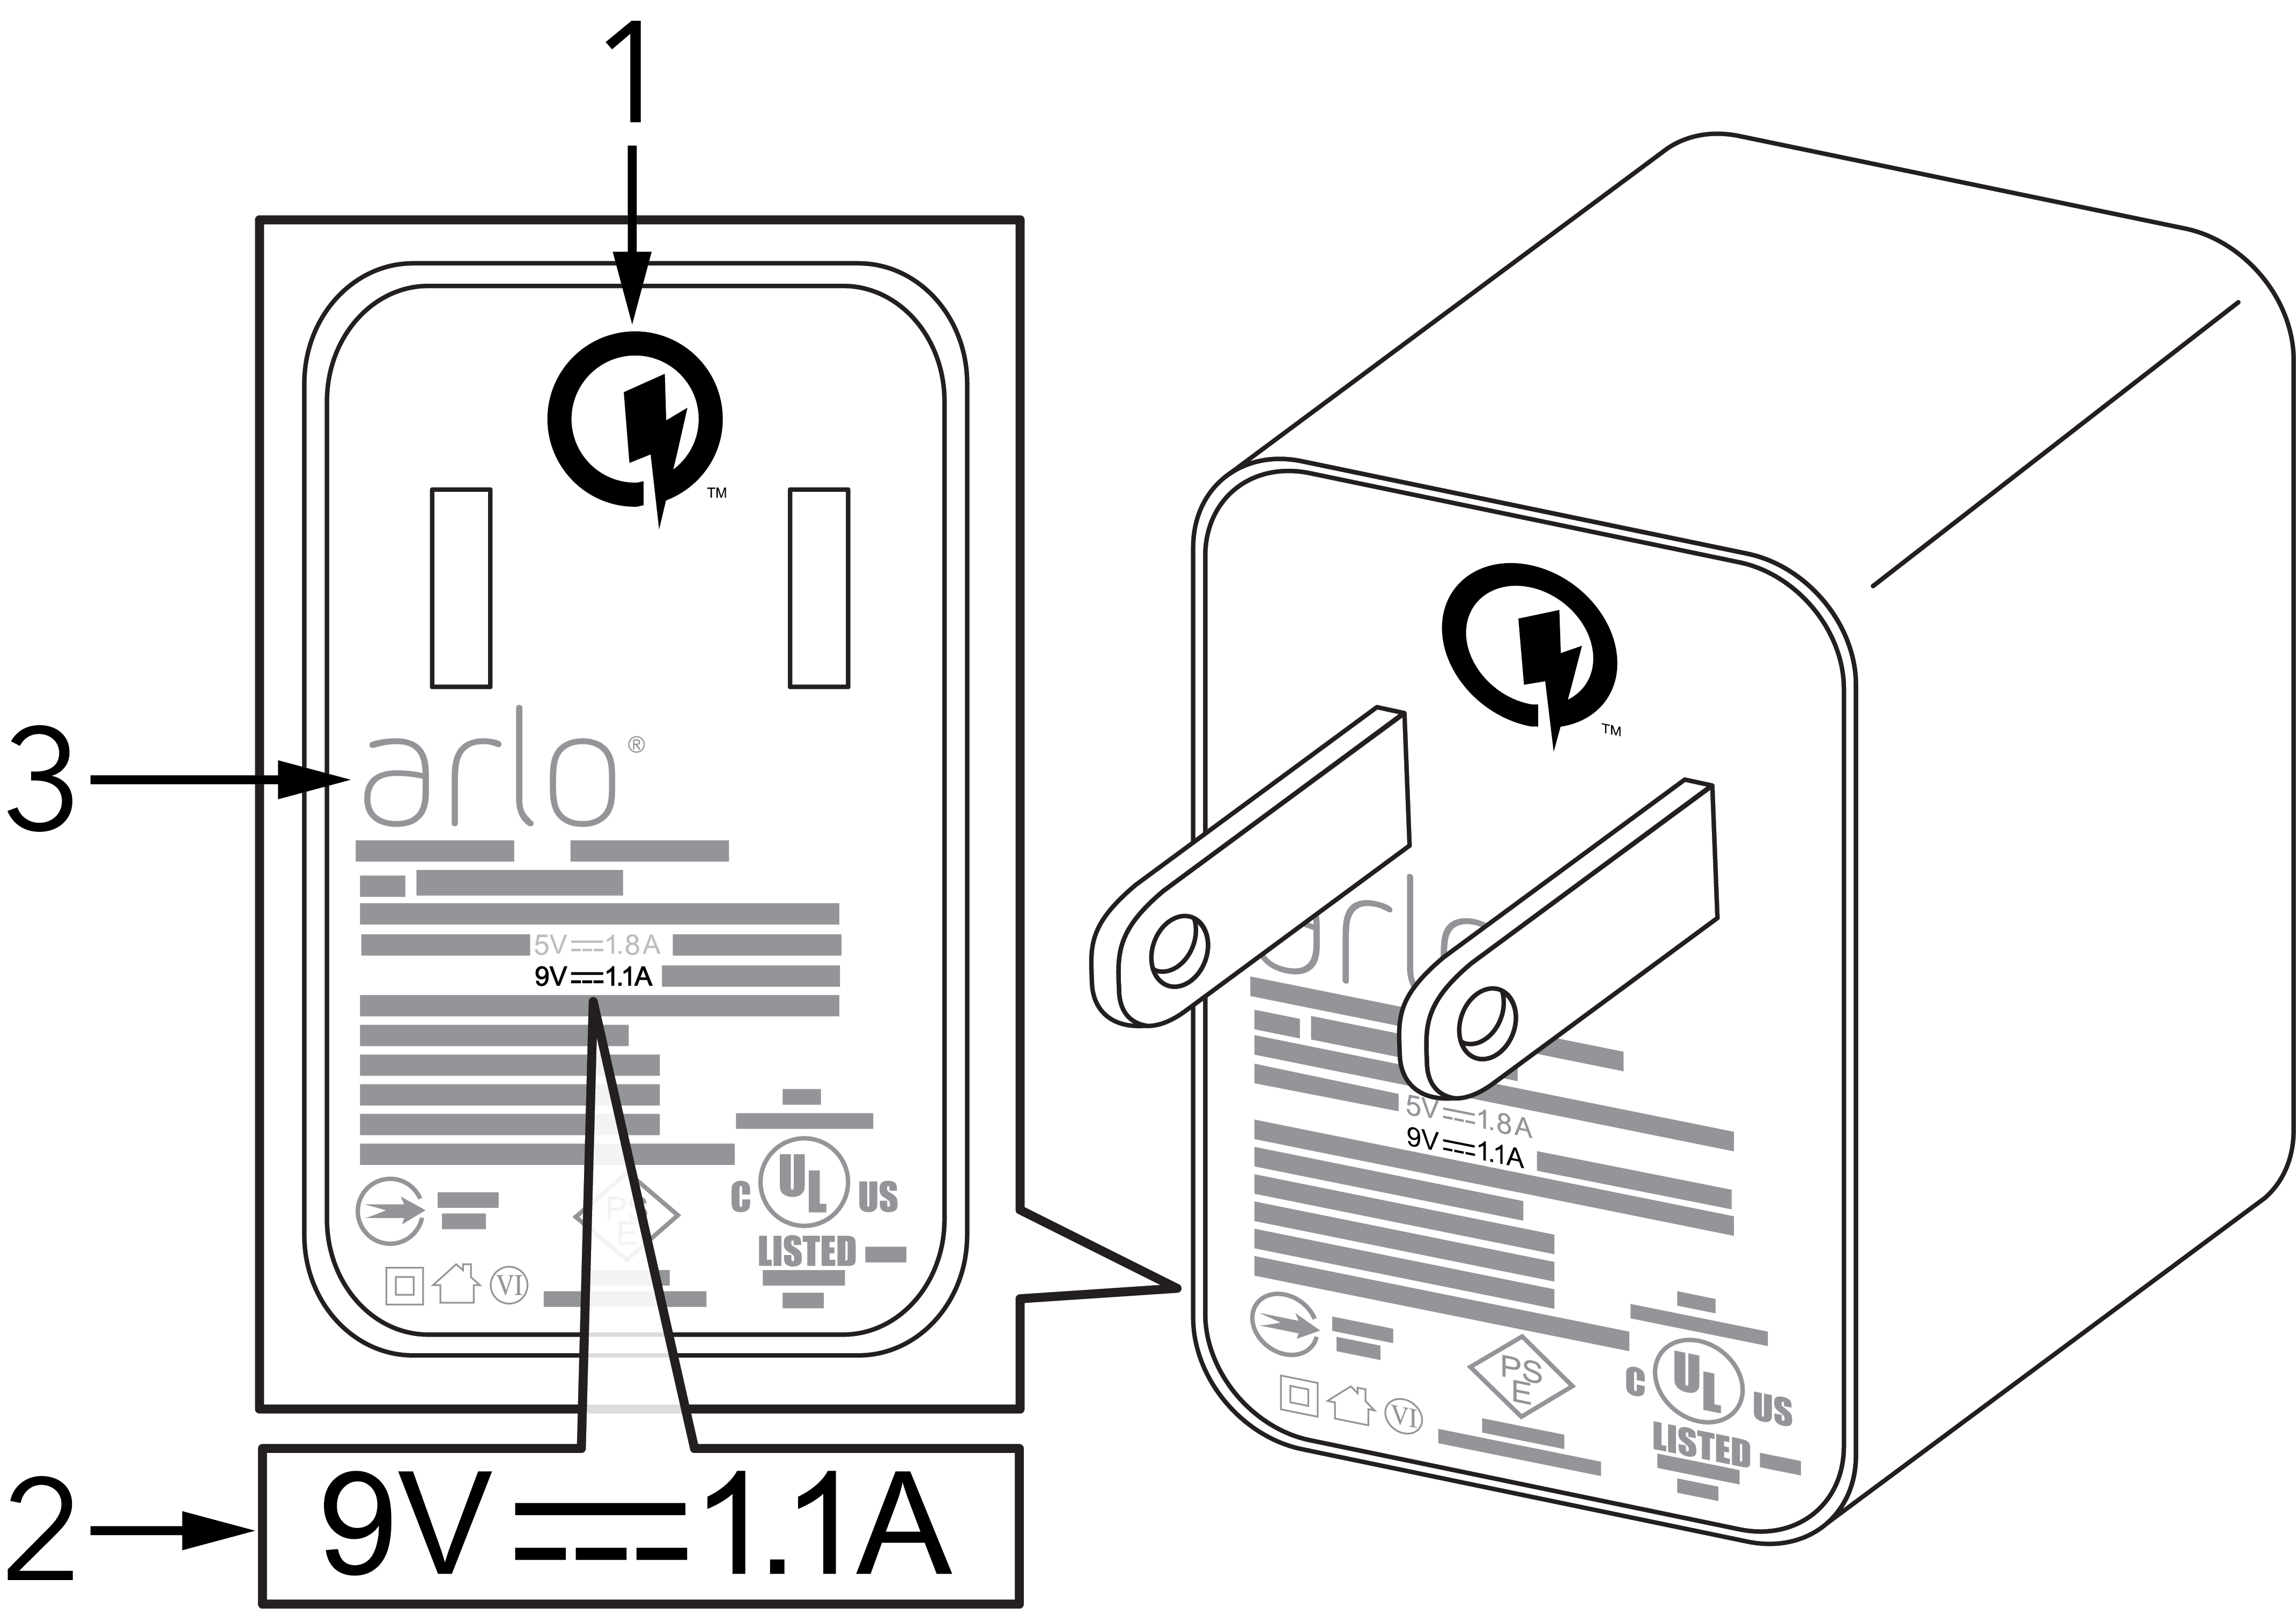
Arlo models have strict voltage requirements that must be followed. Most models including Pro 4, Essential, and Ultra need 5V and 2A minimum, which is 10W. However, Arlo Pro 3 Floodlight and Pro 4 Floodlight models require 9V DC only.
Using a 5V USB adapter on a 9V floodlight camera can permanently disable it and void the warranty. Always use the official Arlo power adapter for your specific model. Third-party adapters often lack stable voltage regulation and can cause problems.
Try a Certified 5V/2A USB Wall Adapter
If you do not have the original charger, use a certified 5V/2A USB wall adapter from a tablet. Avoid phone chargers rated at 1A because they are too weak for Arlo cameras.
This simple swap often restores charging on Pro 4 and Essential models when the original charger is unavailable.
Inspect Charging Cables and Connections
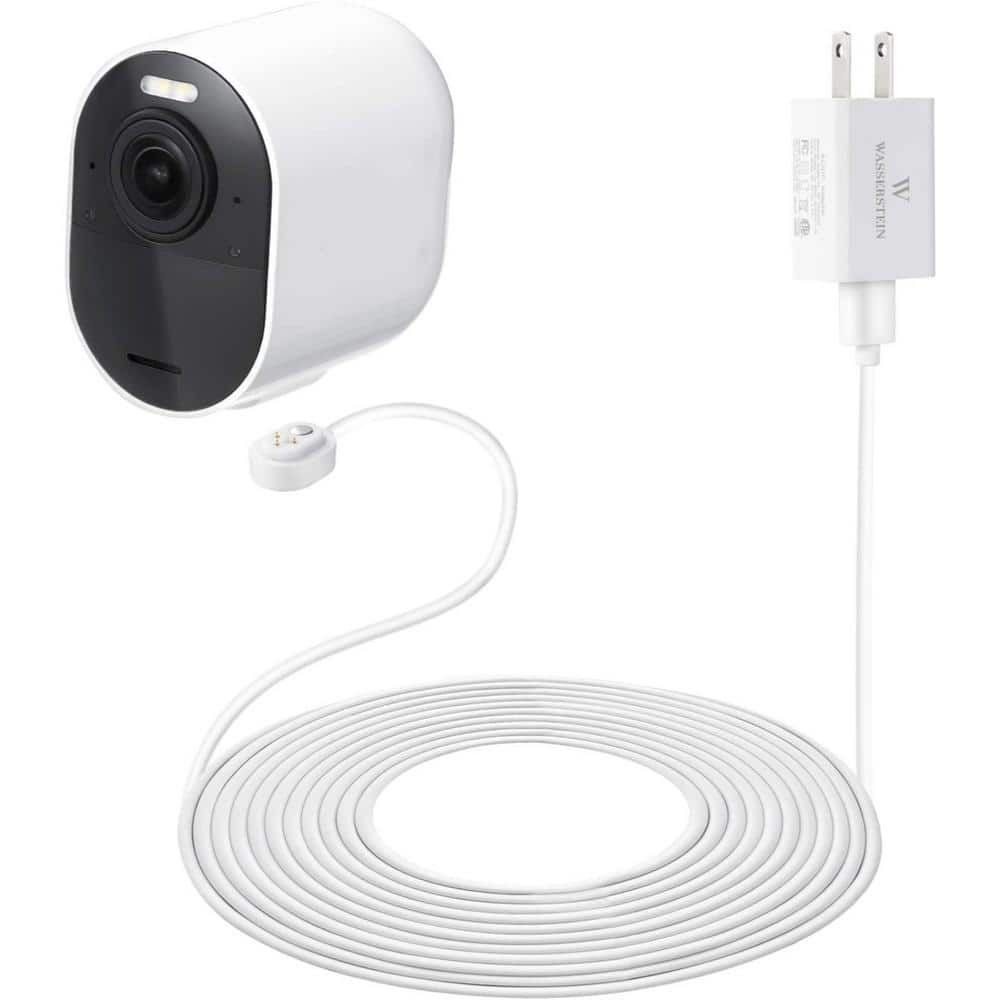
Even Arlo-branded cables can fail. Physical damage or using the incorrect cable type can block charging completely, so inspect everything carefully before moving on.
Identify Cable Type by Model
Different Arlo models require different cables. Arlo Pro 3 and Pro 4 non-floodlight models use magnetic or micro-USB cables. Arlo Pro 3 Floodlight requires a 9V weather-resistant magnetic cable. Arlo Essential uses micro-USB or magnetic. Arlo Ultra uses magnetic.
Using an indoor magnetic cable on a floodlight model causes charging failure. Outdoor cables are built to handle moisture and higher voltage, so match the cable to your specific model.
Check for Physical Damage
Examine your cable for these issues. Look for frayed wires along the length. Check for bent or corroded magnetic connectors. Ensure the cable fits snugly on the camera without wobbling.
Clean contacts with isopropyl alcohol and a cotton swab to remove dirt or oxidation that blocks power flow.
Fix Use an Arlo Brand Cable Error
Some users get this warning even with original cables. Possible causes include a firmware glitch, a damaged cable pin, or a camera charging port issue.
To fix this, try a different Arlo cable. Perform a soft reset. Update firmware if available.
Perform Camera Reset Procedures
Glitches in firmware or power management can block charging. Resetting clears these issues and often restores normal function without hardware replacement.
Soft Reset
This quick fix resolves charging lockups, especially after firmware updates.
Remove the battery. Hold the sync button while reinserting the battery. Release when the LED flashes. Wait 30 seconds for the camera to reboot.
This often restores charging on Pro 3 and Essential models after firmware updates.
Factory Reset
Use this as a last resort if charging fails after all other steps.
Press and hold the sync button for 15 seconds until the LED flashes amber. Release and wait for the camera to reboot. Remove the device from the Arlo app. Re-add the camera to your account.
This clears corrupted settings and forces a fresh connection.
Address Battery Voltage Lockout
The number one cause of Arlo cameras not charging is deep discharge, which happens when battery voltage drops below 3.0V. This is actually good news because it is usually fixable.
Lithium-ion batteries have built-in protection that blocks charging when voltage is too low. Standard Arlo chargers cannot wake them up. But the battery is not dead, it is just locked out.
Revive a Dead Battery with a 12V Car Charger
This method safely bypasses the lockout with a small voltage pulse and has revived many dead Arlo batteries.
Gather these items. You need a 12V car battery charger with alligator clamps, preferably one that is switchable between 9V and 12V. You also need a non-conductive surface to work on and eye protection.
Always unplug the charger before connecting the clamps for safety.
Identify the battery terminals. The positive terminal is the far left when the label faces you. The negative terminal is the far right.
Connect the red clamp to the positive terminal. Connect the black clamp to the negative terminal. A small spark is normal and indicates the circuit is reactivating.
Plug in the charger and charge for 5 to 10 minutes. Disconnect, then insert the battery into the camera.
The result is a lightning bolt appearing in the app, and the battery begins charging normally.
Alternative: Jump-Start with a Healthy Battery
No car charger? Use a working Arlo battery to boost a dead one.
You need one fully charged Arlo battery and two insulated jumper wires.
Connect positive to positive with one wire. Connect negative to negative with the second wire. Wait 2 to 5 minutes. Disconnect and try standard charging.
Caution: Reverse polarity can destroy the battery. Double-check all connections before proceeding.
Check for Hardware and Environmental Issues
Sometimes the problem is not the battery. It is the environment or camera hardware causing the charging failure.
Avoid Cold Weather Charging
Lithium-ion batteries will not charge below 32°F or 0°C. If your camera was exposed to winter temperatures, bring it indoors.
Let the camera warm to room temperature between 59°F and 77°F for 1 to 2 hours before charging.
Prevent Heat-Related Shutdowns
Above 104°F or 40°C, thermal protection stops charging to prevent damage.
Move the camera from direct sun or enclosed spaces. Let it cool before reconnecting to the charger.
Inspect for Swollen or Damaged Batteries
A puffed battery looks like a spicy pillow and is dangerous.
Do not charge a swollen battery. Replace it immediately and recycle it properly through appropriate channels.
Also check for these warning signs. Look for leaking fluid. Watch for overheating during charging. Check for discoloration.
These indicate internal failure, and the battery should be replaced, not revived.
Clean the Charging Port
Dirt, moisture, or corrosion in the port blocks the connection and prevents charging.
Use compressed air to blow out debris. Wipe contacts with isopropyl alcohol and a cotton swab. Let the port dry completely before charging.
For Pro 3 models, try charging via the micro-USB side port if magnetic charging fails.
Update Firmware and App Settings
Outdated firmware can cause charging recognition issues, especially after automatic updates. Keeping everything current helps prevent problems.
Check for Firmware Updates
Open the Arlo app. Go to Device Settings and select Firmware Update. Install any pending updates.
Updates often fix bugs related to power management and charging detection.
Optimize Settings to Reduce Drain
Even with a full charge, poor settings cause rapid depletion, which makes it seem like the camera is not charging when it actually is draining too fast.
Adjust these settings in the app. Lower video resolution. Shorten recording length. Reduce motion sensitivity. Set custom activity zones to ignore irrelevant areas.
These changes can double battery life and reduce how often you need to charge.
When to Contact Arlo Support
If nothing works, the issue may be with the camera unit itself rather than the battery or accessories.
Signs You Need Support
Watch for these indicators. Six or more batteries fail with the same camera. The charging port is visibly damaged. There is no response from multiple chargers and outlets. The camera will not power on at all.
Warranty and Replacement Info
Battery warranty is typically 1 year but varies by region. Proof of purchase is required for all replacement claims. Users beyond warranty may qualify for goodwill replacements if a defect is confirmed.
Contact Options
Visit support.arlocom for the help center. Use the in-app help center for quick assistance. Check the community forum at r/ArloSmartHome for peer solutions.
Have these details ready before contacting. Your Arlo account email, camera model number, and purchase date.
Prevent Future Charging Issues
Avoid repeat problems with simple maintenance and smart placement.
Battery Care Tips
Recharge before the battery drops below 10%. Store at 50% charge in a cool, dry place. Charge every 3 months if the camera is unused. Replace batteries every 1 to 2 years.
Cable and Port Maintenance
Label indoor versus outdoor cables to avoid mix-ups. Replace cables at the first sign of wear. Clean contacts monthly with isopropyl alcohol.
Strategic Camera Placement
Avoid pointing cameras at high-motion areas like trees or busy streets. Use activity zones to ignore irrelevant motion. Install in sheltered locations to protect from rain and heat.
Upgrade Options If Replacement Is Needed
Some users prefer newer models with improved features and reliability.
Recommended Models
Consider these options. Arlo Ultra 2 offers 4K HDR and color night vision with advanced AI detection. Arlo Pro 5 and Pro 5 Plus provide 2K video with spotlight and siren features. Arlo Essential Wireless has built-in Alexa and requires no hub. Arlo Video Doorbell offers dual power with wired and battery options.
Choose models with dual power options to avoid battery dependency entirely.
Frequently Asked Questions About Arlo Security Camera Not Charging
Why does my Arlo camera show a plug icon but not charge?
This indicates power is being detected from the charger, but the battery is not accepting a charge. This commonly happens with deep discharge, where battery voltage has dropped below the minimum threshold. Try the 12V car charger revival method to wake up the battery.
Can I use any USB charger for my Arlo camera?
No. Most Arlo models require a 5V/2A adapter, but floodlight models require 9V DC specifically. Using the wrong voltage can permanently damage the camera. Always use the official Arlo power adapter for your model.
How do I know if my battery is dead or just locked out?
If the battery shows no response in the app and the charger shows no activity, it is likely in low-voltage lockout rather than truly dead. The 12V car charger method can determine this because locked-out batteries often revive while dead batteries do not.
Is it safe to revive an Arlo battery with a car charger?
Yes, when done correctly. Always unplug the charger before connecting clamps, work on a non-conductive surface, and wear eye protection. The small spark during connection is normal and part of the recovery process.
Why do new Arlo batteries fail to charge?
New batteries may fail to charge if the camera or system has an underlying issue, such as a faulty charging port, firmware problem, or camera base defect. Test the batteries in a different camera to isolate whether the issue is the battery or the camera hardware.
When should I replace rather than revive my Arlo battery?
Replace the battery if it is swollen, leaking, or overheats during charging. Also replace if revival methods fail and the battery shows no signs of life after testing with multiple chargers. Batteries that charge briefly then stop immediately likely have cell degradation.
Key Takeaways for Fixing Your Arlo Camera Charging Issues
A non-charging Arlo battery is often not dead but in a low-voltage lockout state that can be reversed. The 12V car charger method delivers the pulse needed to wake up the battery and is safe and effective when performed correctly. The spark during connection is normal and part of the recovery process, not a sign of damage.
New Arlo batteries may also fail to charge if the camera itself has an underlying issue, so test batteries in different cameras when possible. If revival fails, the problem likely lies with the camera charging port or internal hardware rather than the battery.
Do not discard a non-charging Arlo battery immediately. Try the 12V revival method first because it is inexpensive, fast, and has a high success rate for batteries in lockout but not degraded. If the battery cannot be revived, contact Arlo support with your model number and purchase information to discuss warranty options or consider upgrading to a newer Arlo model with dual power capabilities.