
You flip the switch, but your LED flood light stays dark. It’s a common frustration, especially when you rely on it for security, visibility, or outdoor ambiance. The good news? The LED chips themselves rarely fail. In most cases, the issue lies in the power supply, driver, wiring, or environmental damage. This guide breaks down exactly why your LED flood light isn’t working and how to fix it, step by step, with no guesswork.
From tripped breakers to failed drivers and water damage, we’ll help you pinpoint the problem quickly and safely. Whether you’re troubleshooting a flickering light, a completely dead unit, or intermittent operation, this actionable guide gives you the tools and knowledge to restore full function, often in under 30 minutes. Let’s get your light back on.
Verify the Power Source First
Before opening the fixture, confirm it’s actually receiving electricity. Most “dead” lights are victims of simple power interruptions.
Check the Circuit Breaker and GFCI
A tripped breaker or activated GFCI outlet is the leading cause of total failure. Storms, surges, or shared circuits can cut power without affecting other areas.
- Go to your electrical panel and inspect the breaker labeled for outdoor lighting.
- If it’s tripped (middle position or off), switch it fully off, then back on.
- Also check nearby GFCI outlets, especially in garages, basements, or exterior walls. Press “Reset” if the button is popped out.
Test the Outlet or Junction Box
If the light is plug-in, test the outlet with a phone charger or lamp. No power? The issue is upstream.
For hardwired units:
– Turn off the breaker.
– Open the junction box.
– Use a non-contact voltage tester to confirm power reaches the wires.
– If no voltage, trace back to the source: timer, switch, or breaker.
Inspect Timers and Switches
Programmable timers or manual switches can fail or drift out of sync.
- Bypass the timer temporarily by setting it to “on.”
- Flip the wall switch multiple times to rule out a sticking mechanism.
- If the light works when bypassed, replace the timer or switch.
Test the LED Driver

The driver converts AC power to the steady DC current LEDs need. It’s the most common point of failure, especially in outdoor units exposed to heat and moisture.
Identify Driver Failure Signs
A failing driver often causes:
– Complete darkness (no glow at all)
– Flickering or pulsing
– Dim or inconsistent brightness
Even if the fixture gets power, a dead driver means no light output.
Use a Multimeter to Check Output
You’ll need a digital multimeter to test driver function.
Steps:
1. Power off and disconnect the light.
2. Open the housing and locate the driver (usually a small circuit board).
3. Disconnect output wires going to the LED board.
4. Set multimeter to DC voltage.
5. Turn power back on.
6. Touch probes to the driver’s output terminals.
Compare the reading to the label on the driver (e.g., “12V DC, 1A”).
- No reading? Driver is dead.
- Low or fluctuating voltage? Driver is failing.
- Correct output? Driver is likely fine; problem is downstream.
Replace the driver with an identical model (match voltage, current, and wattage).
Inspect Wiring and Connections
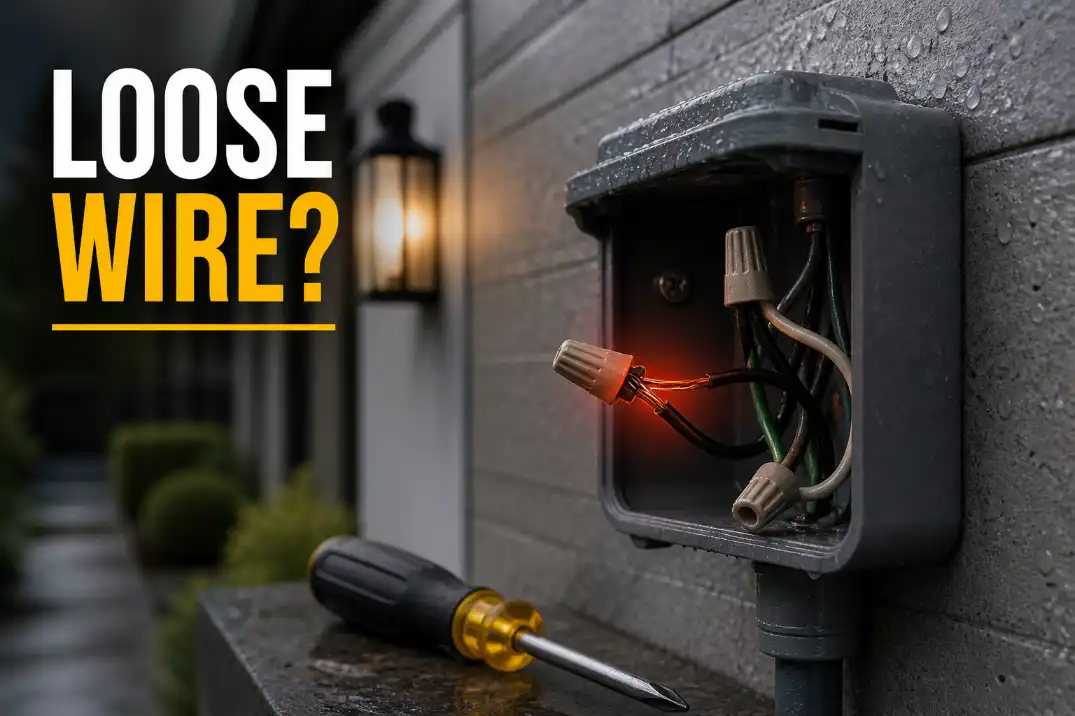
Loose, corroded, or damaged wiring stops power flow, even if the breaker and driver are functional.
Open the Fixture Safely
- Turn off power at the breaker.
- Remove mounting screws and open the housing.
- Look for burn marks, frayed wires, or greenish corrosion.
Check Key Connection Points
Focus on:
– Junction box wires: Tighten wire nuts; replace if corroded.
– Driver input/output terminals: Ensure wires are securely seated.
– Ground wire: Must be connected to metal housing or ground terminal.
Use a continuity tester to verify unbroken circuits. Replace any damaged wiring.
Prevent Vibration Loosening
Outdoor lights on poles or eaves can vibrate in wind, loosening connections over time. Use lock washers and anti-vibration mounts during reassembly.
Bypass and Test Sensors
Motion sensors and photocells (dusk-to-dawn controls) often fail before the light itself.
Temporarily Bypass the Sensor
Most sensor-equipped lights have a wiring option to test without it.
Steps:
1. Turn off power.
2. Locate sensor wires (usually black, red, and white).
3. Disconnect the sensor.
4. Connect the black (hot) from power directly to the black (load) going to the driver.
5. Restore power.
If the light turns on, the sensor is faulty. Replace or clean it.
Clean Sensor Lenses
Dirt, spider webs, or paint can block motion detection.
- Wipe the sensor window with a soft, damp cloth.
- Trim nearby foliage blocking its field of view.
- Ensure no nearby lights (like porch lamps) are confusing the photocell.
Look for Water Damage

Moisture inside the fixture causes corrosion, shorts, and sudden failure, especially in older or poorly sealed units.
Inspect for Moisture Signs
Open the housing and check for:
– Water droplets or condensation
– White or green corrosion on metal parts
– Rust on screws or housing
– Cloudy lens
Dry and Reseal the Unit
- Remove all components and let them air-dry for 24 hours.
- Wipe corrosion with isopropyl alcohol and a cotton swab.
- Inspect the rubber gasket around the lens.
- If cracked, brittle, or missing, replace it.
- Apply a thin bead of silicone sealant around the housing edge before closing.
- Ensure the fixture is rated IP65 or higher for outdoor use.
Pro Tip: Mount the light facing slightly downward to prevent water pooling at the base.
Evaluate LED Chip Condition
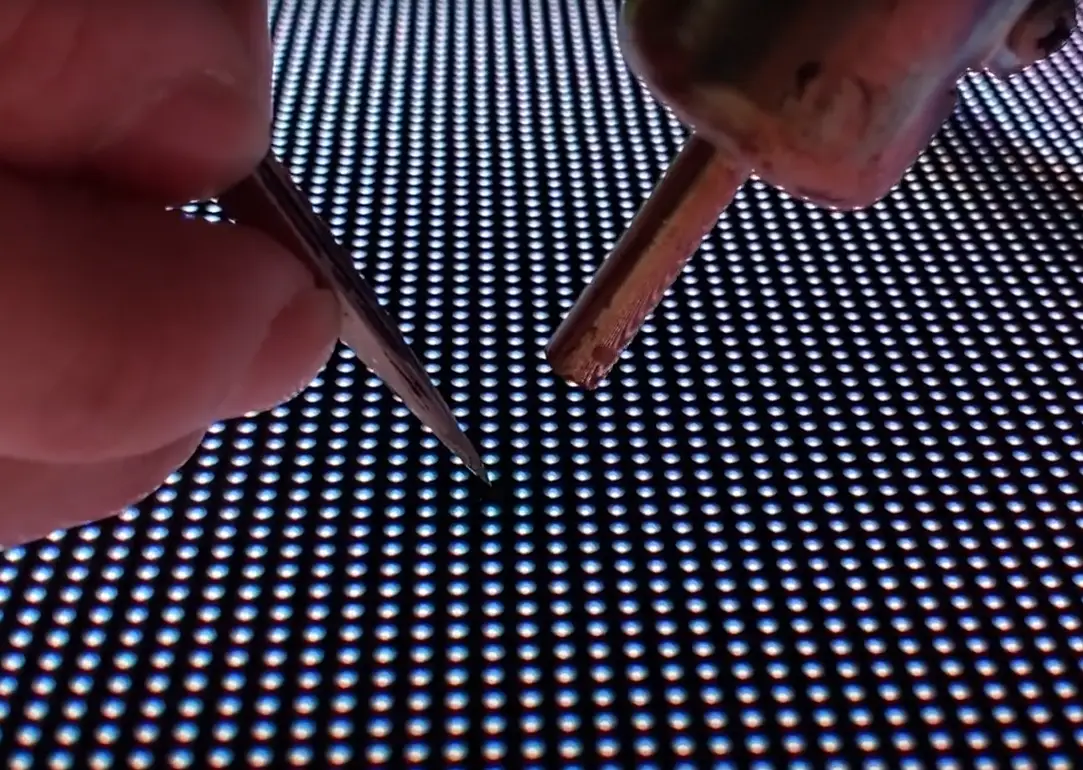
While rare, individual LED chips can burn out, especially if the driver failed and sent overvoltage.
Perform a Visual LED Check
Look closely at the LED board:
– Are there dark spots or blackened areas?
– Do some sections appear dimmer?
If chips are wired in series, one dead chip can kill the whole string.
Replace Faulty LED Modules
You can:
– Replace individual chips (requires soldering and exact match)
– Swap the entire LED board (easier and more reliable)
Always match:
– Voltage (e.g., 12V, 24V)
– Current (e.g., 300mA, 600mA)
– Color temperature (e.g., 5000K daylight)
Mismatches can cause flickering or premature failure.
Prevent Overheating Issues

LEDs last longer when kept cool. Overheating kills drivers and degrades chips.
Clean the Heat Sink
Dust and debris trap heat.
Steps:
1. Power off the light.
2. Use compressed air or a soft brush to clean fins.
3. Wipe with a dry cloth.
4. Avoid blocking airflow with insulation or tight enclosures.
Ensure Proper Installation
- Don’t install in enclosed spaces without ventilation.
- Don’t exceed the fixture’s rated wattage.
- Avoid mounting near exhaust vents or other heat sources.
Note: Some drivers have thermal shutdown. They’ll turn off when too hot, then restart when cooled.
Follow a DIY Repair Checklist
Use this sequence to avoid missing steps:
- Check breaker and GFCI
- Test outlet or junction box for power
- Reset timer or bypass switch
- Inspect for visible damage or moisture
- Tighten all wiring connections
- Test driver output with multimeter
- Bypass sensor to test light directly
- Clean lens and heat sink
- Replace driver if faulty
- Reseal housing and restore power
Time Estimate: 15–45 minutes for most issues.
Know When to Call a Pro
Some situations require a licensed electrician.
Complex Wiring Problems
- No power at junction box
- Aluminum wiring connections
- Older homes with knob-and-tube or ungrounded circuits
Recurring Failures
If you’ve replaced the driver twice and it still fails, there may be:
– Voltage spikes in your system
– A short in the building wiring
– Incompatible dimmer or control system
Safety Red Flags
Stop and call a pro if you see:
– Burnt smell or scorch marks
– Melted wires or housing
– Frequent breaker trips
– Sparks when powering on
Tampering with electrical systems without training risks fire or shock.
Prevent Future Failures
Extend your LED flood light’s life with simple maintenance.
Clean the Lens Monthly
Dirt and grime reduce brightness by up to 30%.
- Wipe with a damp microfiber cloth.
- Avoid abrasive cleaners that scratch polycarbonate lenses.
Clear the Heat Sink Quarterly
Dust buildup insulates heat, shortening driver life.
- Use compressed air every 3–4 months.
- Ideal during seasonal HVAC maintenance.
Inspect Seals Twice a Year
Before winter and after heavy storms:
– Check gaskets for cracks.
– Reapply silicone sealant if gaps appear.
– Confirm IP65+ rating is intact.
Trim Nearby Foliage
Branches and leaves can:
– Block light output
– Trap moisture against the housing
– Trigger false motion alerts
Keep at least 18 inches of clearance.
Replace vs. Repair Decision
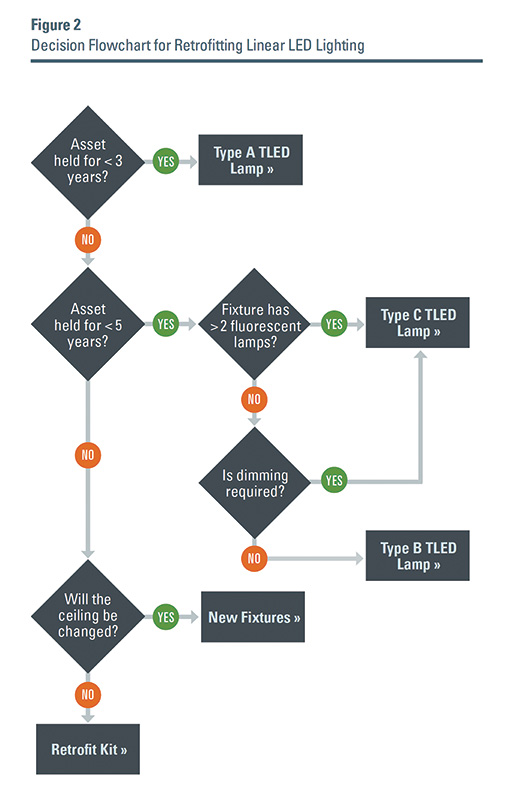
Sometimes, replacement is smarter than repair.
Replace If:
- The fixture is over 5 years old
- Multiple components have failed
- No replacement parts available
- Cost of driver plus labor exceeds 50% of new unit price
- Fixture lacks IP65 or proper heat sink
Repair If:
- Driver is under $20 and available
- Housing and LEDs are intact
- You’re comfortable with basic electrical work
- The unit is under warranty (check first!)
Pro Tip: Upgrade to a smart LED flood light with app control and surge protection for long-term reliability.
Frequently Asked Questions About LED Flood Light Not Working
Why is my LED flood light not working but has power?
If your LED flood light receives power but won’t turn on, the driver is the most likely culprit. The driver converts AC to DC current for the LEDs. Use a multimeter to test the driver’s output. No reading or unstable voltage means the driver needs replacement.
How do I reset an LED flood light that stopped working?
Start by checking the circuit breaker and any GFCI outlets on the circuit. Reset both by switching them fully off, then back on. If the light still won’t work, inspect the wiring connections and test the driver output with a multimeter.
Can a LED flood light burn out completely?
LED chips rarely burn out completely because they last tens of thousands of hours. However, drivers, capacitors, and other supporting components can fail. When the driver dies, the entire fixture appears dead even though the LEDs themselves are often still functional.
Why does my LED flood light flicker at night?
Flickering usually points to a failing driver, loose wiring connection, or incompatible dimmer switch. Test the driver output with a multimeter. If the driver is fine, check all wire nuts and terminal connections for tightness and corrosion.
How long should an LED flood light last?
A quality LED flood light should last 25,000 to 50,000 hours under normal conditions. Lifespan drops significantly with overheating, moisture intrusion, or poor driver quality. Regular cleaning and seal inspections help you reach the upper end of that range.
Is it worth repairing an LED flood light or should I replace it?
Repair makes sense when the driver is inexpensive and available, the housing is intact, and the unit is under 5 years old. Replace the fixture if multiple components have failed, replacement parts are unavailable, or repair costs exceed 50% of a new unit’s price.
Key Takeaways for Fixing Your LED Flood Light
An LED flood light not working is rarely caused by the LEDs themselves. The real culprits are usually power loss, driver failure, loose wiring, or water damage. By following a logical troubleshooting sequence (starting with the power source and moving through the driver, wiring, sensors, and environment), you can diagnose and fix most issues quickly and safely.
Regular cleaning and seal inspections prevent many common problems. When in doubt, don’t risk electrical hazards. Call a licensed professional. With proper care, a quality LED flood light should provide bright, reliable illumination for years, not months. Start with the simplest check (your circuit breaker) before opening the fixture, and work your way through the diagnostic checklist one step at a time.