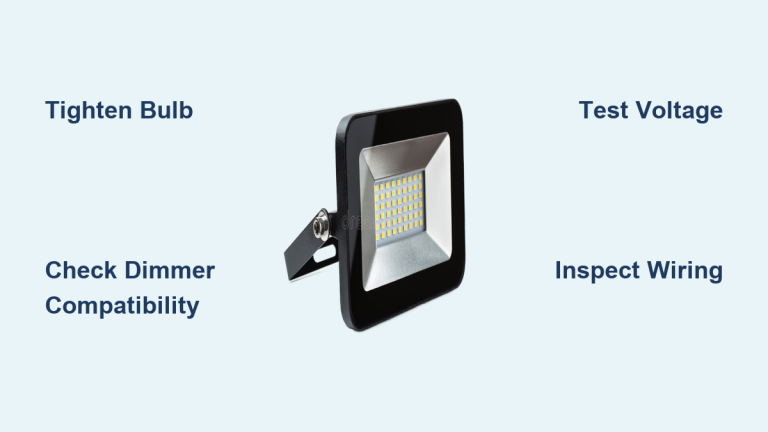
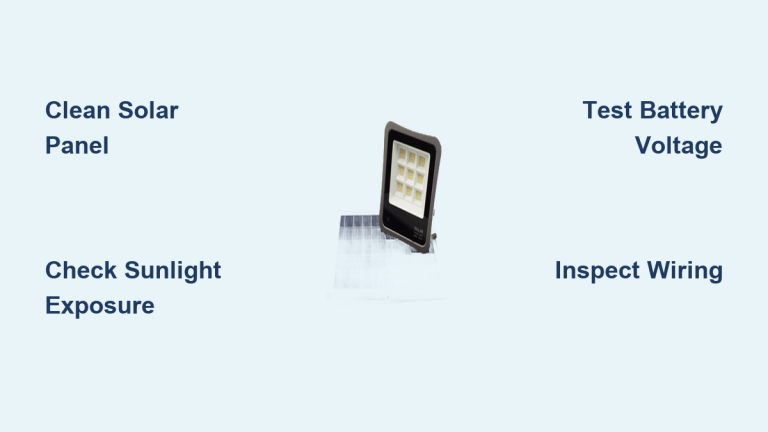
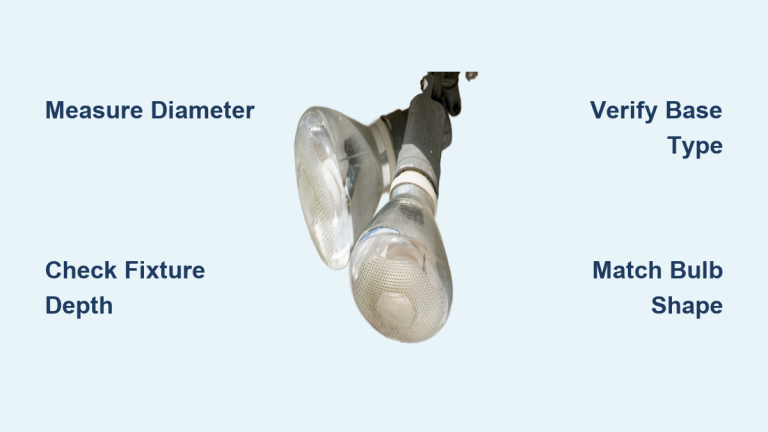
You step outside and hear that unmistakable crunch of glass under your shoe. Your outdoor flood light’s lens has dropped, leaving shards on the walkway and a harsh, uneven beam above. Or maybe your Ring camera feed suddenly looks foggy, and you discover the protective cover has vanished. When flood light glass falls off, the fix depends entirely on what type of light you own. A traditional bulb, a smart camera, and a standard fixture each require a different approach.
This guide breaks down exactly what to do based on your setup. You’ll learn how to identify the cause, whether repair makes sense, and how to prevent the same failure from happening again. Most fixes are simple and inexpensive once you know where to look.
Traditional Bulb Lens Detached
If your outdoor flood bulb lost its glass cover but still lights up, you likely have an older incandescent, halogen, or early-generation LED with a glued-on diffuser. The bulb works, but the beam becomes harsher and less spread out without the lens to soften it.
Why the Glass Fell Off
The outer lens is a separate piece of blown glass attached to the bulb body with heat-resistant adhesive. Over 10 to 15 years, constant heating during operation and cooling at night weakens this bond. No impact is needed, just time and thermal stress. Some bulbs fail earlier due to subpar adhesive used during manufacturing.
Can You Fix It?
Yes, and it is surprisingly simple. A basic re-gluing with high-temperature epoxy often restores the bulb for years of continued use.
Reattach With High-Temp Adhesive
- Power off the fixture at the breaker.
- Remove the bulb and clean both surfaces: the glass and the bulb base.
- Apply a high-temperature epoxy such as J-B Weld or a ceramic-based adhesive.
- Press the glass back into place, aligning it evenly.
- Let it cure for 24 hours before reinstalling.
Pro Tip: This repair often lasts years. Users report success with bulbs used daily after re-gluing.
Replace or Keep Using?
- Replace the bulb if the adhesive won’t hold or you want better efficiency. Modern LED flood bulbs use one-piece construction with no glue and no risk of detachment.
- Keep using it if the glass is reattached securely. The light still works, just with less diffusion.
Ring Floodlight Cam Lens Cover Missing

If your Ring camera’s image is blurry or the cover dangles loosely, the lens shield has likely detached. This is a common failure, especially after about three years, despite Ring’s claims that it is “not normal.”
Is It Glass or Plastic?
Reports vary across units. Some cameras have plastic covers that yellow and crack from UV exposure. Others have glass covers that shatter on impact. Check the debris on the ground. If it is brittle and clear with sharp edges, it is likely glass. If it is yellowed or flaky, it is degraded plastic.
Ring’s Official Response
Ring does not sell replacement lens covers. Their policy works like this:
- If under warranty or covered by a Ring Protect Plan: full unit replacement.
- If out of warranty: a $35 discount toward a new unit.
- No DIY repair instructions are provided.
User Warning: Many report long hold times only to be told “this never happens,” despite thousands of online complaints.
Can You Repair It Yourself?
Yes, though unofficially. A custom-cut disc and clear silicone can restore weather sealing and image clarity for a fraction of replacement cost.
DIY Lens Cover Fix
- Order a custom-cut disc (30mm–35mm diameter) from a glass or plastic supplier such as ePlastics.com or a local glazier. Use UV-resistant acrylic or tempered glass, 1–2mm thick.
- Clean the housing with isopropyl alcohol.
- Apply a tiny bead of clear silicone sealant (such as GE Silicone I) around the rim.
- Insert the disc and press gently. Wipe away excess.
- Let it cure for 24 hours before powering on.
Pro Tip: Use a small O-ring or double-sided tape if you want a removable solution, just don’t compromise the weather sealing.
Standard Fixture Glass Cover Broken

If the glass is part of the housing rather than the bulb, like in Heath Zenith or similar security lights, replacement is straightforward and parts are widely available.
Safety First
- Turn off power at the breaker.
- Wait 15 to 30 minutes for the fixture to cool if it was recently on.
Replace the Cover
Step-by-Step
- Remove screws holding the glass in place.
- Carefully take out broken glass while wearing gloves.
- Note the model number (for example, Heath Zenith HZ-5505-WH).
- Order a replacement cover from the manufacturer, Amazon, Home Depot, or specialty lighting sites. Average cost runs $15 to $35.
- Install the new glass and re-secure screws.
- Restore power and test.
Visual Check: Ensure the gasket is intact and the glass sits flush. No gaps means no water intrusion.
Why This Keeps Happening
Thermal Cycling Destroys Adhesives
Traditional bulbs expand when hot and contract when cold. Over years, this fatigues the glue holding the lens. The result is sudden detachment with no warning.
UV Exposure Ruins Plastic
Ring’s plastic lens covers degrade in sunlight. After about three years, they become brittle and crack. Even without impact, they can pop off from wind or vibration alone.
Design Flaws in Smart Lights
A $150+ device shouldn’t fail because a $1 part breaks, especially when you can’t replace that part. Consumers call this planned obsolescence. Without spare parts, you’re forced to buy new.
How to Prevent Future Failures

Choose the Right Bulb
- Avoid bulbs with glued glass lenses.
- Opt for one-piece LED flood bulbs from brands like Philips or Sylvania. No adhesive means no failure point.
- Look for shatter-resistant polycarbonate lenses.
Protect Smart Cameras
- Install in shaded areas when possible.
- Apply UV-protective film on the lens (test first so you don’t block the motion sensor).
- Check the cover every six months for looseness.
Upgrade Fixtures
- Replace old housings with modern, sealed units.
- Use LED-integrated fixtures that have no bulb to fail.
Cost Comparison: Repair vs Replace
| Scenario | Repair Cost | Replace Cost | Verdict |
|---|---|---|---|
| Traditional bulb lens | $5 (epoxy) | $10–$15 (new LED) | Repair or upgrade |
| Ring camera cover | $0–$20 (DIY) | $150+ (new unit) | DIY repair saves 90% |
| Fixture cover | $20–$35 (new glass) | $50–$100 (new fixture) | Replace glass only |
Bottom Line: For bulbs and fixtures, replacement is cheap. For Ring cameras, DIY is the only cost-effective fix.
Frequently Asked Questions About Flood Light Glass Falling Off
How long does it take for a flood light bulb lens to fall off?
Traditional incandescent and halogen flood bulbs typically lose their glass lens after 10 to 15 years due to adhesive degradation from thermal cycling. Some bulbs fail earlier if manufacturing defects weakened the bond.
Why does my Ring Floodlight Cam lens cover keep falling off?
The plastic or glass cover on Ring Floodlight Cams typically degrades after about three years of UV exposure. The material becomes brittle, cracks, and detaches on its own or from minor wind and vibration.
Can I use a flood light without the glass cover?
Yes, traditional bulbs will still operate without the lens, though the light becomes harsher and less evenly distributed. Cameras should not be run without a cover because moisture and dust can damage the sensor.
Does Ring replace the lens cover for free?
Ring does not sell replacement lens covers. If your device is under warranty or covered by a Ring Protect Plan, they may replace the entire unit. Out of warranty, they typically offer a $35 discount toward a new purchase.
What adhesive works best for reattaching flood light glass?
High-temperature epoxy such as J-B Weld or ceramic-based adhesive works best for traditional bulb lenses because it withstands the heat generated during operation. For camera covers, clear silicone sealant provides weather-resistant bonding.
How do I find a replacement glass cover for my fixture?
Identify the model number on the fixture housing, then search for replacement parts through the manufacturer, Amazon, Home Depot, or specialty lighting retailers. Covers for common models like Heath Zenith typically cost $15 to $35.
Key Takeaways for Fixing Flood Light Glass Failure
A fallen flood light glass doesn’t mean the end of your light. The fix depends on what type of fixture you own. For traditional bulbs, a $5 tube of high-temperature epoxy can reattach the lens for years of continued use. For Ring cameras, a custom-cut disc and silicone sealant offer a DIY repair that saves 90% over replacement. For standard fixtures, ordering a model-specific glass cover makes the swap straightforward.
Document any failure with photos before contacting manufacturers, especially if you’re seeking warranty support. And when buying new equipment, choose one-piece LED bulbs and sealed fixtures to avoid the same problem in the future. Don’t toss an entire unit over a $1 part when a simple repair can restore full function.