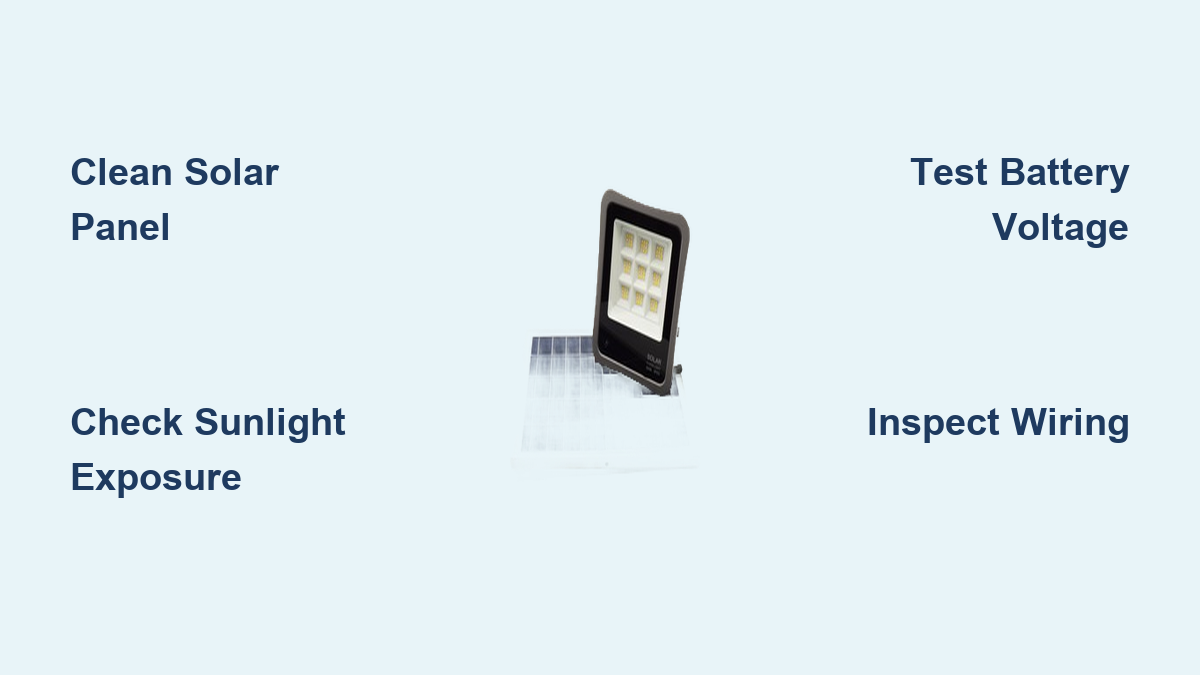

You installed your solar flood light to keep your property safe and well-lit at night, only to find it not turning on. No lights, dim output, or short runtime? The most likely culprit is a solar flood light not charging. This common issue rarely means the entire unit is dead. More often, it is a breakdown in one part of the energy chain: sunlight capture, battery storage, or electrical flow.
Most charging problems are fixable with simple steps: cleaning the panel, repositioning the unit, replacing the battery, or checking connections. In this guide, you will learn exactly how to diagnose and resolve why your solar flood light is not charging, with no guesswork needed. You will get clear, actionable steps to restore full performance, extend lifespan, and avoid costly replacements.
Clean the Solar Panel
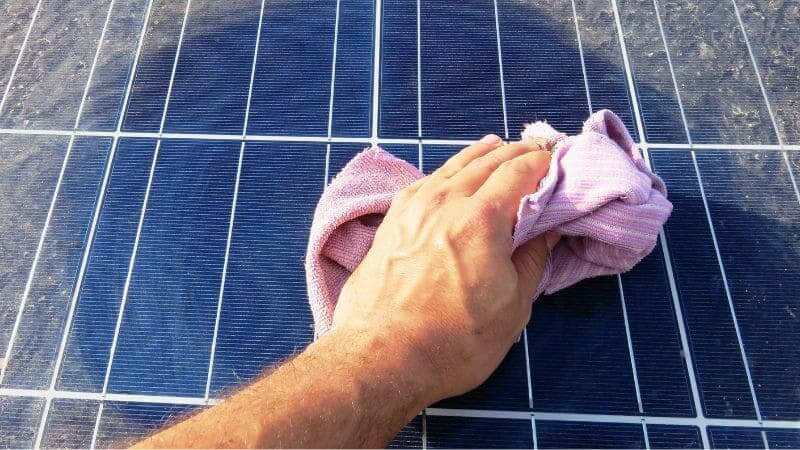
Dirt and debris are silent killers of solar performance. Even if the panel looks clean, a thin film of dust, pollen, or bird droppings can block sunlight and cut charging efficiency by up to 70%. Many users report lights “coming back to life” after a simple wipe.
Wipe With Microfiber Cloth
Use a soft microfiber cloth and mild warm water. Avoid abrasive pads or harsh chemicals that scratch the surface. Gently wipe in circular motions, then dry completely to prevent water spots that attract more dirt. Do this every 2 to 4 weeks, or more often in dusty or coastal areas.
Pro Tip: Test output before and after cleaning. If runtime improves significantly, contamination was the main issue.
Check for Cracks or Damage
Inspect the panel for visible cracks, clouding, or delamination. These reduce light absorption and cannot be repaired. If damaged, replacement is required, especially if the unit is under warranty.
Verify Sunlight Exposure

No amount of cleaning helps if the panel does not get enough sun. Six to eight hours of direct sunlight daily is essential for a full charge. Less than that means reduced runtime, roughly 2 to 3 hours of light per hour of quality sun.
Avoid Partial Shading
Even partial shade from trees, fences, or roof overhangs can cripple charging. A shadow on just one corner of the panel can drop output by 50%. Perform a shade audit at 9 AM, noon, and 3 PM to spot hidden obstructions.
Face South (Northern Hemisphere)
For maximum exposure, orient the panel toward true south. Tilt it at an angle between 5° and 35°, depending on your latitude. Adjust twice a year: steeper in winter, flatter in summer, to match the sun’s path.
Use Detachable Panels When Needed
If the area needs light but lacks sun (like under a carport), use a model with a detachable solar panel. These connect via cable (up to 16.4 ft) so you can mount the panel in full sun while placing the light in the dark zone.
Test and Replace the Battery

The battery stores energy, and it is the second most common failure point after poor sunlight. Most solar flood lights use NiMH (1.2V) or LiFePO4/Lithium-ion (3.2V–3.3V) batteries. All degrade over time.
Recognize Battery Failure Signs
- Light turns on briefly but dies within an hour
- Runtime drops from all-night to 1 to 2 hours
- Takes multiple days to charge
- Works fine during the day but fails at night
These point to a battery that cannot hold a charge, a common issue after 2 to 3 years for NiMH and 3 to 5 years for lithium.
Measure Voltage With a Multimeter
Remove the battery and test it:
– Healthy LiFePO4: 3.2V to 3.3V
– Below 3.0V: Needs replacement
– Below 2.5V: Likely damaged beyond recovery
Replace only with the exact voltage and chemistry. Never use alkaline batteries, as they cannot recharge and may leak, causing corrosion.
Upgrade to Higher Capacity
Many budget lights come with undersized batteries (e.g., 2,000mAh) that undergo deep cycling nightly, accelerating wear. Replacing with a 12,000mAh LiFePO4 of the same voltage reduces cycle depth and extends lifespan dramatically.
Warning: Mixing chemistries (e.g., NiMH in a lithium system) can damage the charge controller. Always match specs.
Inspect Sensor and Mode Settings
Sometimes the light is charging, but a sensor issue prevents it from turning on, making it seem like a charging failure.
Perform the Darkness Test
Cover the solar panel completely during the day. If the light turns on immediately, the photocell (dusk-to-dawn sensor) is working. If not, the sensor may be faulty or blocked.
Clean the Sensor Lens
Dirt, spider webs, or paint on the sensor lens can prevent accurate light detection. Wipe gently with a microfiber cloth. Ensure no nearby porch lights or streetlamps are tricking the sensor into thinking it is daytime.
Confirm Motion Mode Is Active
For motion-activated models, verify the unit is set to motion mode, not “always-on.” The latter drains the battery quickly and mimics charging failure. Check for mode switches or dials inside the housing.
Adjust PIR Sensitivity
If the light triggers too easily (from wind-blown leaves or distant headlights), it wastes power. Use the sensitivity dial to fine-tune detection range. Optimal installation height is 8 to 12 feet for best coverage.
Check Wiring and Connections

Even small breaks in the electrical path can stop charging. This is common in split systems (panel and light head connected by cable) or units exposed to weather and vibration.
Secure All Connectors
Inspect MC4 or plug-in connectors between panel and light. Ensure they are fully seated and free of corrosion. Wiggle them gently; intermittent connections cause flickering or no charge.
Look for Wire Damage
Check for frayed, chewed, or cracked wires, especially near joints or where cables enter the housing. Rodents and UV exposure are common causes. Replace damaged cables or seal with waterproof tape if minor.
Test for Continuity
Use a multimeter to check continuity in the wiring. No reading means a break in the circuit. Also inspect solder joints on the PCB, as thermal cycling can cause cracks leading to failure.
Prevent and Fix Moisture Damage
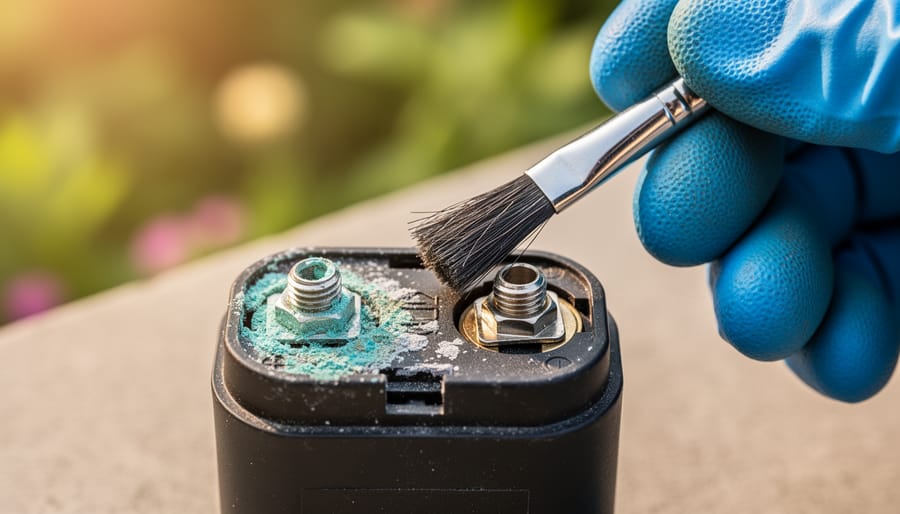
Water ingress is a hidden cause of charging failure. Even “weatherproof” lights can breathe in humid air, leading to condensation and corrosion.
Identify IP Ratings
- IP44: Splashing water only; avoid in heavy rain
- IP65: Dust-tight, jet-spray resistant; ideal for most outdoor use
- IP66/IP67: Full protection against powerful jets or temporary submersion
Upgrade to IP65+ if your unit is failing in wet climates.
Dry and Clean Corroded Terminals
If you see moisture inside:
1. Remove batteries and open the housing
2. Dry thoroughly with sunlight or a hairdryer (low heat, moving constantly)
3. Clean corroded terminals with a pencil eraser or fine sandpaper
4. Apply dielectric grease to prevent future oxidation
5. Replace cracked seals or add silicone gel to gaps
If the PCB is flooded or corroded, replacement is usually cheaper than repair.
Reset the System
Sometimes the charge controller gets stuck in a fault state. A reset can restore normal operation.
Power Cycle the Unit
- Turn the light off
- Remove the battery for 10 minutes
- Reinsert the battery
- Turn the light back on
This clears any controller glitches and forces a fresh charge cycle.
Note: Do this after any repair or battery replacement.
Know When to Replace vs. Repair

Not every issue is worth fixing. Here is how to decide:
Repair If:
- Panel is dirty or needs repositioning
- Battery is old and replaceable
- Wiring is loose or corroded
- Sensor is blocked or misconfigured
These fixes cost little and restore full function.
Replace If:
- Solar panel is cracked or delaminated
- PCB is water-damaged or corroded
- LED module is burnt out
- Housing is warped or UV-damaged
- Battery replacement does not restore runtime
Upgrading to a modern unit with a detachable panel, 12,000mAh battery, and IP65+ rating often delivers better performance and longevity than repairing an outdated model.
Maximize Longevity With Regular Maintenance
Prevention beats repair. Follow these steps to keep your solar flood light charging reliably for years.
Schedule Cleaning Every 2 to 4 Weeks
Clean both the solar panel and sensor lens. Use only water and a microfiber cloth. Avoid pressure washing, as it can force water past seals.
Trim Surrounding Vegetation
Branches and shrubs grow. Trim them regularly to prevent new shadows from forming, especially in fall and spring.
Replace Battery Every 2 to 3 Years
Proactively replace the battery before it fails. This maintains consistent performance and prevents deep discharge damage.
Adjust Panel Angle Twice a Year
Tilt the panel steeper in winter (to catch low sun), flatter in summer. This can boost winter charging by 30% to 50%.
Frequently Asked Questions About Solar Flood Light Charging
Why is my solar flood light not charging even in direct sunlight?
If your solar flood light is not charging despite direct sun, the panel surface may be dirty, the battery may be dead, or a wiring connection may be loose. Clean the panel first, then test the battery voltage with a multimeter. A healthy LiFePO4 battery should read 3.2V to 3.3V.
How long does it take to fully charge a solar flood light?
A solar flood light typically requires 6 to 8 hours of direct, unobstructed sunlight for a full charge. Partial shade or cloudy conditions will extend this time and reduce overall runtime.
Can I replace the battery in my solar flood light?
Yes, most solar flood lights have user-replaceable batteries. Match the exact voltage and chemistry (NiMH at 1.2V or LiFePO4 at 3.2V to 3.3V). Never substitute alkaline batteries, as they cannot recharge and may damage the unit.
What does it mean if my solar light turns on briefly then dies?
This “ghost charging” behavior usually indicates a battery that cannot hold a charge under load. The battery is likely at the end of its lifespan and needs replacement, typically after 2 to 3 years for NiMH or 3 to 5 years for lithium chemistries.
Do solar flood lights work in winter or cloudy weather?
Solar flood lights can work in winter, but reduced sunlight means shorter runtimes. Aim for 6 to 8 hours of direct exposure when possible, and tilt the panel steeper to catch the lower winter sun. LiFePO4 batteries perform better in cold than standard lithium-ion.
How do I know if my solar panel is damaged beyond repair?
Look for visible cracks, clouding, or delamination on the panel surface. These physical defects cannot be repaired and significantly reduce light absorption. If present, the panel or entire unit should be replaced.
Final Thoughts on Fixing a Solar Flood Light Not Charging
A solar flood light not charging is almost always fixable. Start with the simplest causes: clean the panel, confirm 6 to 8 hours of sun, and test the battery. Most failures come down to poor sunlight, dirty surfaces, or dead batteries, not broken units.
By following this guide, you will restore your light’s performance, avoid unnecessary replacements, and get reliable, energy-efficient security lighting for years. When it is time to upgrade, choose models with detachable panels, high-capacity batteries, and strong IP ratings. These features solve the root causes of charging failure before they start.