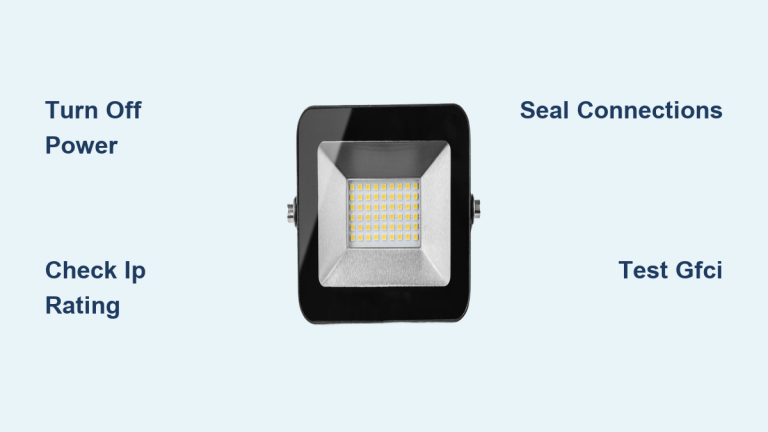
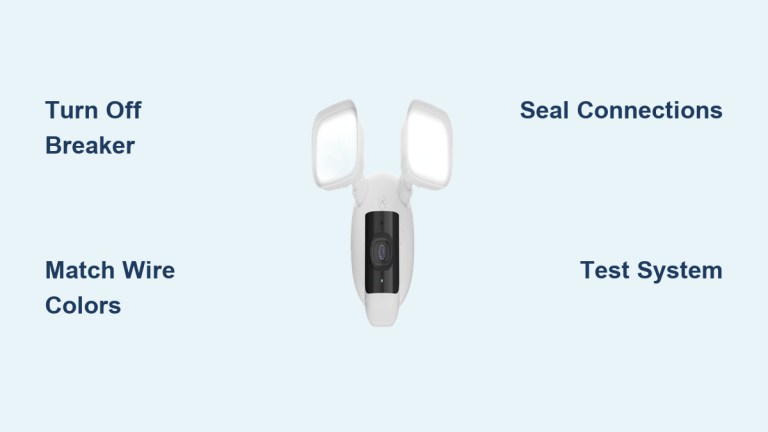
A burnt-out or unreliable outdoor flood light can leave your home’s exterior dark, unsafe, and less secure. Whether you’re upgrading to a brighter LED model or replacing a fixture damaged by weather, knowing how to replace outdoor flood light components yourself saves money and restores dependable illumination in just a few hours.
This guide breaks down every phase of the job: cutting power safely, removing the old fixture, selecting the right replacement, wiring correctly, and sealing against moisture. You’ll also learn how to fine-tune motion sensors, troubleshoot common issues, and extend the life of your new light through simple maintenance.
Cut Power and Confirm the Circuit Is Dead
Working on live outdoor wiring is dangerous, especially in damp conditions. Before touching anything, you need absolute certainty that the circuit is de-energized.
Shut Off the Correct Breaker
Head to your main electrical panel and switch off the breaker controlling the flood light. If your panel isn’t clearly labeled, flip breakers one at a time while someone watches the fixture. Once the light goes out, mark that breaker for future reference.
Never rely on a wall switch alone. Some switches only interrupt the hot wire, leaving voltage present in the junction box.
Verify Zero Voltage with a Tester
Use a non-contact voltage tester near the fixture’s wires. If it beeps or lights up, power is still flowing, so double-check the breaker.
For total certainty, use a multimeter to test between the black (hot) and white (neutral) wires, then between hot and ground. Both readings should show 0 volts.
Also disable any timers, photocells, or smart switches that might unexpectedly restore power.
Remove the Old Flood Light Fixture
With power confirmed dead, you can begin disassembly.
Unscrew and Detach the Unit
Remove the mounting screws holding the fixture to the bracket or junction box. Support the fixture as you loosen the final screw so it doesn’t fall. Pull the unit away from the wall to expose the wiring.
Document the Wiring Configuration
Snap a clear photo of the wire connections before disconnecting anything. This visual reference prevents mistakes during reinstallation.
If wire colors look faded or non-standard, label each wire with masking tape marked “hot,” “neutral,” or “ground.”
Inspect the Junction Box
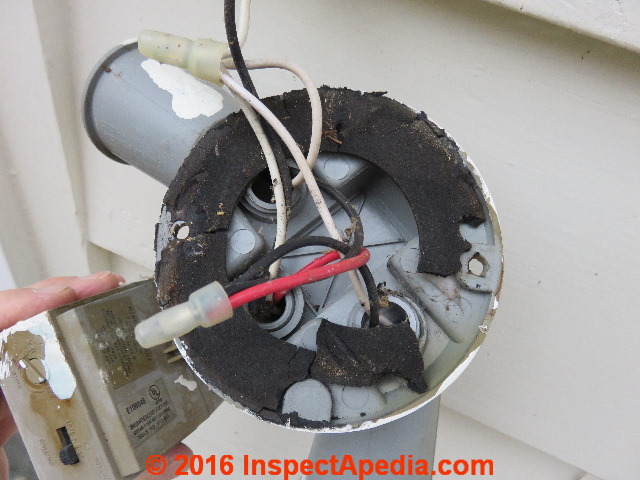
Twist off the wire nuts and separate the fixture wires from the house wires. Examine the junction box for cracked insulation, corrosion, water damage, or loose mounting. Replace the box with a wet-location-rated model if you find any of these issues.
Choose the Right Replacement Flood Light
Picking a compatible, durable fixture ensures years of reliable performance.
Match Voltage and Location Ratings
Confirm the new fixture is rated for 120V and labeled “Outdoor” or “Wet Location.” This certification means it can handle rain, snow, and humidity without failing.
Avoid indoor-rated fixtures, even under eaves. Temperature swings and moisture will degrade internal components quickly.
Match Wattage to Existing Circuit
Check the wattage rating of your old fixture and choose a replacement that matches or is lower. This prevents overloading the circuit, which can cause flickering or breaker trips. For LED upgrades, lower wattage with equal or higher lumens is the goal.
Select Beam Angle and Brightness
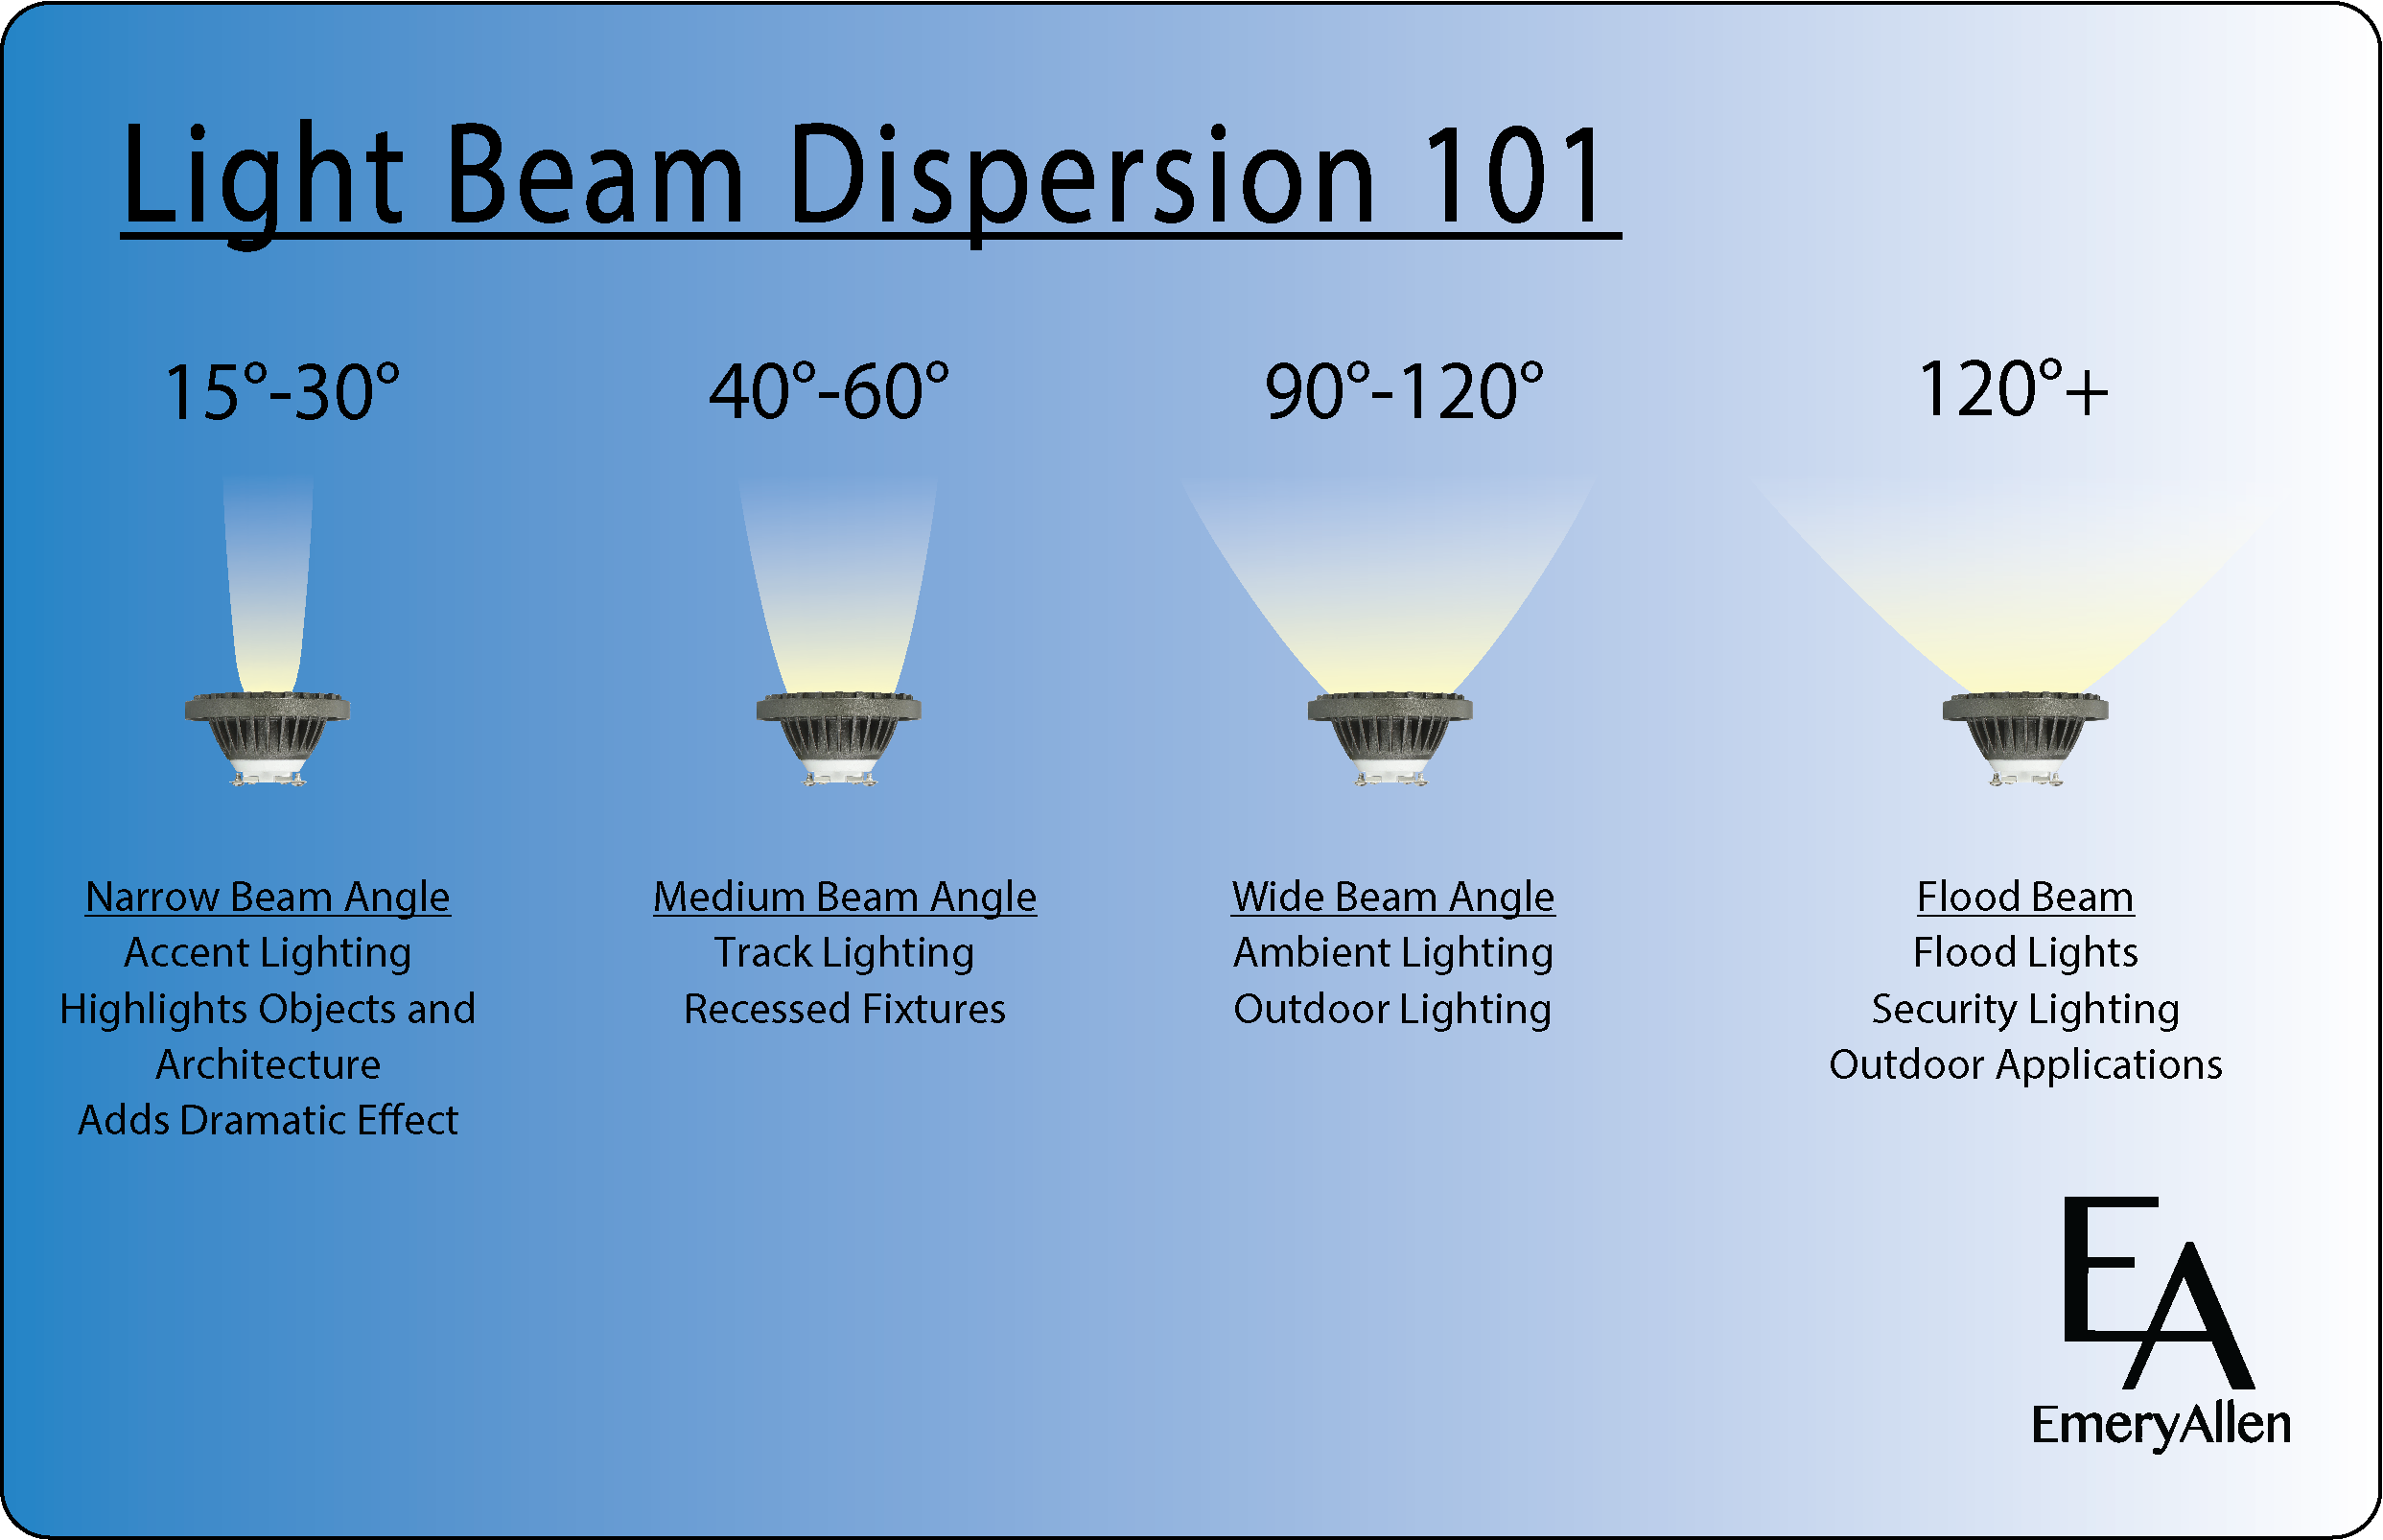
Beam angle and lumen output determine how well the light covers your target area:
- 60° beam: Focused coverage for pathways or entryways
- 100°+ beam: Wide-area lighting for driveways or backyards
For brightness, look at lumens, not watts:
- 1,600–2,000 lumens suits most residential needs
- 3,000+ lumens works for high-security zones
Choose color temperature based on preference. Warm white (3000K) feels residential-friendly, while daylight (5000K) offers maximum visibility but can feel harsh.
Pick the Right Control Features
Modern flood lights offer several control options:
- Motion sensor: Triggers on movement, ideal for security
- Photocell (dusk-to-dawn): Stays on all night automatically
- Smart controls: Wi-Fi enabled for remote access and scheduling
Note that non-dimmable LEDs will flicker or fail on dimmer switches. Only pair dimmable fixtures with compatible controls.
Mount the New Bracket and Prep the Wires
With the old fixture out of the way, it’s time to install the new mounting hardware.
Secure the Mounting Bracket
Attach the new bracket to the junction box using corrosion-resistant screws. For brick, stone, or concrete surfaces, use masonry anchors.
Make sure the bracket is level. This makes aiming the fixture much easier later.
Check Wire Length and Condition
Most LED fixtures come with pre-stripped leads. If your house wires are too short or damaged, cut back to clean insulation and strip about ½ inch of fresh conductor using wire strippers. Replace any frayed or corroded wires with new 14/2 or 12/2 outdoor-rated cable.
Connect the Wiring Safely
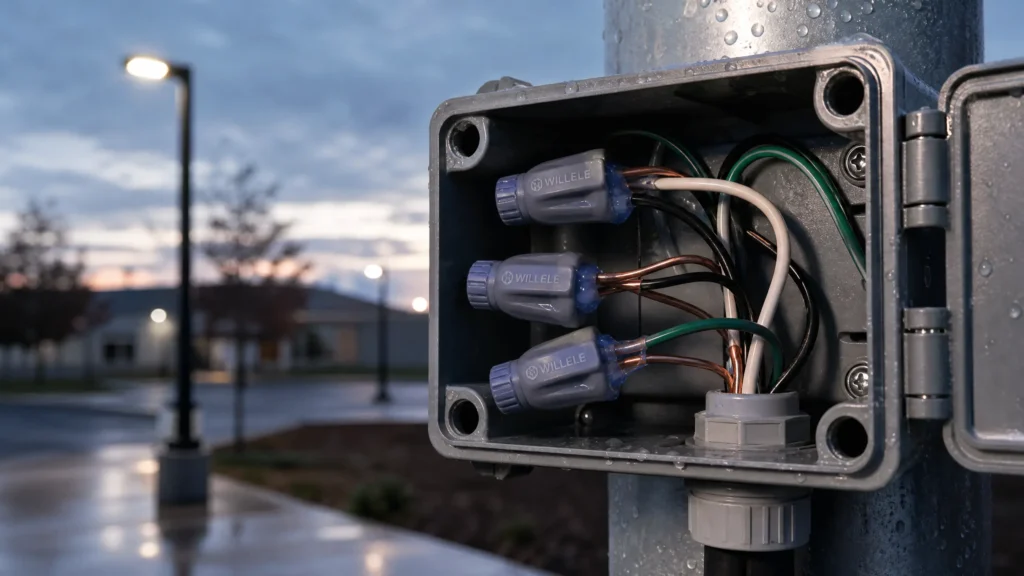
Correct wiring prevents shorts, ground faults, and potential fire hazards.
Match Wires by Color and Function
Connect the conductors following standard color codes:
- Black (hot) to black (hot)
- White (neutral) to white (neutral)
- Green or bare copper (ground) to the ground screw in the junction box
Always connect ground first and disconnect it last when working.
Use Outdoor-Rated Wire Connectors
Standard indoor wire nuts won’t cut it outside. Use connectors rated for wet locations. Dielectric-grease-filled connectors offer the best protection by sealing out moisture and preventing corrosion.
Twist connectors clockwise until snug, then gently tug each wire to confirm it won’t pull loose.
Add Extra Protection in Humid Climates
For coastal or high-humidity areas, wrap connections with electrical tape for an additional moisture barrier. Tuck all wires neatly into the junction box without pinching or straining them.
Seal the Fixture Against Moisture
Water intrusion is the top cause of outdoor light failure and breaker trips. Proper sealing is non-negotiable.
Apply Silicone Caulk Around the Base
Load a caulk gun with exterior-grade silicone sealant. Apply a continuous bead around the perimeter where the fixture base meets the wall or junction box. Also seal around screw holes to prevent rain from wicking in over time.
Avoid over-tightening screws. The goal is to compress the gasket, not crush it.
Confirm the Gasket Is Intact
Inspect the rubber or silicone gasket on the back of the fixture. If it’s cracked, brittle, or missing, replace it before mounting. A damaged gasket voids weatherproofing, even on fixtures labeled “wet location.”
Attach the Fixture and Restore Power
With wiring complete and seals applied, you’re ready to mount and test.
Fasten the Fixture to the Bracket
Align the fixture with the mounting bracket and secure it with the provided screws. Tighten firmly but don’t over-torque, since this can warp the housing and break the seal.
If you removed the lens for handling, snap or screw it back into place and confirm it seats fully.
Turn the Breaker Back On
Flip the circuit breaker back on at the main panel and check basic functionality:
- Does the light turn on?
- If motion-activated, walk in front of the sensor to trigger it.
- For dusk-to-dawn models, cover the sensor with your hand to simulate darkness.
If the light doesn’t respond, recheck the breaker and wall switch, test for voltage at the fixture, and verify all wire connections are tight and correctly matched.
Adjust Sensor Settings and Aim the Light

Fine-tuning ensures your new flood light performs exactly how you want it to.
Configure Motion Sensor Settings
If your fixture includes a motion sensor, adjust these key parameters:
- Sensitivity: Lower settings prevent false triggers from small animals or swaying branches
- Timer duration: 1–5 minutes is typical; longer for security, shorter for energy savings
- Dusk-to-dawn mode: Enable this if you want automatic nighttime operation
If the light stays on continuously, you may be in Test Mode. Check the manual for instructions on exiting it.
Aim for Optimal Coverage
Adjust the fixture head to point downward at a 30–45 degree angle. Avoid directing beams at reflective surfaces like glass or metal siding, shining into neighbors’ windows, or creating glare for drivers and pedestrians.
Make small adjustments while the light is on so you can verify coverage in real time.
Troubleshoot Common Post-Installation Problems
Even a careful installation can hit snags. Here’s how to address the most frequent issues.
Stop Flickering
Flickering usually points to loose wire connections, an overloaded circuit, or a faulty LED driver. Tighten all connectors and reduce the load on the circuit if other devices share it.
If you’re using non-dimmable LEDs on a dimmer switch, replace the switch or swap to a compatible fixture.
Address Nuisance Tripping
If the breaker trips immediately after restoration:
- Turn off power
- Check for exposed copper touching the junction box
- Ensure neutral and ground wires aren’t crossed
- Dry out any moisture inside the box
GFCI-protected circuits are required outdoors. Test the GFCI outlet or breaker every six months to confirm it’s working.
Minimize Light Spill
Use adjustable brackets, visors, or shields to direct light only where needed. Point beams away from streets and adjacent properties to respect neighbors and reduce light pollution.
Maintain Your Flood Light for Long-Term Performance
LED flood lights last 10–15 years, but only with basic care.
Clean the Fixture Regularly
Every 3–6 months, turn off power and wipe the lens and housing with a soft cloth and mild soap. Rinse with water and dry thoroughly.
Never use acetone, alcohol, ammonia-based cleaners, or abrasive pads. These damage polycarbonate lenses and degrade seals.
Inspect Annually
Once a year, check for cracks, corrosion, or loose screws. Reapply silicone caulk if gaps appear, and open the housing to inspect for oxidation. Replace any rusted connectors or mounting hardware immediately.
Test GFCI Protection
Press the Test button on the GFCI device. It should cut power instantly. Press Reset to restore it. If it doesn’t trip, the GFCI is faulty and needs replacement.
Frequently Asked Questions About Replacing Outdoor Flood Lights
Do I need an electrician to replace an outdoor flood light?
Not necessarily. Swapping an existing fixture using the current wiring and junction box is a manageable DIY project for anyone comfortable with basic electrical safety. However, running new wiring, upgrading panels, or modifying circuits requires a licensed electrician to meet National Electrical Code standards.
How long does it take to replace an outdoor flood light?
Most replacements take 2–4 hours, including power verification, removal, installation, sealing, and testing. Complex situations like damaged junction boxes or corroded wiring can extend the timeline.
What kind of flood light bulb is best for outdoor use?
LED bulbs are the top choice. They last 30,000–50,000 hours, use significantly less energy than halogen or incandescent options, and handle cold weather well. Look for fixtures or bulbs specifically rated for outdoor or wet locations.
Why does my outdoor flood light keep tripping the breaker?
Common causes include moisture intrusion, exposed copper touching the junction box, crossed neutral and ground wires, or an overloaded circuit. Turn off power, dry the area, inspect all connections, and confirm the circuit isn’t carrying more than 80% of its rated capacity.
Can I install a motion sensor on any flood light?
Not all fixtures support add-on sensors. Some have integrated sensors that can’t be bypassed, while others allow external sensors wired in line with the power feed. Before purchasing, verify load compatibility and wiring diagrams for both the fixture and sensor.
How do I stop my motion sensor light from triggering constantly?
Lower the sensitivity setting to reduce responses to small animals or moving branches. Reposition the sensor away from streets, reflective surfaces, and heat sources. Also confirm the fixture isn’t stuck in Test Mode, which keeps the light on continuously.
Key Takeaways for a Successful Flood Light Replacement
Replacing an outdoor flood light is a high-impact DIY project that boosts safety, security, and curb appeal without calling an electrician. The essentials come down to three priorities: cutting power and verifying it with a multimeter, using weatherproof connectors and silicone caulk to seal out moisture, and aiming the fixture to cover your target area without creating glare or light pollution.
Start by gathering the right tools and a wet-location-rated LED fixture that matches your existing voltage and circuit capacity. Follow the wiring color codes carefully, and don’t skip the sealing step; it’s what separates a five-year installation from a fifteen-year one.
Once your new light is mounted and tested, set a reminder to inspect seals and clean the lens every six months. That small habit keeps corrosion at bay and ensures your flood light delivers reliable illumination for years to come.