Replacing an LED flood light bulb on an RV can quickly turn frustrating, especially on Heartland models like the Ashland or Bighorn. Unlike household bulbs, many RV flood lights are sealed units with no twist or push mechanism. This guide walks you through real-world solutions based on owner experiences, so you can restore your lighting without damaging your rig or wasting money.
If you’re staring at a dead or flickering porch light and wondering how to even open the fixture, you’re not alone. From hidden pry points to factory-sealed covers, replacing an LED flood light bulb often means dealing with more than just a socket. The good news is that with the right approach, you can solve this problem in under an hour.
Identify Your LED Fixture Type
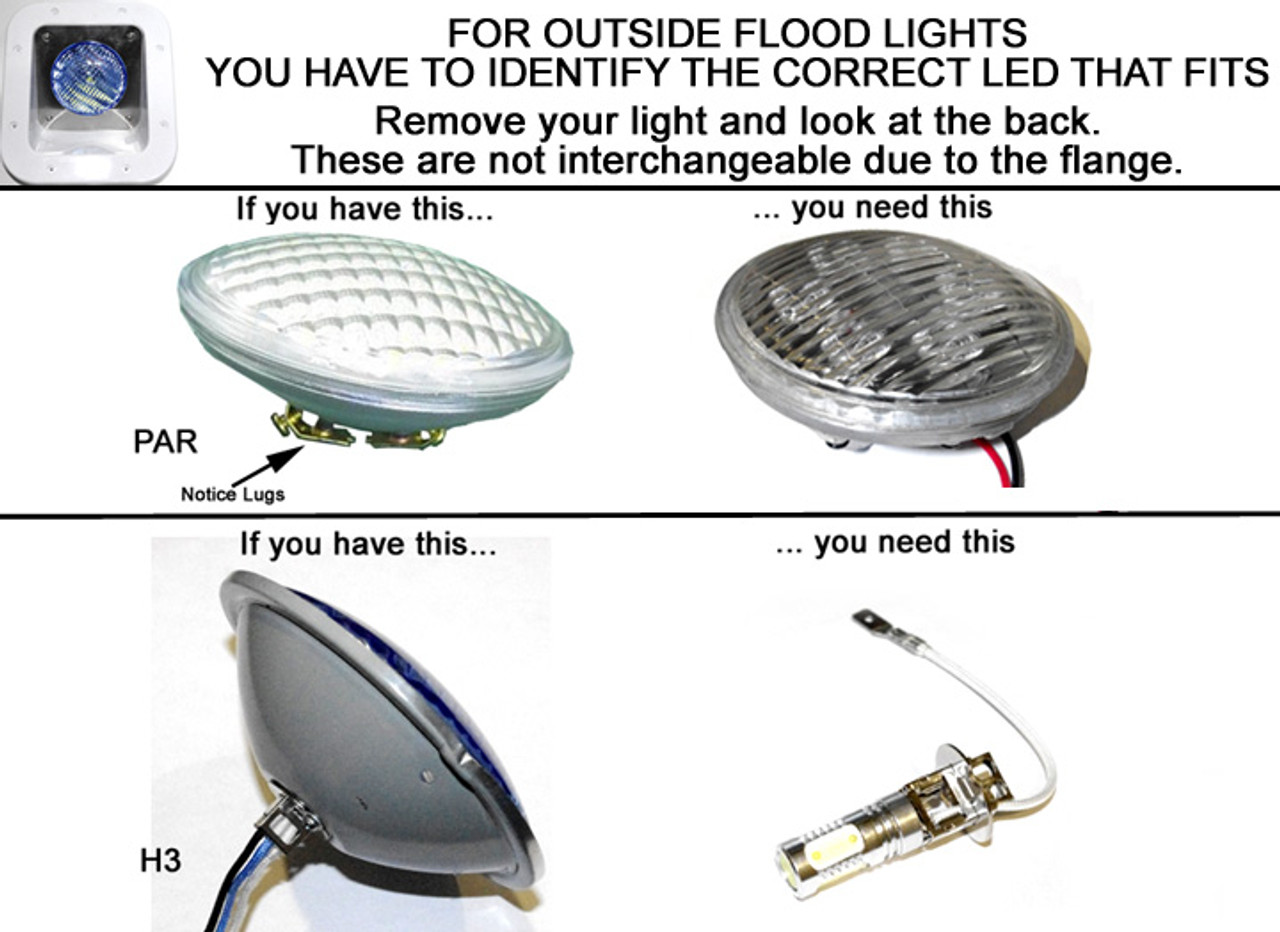
Before grabbing any tools, determine whether your RV light uses a replaceable bulb or a sealed LED module.
Sealed vs. Replaceable Designs
Most modern RVs use integrated LED bars rather than standard bulbs. These sealed units have wires feeding directly into the back of the module, with no visible twist mechanism or labeled bulb model. If your fixture matches this description, you cannot replace just the bulb. You must replace the entire unit or swap in a universal LED module.
Key signs of a sealed fixture include:
– No visible twist, push, or screw mechanism
– Wires entering directly into the light module
– No access panel from behind the wall
– No printed part number on the bulb itself
Remove the Outer Cover Without Cracking It
The first real challenge is popping off the black plastic cover without breaking it.
Locate the Bottom Pry Point
Most RV flood light covers have a small slot or gap at the bottom edge. This is the designed release point for removal.
Follow these steps:
1. Inspect the bottom of the cover for a slight opening
2. Slide a flathead screwdriver or plastic pry tool into the gap
3. Gently twist to pop the cover loose
4. Work upward along the edges, never forcing the top
Caution: Many units are sealed with caulk or adhesive across the top. One owner noted having to pry the cover free because of factory caulking. Expect some resistance and work slowly to avoid cracking the plastic housing.
Test the Power Before Replacing Anything
A flickering or dead light does not always mean the LED module has failed. Wiring and power delivery issues are common culprits.
Check Voltage at the Fixture
Grab a multimeter and test the wire leads while the light switch is on. If no power is present, trace the issue back to the fuse box or switch. If power flows correctly but the light stays dark, the module itself has likely failed.
Pro Tip: Several owners suspected power delivery problems rather than bad LEDs. Testing first prevents you from spending money on parts you do not need.
Choose Your Replacement Option
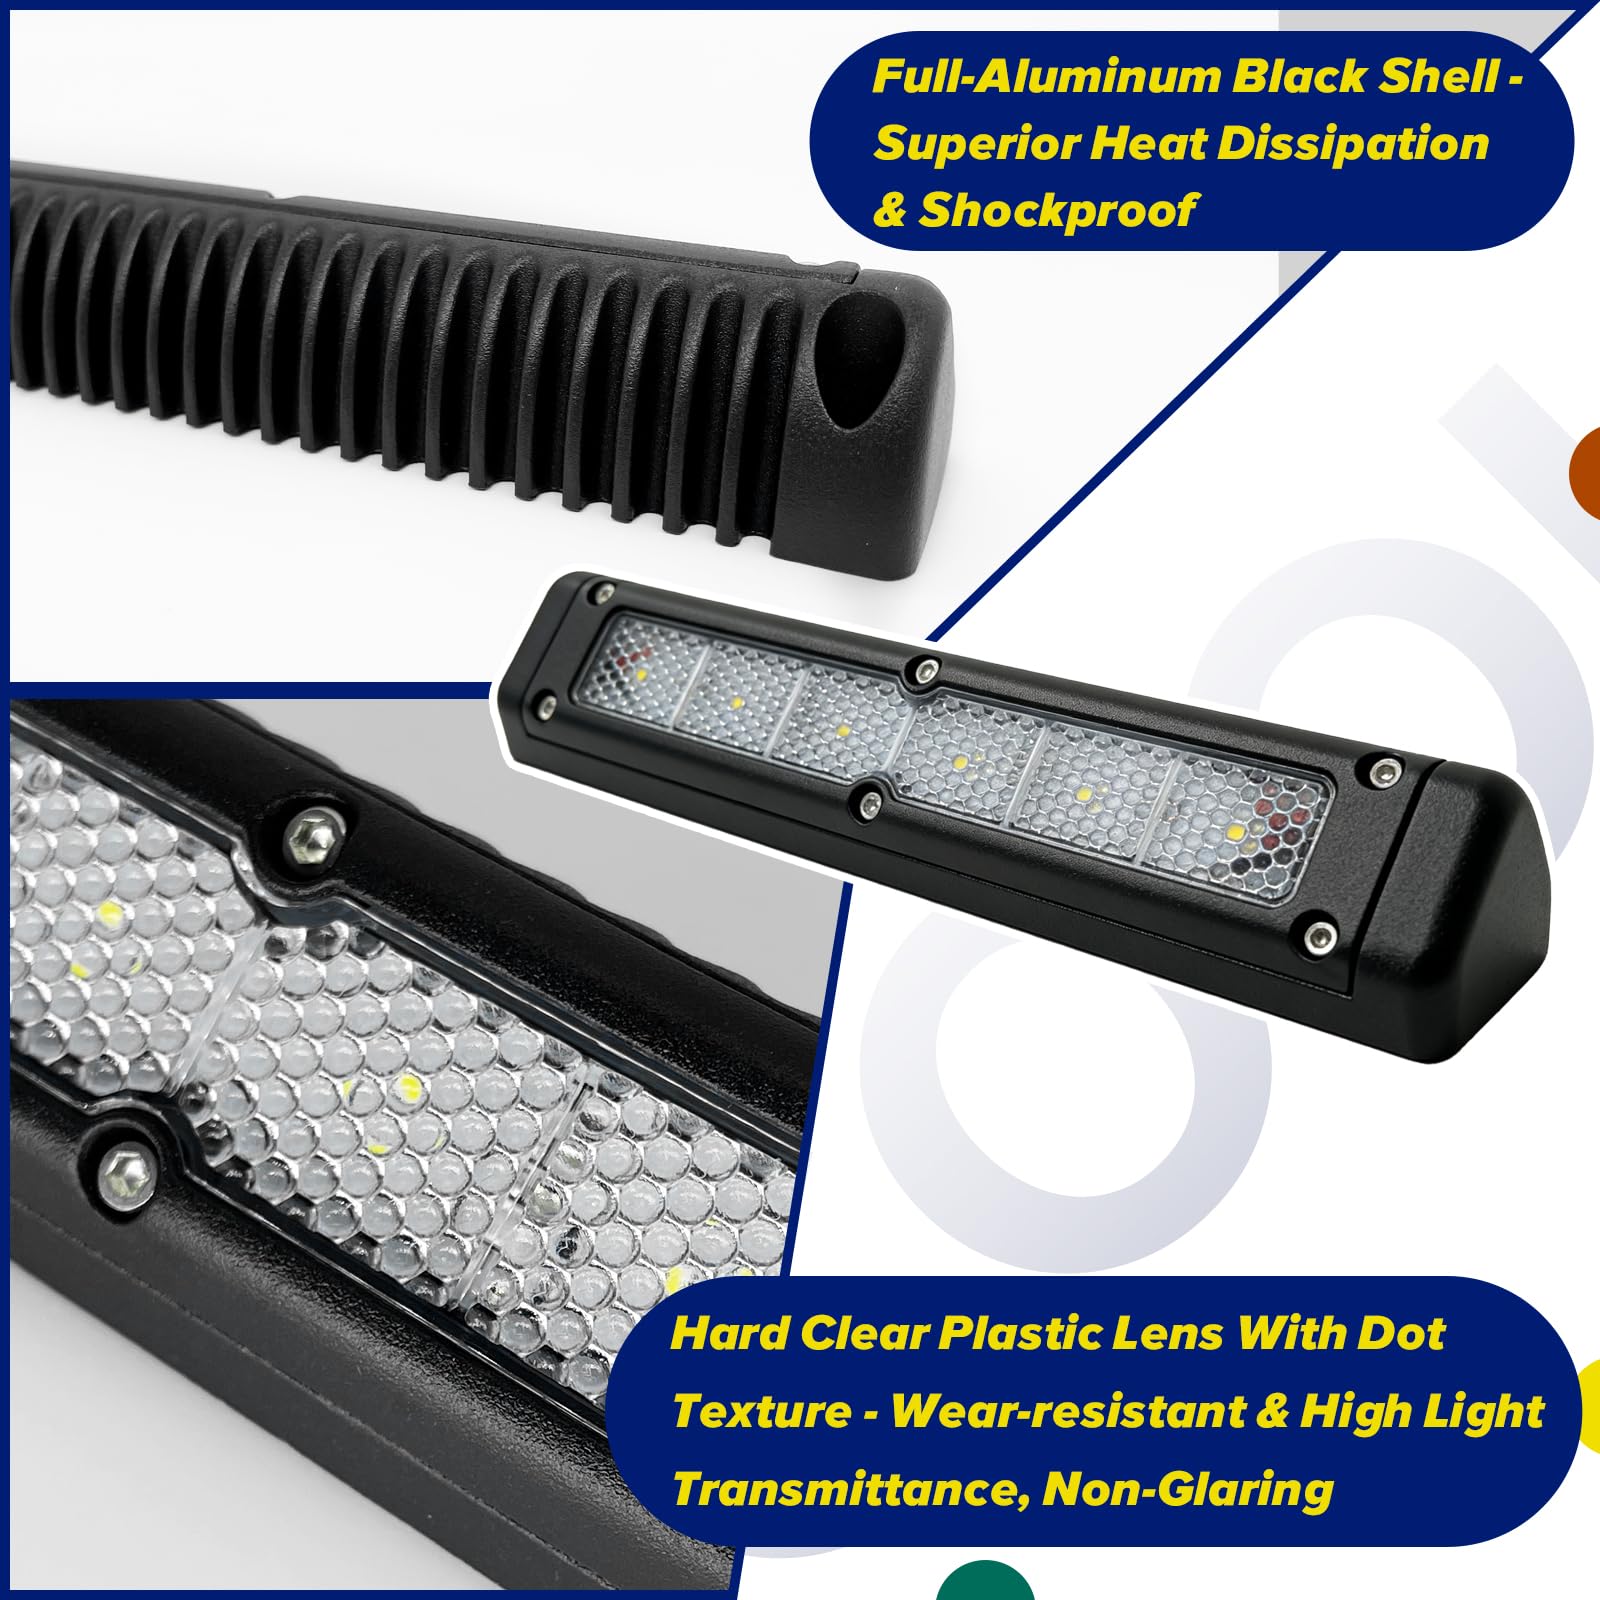
Since individual LED bulbs are not available for sealed units, you have three main paths forward.
Option 1: Order an OEM Replacement from Heartland
Heartland has supplied replacement fixtures for around $27, plus $24 to $30 in shipping. While authentic, this option comes with drawbacks. Wait times can stretch for weeks, and you receive the same flawed design with the same short lifespan.
To order:
1. Call Heartland Customer Service with your VIN ready
2. Confirm your model and fixture type
3. Request the exact part number for your light
Warranty coverage typically lasts one to two years depending on your model. After that, you pay out of pocket.
Option 2: Install a Universal LED Module
Instead of buying the original unit, many owners install a generic LED light bar that fits inside the existing housing. This preserves your RV’s original appearance while upgrading the internal components.
Installation steps:
1. Disconnect power at the source
2. Unplug or cut the wires to the old module
3. Match the voltage (usually 12V DC)
4. Mount the new module with adhesive or small screws
5. Reconnect wires using butt connectors or wire nuts
6. Snap the cover back into place
Recommended specs for a replacement module:
– 12V DC input
– IP65 or higher waterproof rating
– 300 to 500 lumens depending on size
– Flexible mounting options for tight spaces
Option 3: Upgrade to a Modern Fixture
Many owners skip repair entirely and replace the whole fixture with a feature-rich alternative from Amazon or an RV supply store.
Benefits of upgrading include:
– Motion-sensing activation
– Dusk-to-dawn automatic operation
– Higher brightness and wider beam spread
– Easier maintenance access
One owner replaced their Heartland fixture with a motion-activated light from Amazon and reported better performance at a lower cost than the OEM part.
Install a New Fixture Step by Step

Swapping the entire housing gives you full control over function and long-term reliability.
Installation Process
- Turn off power at the breaker or battery disconnect
- Remove all mounting screws and detach the old fixture
- Disconnect wiring using wire cutters or terminal removal tools
- Feed the new fixture into place and confirm the gasket seals properly
- Connect wires: black to black (hot), white to white (ground)
- Secure the fixture with screws
- Test the light before final tightening
Tools You Will Need:
– Phillips and flathead screwdrivers
– Wire cutters and strippers
– Multimeter
– Plastic pry tool or trim remover
– Butt connectors or wire nuts
Avoid Common Replacement Mistakes
Even experienced DIYers run into problems when working with RV LED fixtures.
Cutting Wires Too Short
Leaving insufficient wire length makes future repairs nearly impossible. Always leave at least 4 to 6 inches of slack, and use extension wires if needed.
Forcing the Cover Off
The plastic housing cracks easily under pressure. Use a plastic pry tool and work slowly from the bottom edge upward.
Assuming It Is Just a Bulb
Treating these fixtures like household LEDs leads to frustration. Confirm whether you have a sealed unit before attempting any disassembly.
Prevent Future LED Failures
Frequent LED problems often point to deeper electrical or environmental issues.
Monitor Voltage Stability
Overvoltage and power surges from your RV’s charging system can shorten LED lifespan. Consider installing a voltage protector and monitoring your charging output regularly.
Seal Against Moisture
Fogging and corrosion cause flickering and short circuits. After installation, apply silicone sealant around the mounting edges and avoid high-pressure washing near the fixture.
Frequently Asked Questions About Replacing RV LED Flood Lights
Can I replace just the bulb in my RV flood light?
In most cases, no. Many RV flood lights, especially on Heartland Ashland and Bighorn models, are sealed LED modules. The entire fixture or internal bar must be replaced rather than a single bulb.
How do I remove the cover on a Heartland LED flood light?
Look for a small opening at the bottom of the black plastic cover. Insert a flathead screwdriver or plastic pry tool and gently twist to pop it loose. Be aware that factory caulk may create resistance along the top edge.
How much does a replacement fixture cost from Heartland?
Heartland typically charges around $27 for the fixture, plus $24 to $30 in shipping. This does not include tax, and warranty coverage usually expires after one to two years.
What are the best replacement fixtures for RV porch lights?
Motion-activated LED lights with dusk-to-dawn sensors offer the best combination of convenience and value. Brands like MaxxHaul, Heng’s, and Beawinner provide 12V DC compatible options that fit standard RV cutouts.
Why do my RV LED lights keep flickering?
Flickering usually results from moisture intrusion, voltage fluctuations, or corroded connections. Test the power at the fixture with a multimeter before replacing the module.
Can I install a universal LED bar inside my existing fixture?
Yes. A 12V DC LED bar with an IP65 waterproof rating fits inside most RV housings. This approach preserves your original paint scheme while upgrading the internal lighting components.
Key Takeaways for Replacing Your RV LED Flood Light
Replacing an LED flood light bulb on an RV like the Ashland is rarely as simple as swapping a household bulb. The sealed design frustrates owners with no user-serviceable parts, expensive OEM replacements, and short lifespans. However, you have better options available.
Start by carefully prying the cover from the bottom edge. Test the power before assuming the module is dead. Then choose between an OEM replacement, a universal LED bar swap, or a full fixture upgrade with motion-sensing features.
Your best long-term solution is upgrading to a modern fixture with better access, improved durability, and smart features. One owner captured the sentiment perfectly when they noted that alternatives from Amazon offered more features for less money than the original manufacturer.
Before starting your project, measure your existing cutout and search for “RV porch light with motion sensor” to find compatible upgrades. Save any helpful product links shared by other RV owners. A smart upgrade today saves you from repeating this same repair in two years.