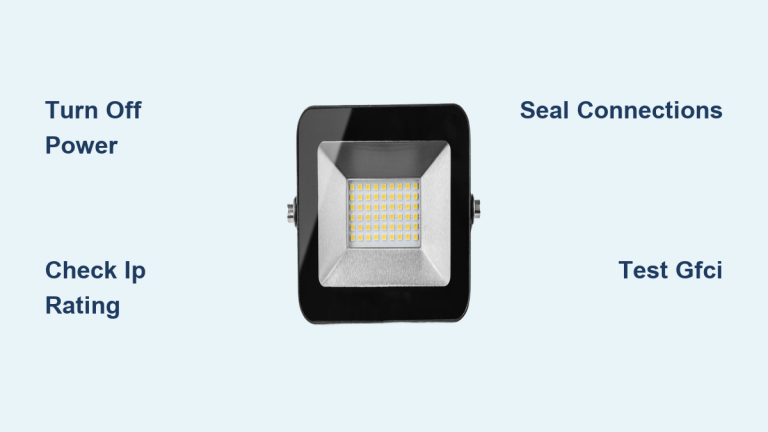
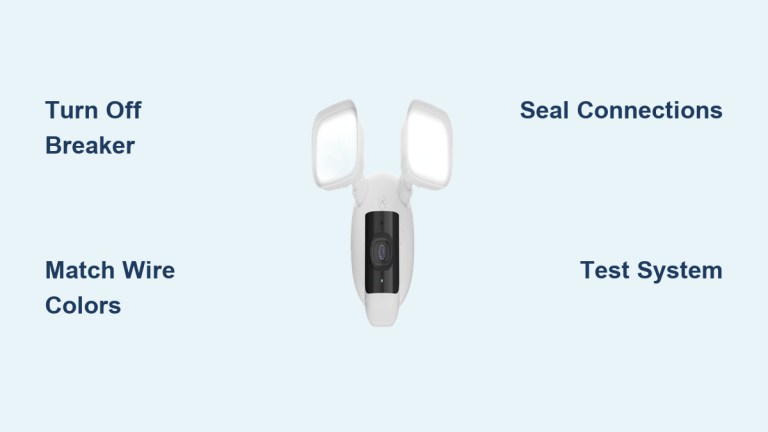
Replacing a flood light might seem like a quick swap, but doing it wrong can lead to electrical hazards, water damage, or a fixture that fails within months. Whether your old unit has burned out, flickers constantly, or you’re upgrading to a motion-sensor LED, knowing how to replace flood light the right way protects your home and your investment. Modern LED flood lights use 30–40% less energy than older models while delivering the same brightness, making replacement a smart upgrade for security and savings.
This guide breaks down the entire process into clear, actionable steps. You’ll learn how to safely cut power, remove the old fixture, wire the new one, seal it against moisture, and configure the motion sensor for optimal performance. Most homeowners can finish the job in under an hour using basic tools.
Power Off and Verify Safety
Confirm Circuit Is Dead
Before touching any wires, locate the breaker controlling your flood light. Look for labels like “outdoor,” “garage,” or “exterior” in your main panel and flip it to OFF. If a wall switch controls the light, turn it off too, but never rely on the switch alone.
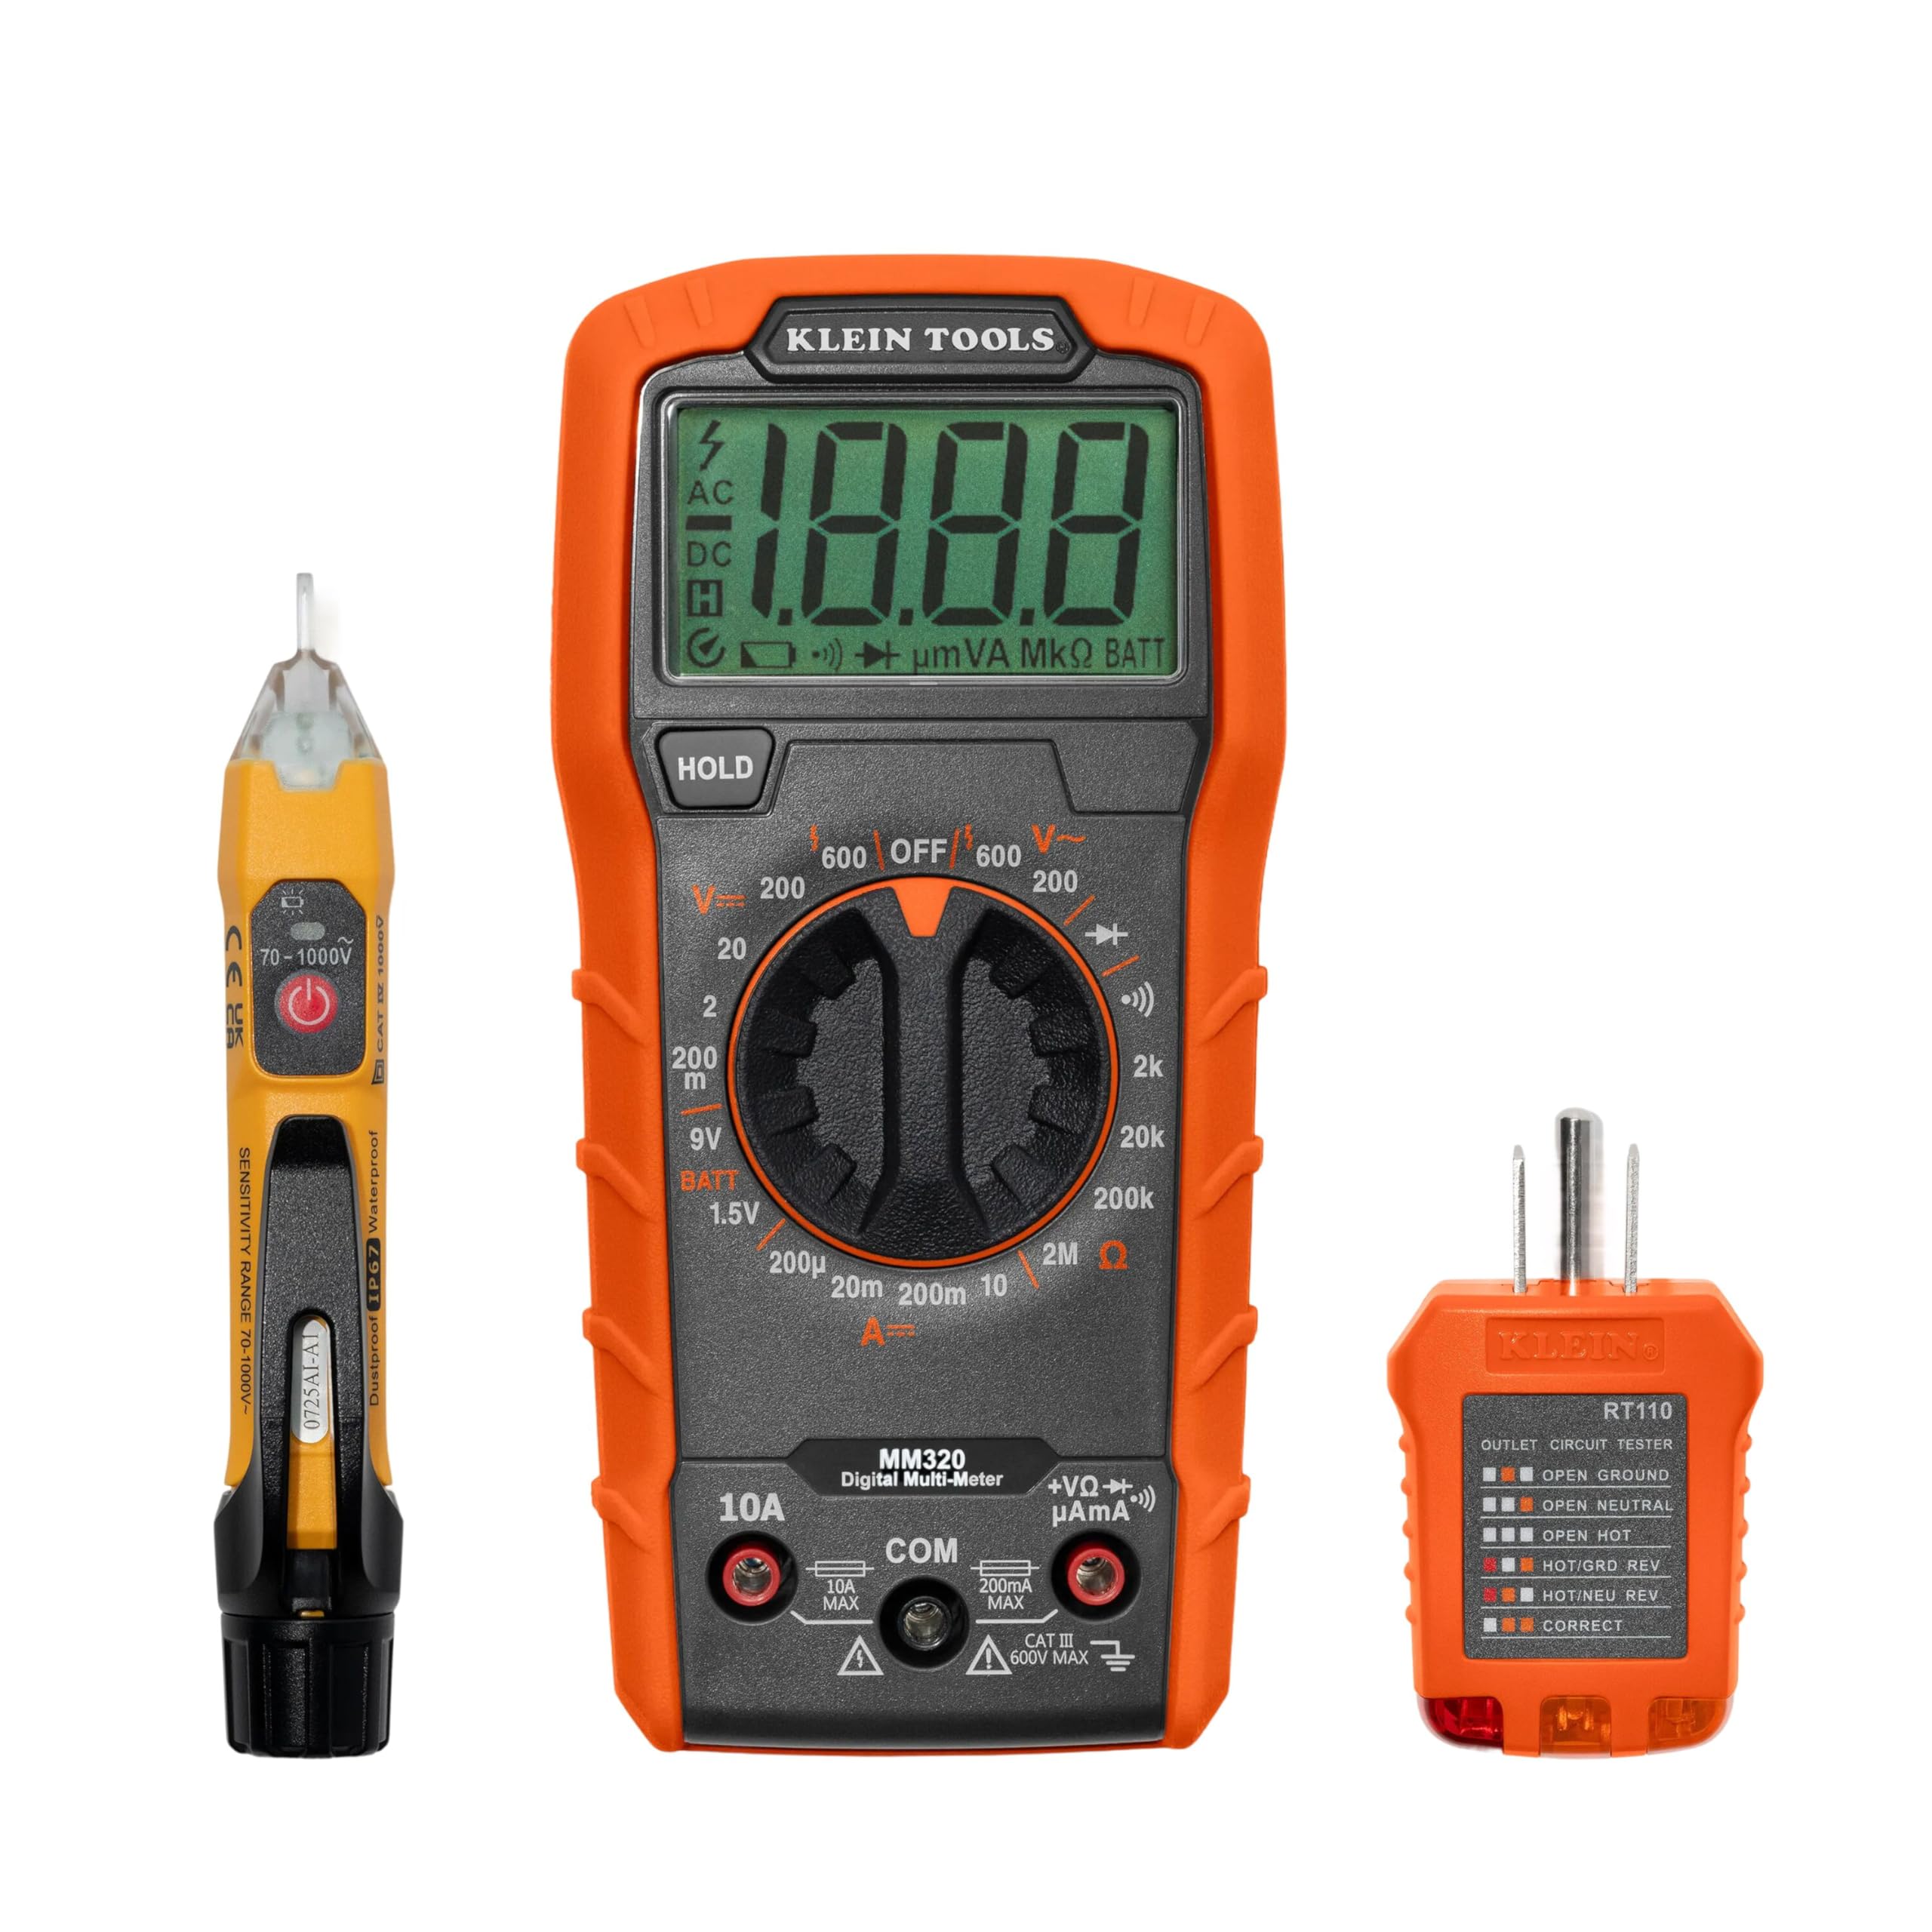
Use a non-contact voltage tester near the fixture for an initial check. Keep in mind this tool can give false positives from electromagnetic fields in nearby live wires. For absolute certainty, switch to a multimeter set to AC voltage. Test between the hot (black) and neutral (white) wires, then between hot and ground. A reading of 0V confirms the circuit is safe. Any voltage means the wrong breaker is off or the circuit is shared with other devices.
If you can’t isolate the circuit, test all breakers or shut off the main breaker as a last resort. This cuts power to your entire home, so plan accordingly.
Ladder Safety and PPE
Falls cause more injuries than electrical shocks during this job. Set your ladder on level ground and maintain three points of contact at all times (two hands and one foot, or two feet and one hand). Wear insulated gloves to protect against sharp metal edges and accidental contact with live components.
Remove Old Flood Light Fixture
Unscrew and Disconnect
With power confirmed off, climb the ladder and remove the mounting screws or nuts holding the fixture to the wall or bracket. Gently pull the fixture away to expose the junction box and wiring behind it.
Disconnect the wires by twisting off the wire nuts or loosening terminal screws. You’ll typically find three connections:
– Black (hot) to black
– White (neutral) to white
– Green or bare copper (ground) to a grounding screw
Take a photo of the wiring before disconnecting if you’re unsure. This reference helps during reinstallation.
Inspect Mounting Hardware
Check the mounting bracket for rust, warping, or corrosion. If it’s damaged or uses a proprietary design that doesn’t match your new fixture, replace it. Forcing a fit misaligns the motion sensor and stresses the housing.
Also examine the junction box. Look for moisture, cracked insulation, or oxidized wire nuts. If the box is compromised, repair or replace it before installing the new fixture.
Prepare New Flood Light
Match Fixture to Wiring
Ensure your new flood light is rated for outdoor use with at least an IP65 rating for dust and water protection. When upgrading to LED, don’t assume wattage compatibility. Focus on lumens instead of watts since modern LEDs produce more light using less power.
Consider the beam angle for your needs:
– A 120° spread covers wide areas like driveways
– A 60° beam works better for focused lighting like entryways
Trim and Strip Wires
If house wires are brittle or too short, cut and strip about ½ inch of insulation using wire strippers. Match the new fixture’s leads to the house wiring (black to black, white to white, ground to ground). Use fresh wire nuts sized correctly for 14- or 12-gauge wire. Never stretch wires or make loose connections.
Wire and Connect the New Fixture
Make Secure Electrical Connections
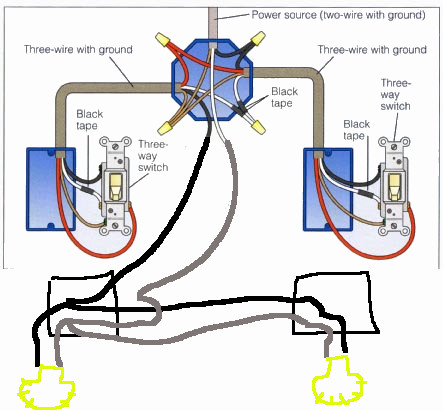
Start with the ground wire. Attach the house ground (bare copper or green) to the fixture’s grounding screw. Poor grounding causes flickering and premature LED failure, so this step matters.
Next, connect the remaining wires:
– Black (hot): Twist together with the fixture’s black wire and secure with a wire nut
– White (neutral): Join with the fixture’s white wire using another wire nut
Twist each connection clockwise until tight. For extra security, wrap the base of each wire nut with electrical tape to prevent loosening from vibration.
Tuck Wires into Junction Box
Carefully push all connected wires into the junction box. Avoid pinching or crimping the insulation, which can create shorts. Make sure no bare copper is exposed outside the wire nuts.
Mount and Seal the Fixture
Secure to Wall or Bracket
Align the new fixture with the mounting bracket or base plate. Insert and tighten the provided screws, but don’t over-tighten. Excessive force can crack the housing or distort the seal.
For motion-sensor models, ensure the sensor faces the area you want to monitor, such as a driveway or front walkway.
Apply Waterproof Seal
Water intrusion is the leading cause of outdoor fixture failure. Apply a continuous bead of silicone caulk around the edge of the mounting plate where it meets the wall.
Use clear exterior-grade silicone, not construction adhesive. A thin, even layer prevents moisture from seeping into the junction box without trapping heat. Allow the caulk to cure per manufacturer instructions, usually 24 hours.
Restore Power and Test
Turn On Breaker
Return to the electrical panel and flip the breaker back to ON. Wait a few seconds, then test the fixture.
Trigger Motion Sensor
Walk into the detection zone. The light should turn on immediately. Test different angles and distances to confirm full coverage.
Check the delay timer: after you stop moving, the light should stay on for the preset duration (typically 30 seconds to 10 minutes) before shutting off.
If the light doesn’t activate, turn power off immediately and recheck all wire connections. Also ensure the ambient light sensor isn’t blocked or exposed to artificial light that prevents nighttime activation.
Adjust Settings and Aim Properly

Fine-Tune Motion Detection
Most flood lights have adjustable dials on the side or bottom:
– Sensitivity: Lower it to avoid false triggers from pets or passing cars
– Duration: Set how long the light stays on after motion stops
– Lux Level / Dusk-to-Dawn: Ensure the light only activates in darkness
Aim for Maximum Coverage
Adjust the fixture head to illuminate key areas:
– Point downward at a 45–60° angle for walkways
– Aim across driveways to detect approaching movement
– Avoid shining directly into neighbors’ windows or onto roads to prevent glare complaints
Use the adjustable yoke or swivel mount to fine-tune positioning.
Troubleshoot Common Issues

Light Flickers After Installation
Flickering usually points to:
– Loose ground connection: Recheck and tighten the ground wire
– Moisture in junction box: Open and dry out, then reseal with silicone
– Incompatible switch: If controlled by a dimmer, replace it with a standard switch since most LED flood lights aren’t dimmable
No Power Despite Correct Wiring
Double-check these items:
– Breaker is on and not tripped
– Multimeter confirms voltage at the junction box
– Wire connections are secure and not reversed (black to white)
If power still doesn’t flow, the issue may be upstream, such as a faulty photocell, timer, or smart hub overriding the circuit.
False Triggers or No Detection
- Clean the sensor lens with a soft cloth to remove dirt or spider webs
- Reposition the fixture to avoid heat sources like vents or exhausts
- Reduce sensitivity if small animals set it off
Prevent Future Failures
Maintain Waterproof Seal
Inspect the silicone caulk annually. Reapply if it’s cracked, peeling, or missing, especially in coastal or humid climates.
Clean Lens and Sensor
Every 6–12 months, wipe the glass lens and motion sensor window with mild soap and water. Buildup reduces brightness and detection range.
Check for Corrosion
Examine mounting screws, brackets, and wire connections for rust. Replace corroded parts promptly to avoid structural failure or electrical faults.
Avoid Over-Tightening
Tighten screws just enough to hold the fixture securely. Over-tightening warps the housing, breaks seals, and traps heat, leading to early driver failure.
Frequently Asked Questions About Replacing Flood Lights
How do I know if my flood light fixture needs replacement instead of repair?
Replace the fixture if you notice uneven brightness loss, visible driver failure, or internal moisture condensation. Opening a sealed outdoor fixture almost always compromises its weatherproof rating, so repairs rarely last. Upgrading to modern LED also delivers 30–40% energy savings.
Can I install a flood light where no fixture existed before?
Yes, but new installations are more complex. You’ll need to run outdoor-rated cable (such as UF-B) from your main panel or an existing outlet to the new location, following local burial depth codes. Install a weatherproof junction box and verify the circuit can handle the additional load without exceeding 80% capacity.
What does an IP65 rating mean for outdoor flood lights?
An IP65 rating means the fixture is completely protected against dust ingress and can withstand water jets from any direction. This rating is the minimum recommended for outdoor use to ensure reliable performance in rain, snow, and humid conditions.
Why does my new LED flood light flicker after installation?
Flickering typically results from a loose ground connection, moisture inside the junction box, or an incompatible dimmer switch. Turn off power, tighten all connections, dry out any moisture, and replace dimmers with standard on/off switches since most LED flood lights aren’t dimmable.
How high should I mount a flood light?
Mount flood lights at least nine feet off the ground to maximize illumination coverage and deter tampering. This height provides a wide detection range for motion sensors while keeping the fixture out of easy reach.
Do I need a permit to replace a flood light?
Permit requirements vary by location. Simple one-for-one replacements often don’t require permits, but new installations or circuit additions might. Check with your local permit office before starting work, especially if you’re running new cable or modifying the electrical panel.
Key Takeaways for a Successful Flood Light Replacement

Replacing a flood light correctly comes down to three critical factors: safety, weatherproofing, and proper configuration. Always verify power is off using a multimeter, not just a non-contact tester, since electromagnetic interference can cause false readings. Use outdoor-rated components with at least an IP65 rating, and seal every mounting point with silicone caulk to block moisture intrusion.
When wiring, prioritize solid ground connections and correctly sized wire nuts. Loose grounds are the silent killer of LED electronics, causing flickering and premature failure. After installation, take time to adjust the motion sensor’s sensitivity, duration, and aim so the light covers your target area without triggering false alarms.
If you’re adding a new fixture where none existed, run UF-B rated cable and follow local burial codes. For complex setups or uncertainty about your home’s wiring, consult a licensed electrician. The investment pays off in a fixture that delivers reliable, energy-efficient security for years without callbacks or hazards.