Removing security bars from windows can be a challenging but necessary task. Whether you’re renovating, improving emergency egress, or updating your home’s appearance, the tamper-proof fasteners holding those bars in place can feel impossible to budge. If you’re staring at smooth metal lumps where screw heads should be or bolts with mysterious center pins, you’re not dealing with ordinary hardware. The good news is that with the right tools and techniques, learning how to remove security bars from windows is entirely possible. This guide walks you through identifying fastener types, selecting the correct tools, applying proven removal methods, and restoring the window area safely.
Identify the Fastener Type First
Before touching any tool, determine how the bars are secured. The removal method depends entirely on the fastener design, and guessing wrong wastes time and damages your walls.
Shear Screws and Blind Rivets
These appear as smooth, rounded metal nubs with no slot or head. They’re designed to break off during installation, leaving nothing for tools to grip. Common in wood-frame installations, they must be cut or drilled out rather than unscrewed.
Six-Sided Bolts with Center Pins
These security bolts have a hex shape but feature a protruding pin in the center. The pin blocks standard wrenches and sockets from seating properly. You’ll need to disable the pin before removing the bolt.
Masonry Drive Anchors
Used in brick or concrete walls, these anchors are driven into pre-drilled holes and expand internally. The bar flange is often welded to the pin, making removal destructive. These are common in older, heavy-duty installations.
Gather the Right Tools and Safety Gear
Using the wrong tools leads to frustration and damage. Security bars require power tools because manual methods rarely succeed against hardened security hardware.
Must-Have Power Tools
- Angle Grinder with Cutting and Flap Discs: The top choice for cutting through bolt heads and grinding fasteners flush
- High-Torque Drill (Corded or Cordless): Essential for drilling out rivets using cobalt or HSS bits
- Oscillating Multi-Tool: Ideal for tight spaces where grinders can’t fit
- Dremel or Rotary Tool: Useful for precise slot cutting in stubborn fasteners
Essential Manual Tools
- Center Punch and Hammer: Prevents drill bit wandering and snaps off security pins
- Easy-Out (Screw Extractor): Removes broken bolts after drilling a pilot hole
- Vise Grips: Grips stubborn stubs once cut or loosened
- Hacksaw: Backup for cutting in confined areas
Safety Equipment and Prep
- Eye Protection (ANSI-rated): Sparks and metal shards are dangerous
- Heavy Gloves and Long Sleeves: Protect against burns and cuts
- Face Shield (Recommended): Extra protection when grinding
- Glass Shielding: Cover the window with a wet cloth, metal sheet, or fire-resistant blanket to prevent heat cracks
Remove Shear Screws and Headless Fasteners
When there’s no head to turn, destruction is the only option. Here’s how to remove security bars from windows secured with these tricky fasteners.
Cut Off with an Angle Grinder
- Shield the glass completely before starting.
- Use a thin cutting disc to slice through the fastener head as close to the frame as possible.
- Switch to a grinding disc to smooth the stub flush.
- Pull the bar away. If the pin remains, drill it out later or leave it if it doesn’t interfere.
Pro Tip: For aluminum or zinc-coated fasteners, use a flap disc because standard wheels clog quickly and become ineffective.
Drill Out the Fastener (Alternative)
- Punch a center mark on the fastener.
- Start with a 1/16″ pilot bit to guide the larger one.
- Drill with a 9/32″ or 5/16″ bit matched to the fastener diameter.
- Continue until the head separates from the shaft.
Warning: Don’t force the drill. Use cutting fluid to reduce heat and extend bit life.
Avoid the Slot-Cutting Trap
Cutting a screwdriver slot into a shear screw often fails because the metal is either too soft (strips easily) or too hard (resists turning). If the slot method isn’t working after 30 seconds, switch to grinding.
Remove Six-Sided Security Bolts

These bolts look removable, but the center pin prevents tool access. You must clear the pin first.
Disable the Center Pin
- Place a center punch directly on the pin.
- Strike sharply with a hammer. The pin should snap off or sink flush.
- Once clear, fit a hex key or socket onto the six-sided head.
- Turn counter-clockwise to remove.
Expert Note: If the bolt is rusted, apply penetrating oil and let it sit for 10–15 minutes before attempting removal.
Use Vise Grips as Backup
If the hex head is damaged, use vise grips on the bolt shank. For extra grip, lightly flatten two sides of the shank with a hammer before clamping.
Remove Masonry Anchors from Brick or Block
These anchors are embedded in concrete and cannot be unscrewed. Choose your method based on whether wall appearance matters.
Drill Out the Rivet Head (Clean Method)
Best for preserving wall appearance.
- Punch the center of the rivet head.
- Start drilling with a 1/16″ bit to create a guide hole.
- Progressively increase bit size (3/32″, 1/8″, up to 5/16″).
- Apply cutting fluid to cool the bit and prevent brick staining.
- Stop when the flange pops off. Drill out the remaining pin if needed.
Key Tip: Use cobalt bits for hardened steel anchors because they resist heat and last longer.
Grind the Flange (Fast Method)
When speed matters more than aesthetics.
- Use an angle grinder with a cutoff wheel or flap disc.
- Cut through the flange and rivet head flush with the wall.
- Stop immediately after cutting. Don’t grind into the block.
Material Warning: For zinc or aluminum anchors, use a flap disc. Standard wheels load up and stop cutting.
Break Masonry (Last Resort)
Only if no power tools are available.
- Use a hammer and chisel to crack the brick or mortar around the anchor.
- Extract the pin with pliers or a pry bar.
- Expect to repair the wall with mortar or concrete patch afterward.
Restore the Window Frame After Removal
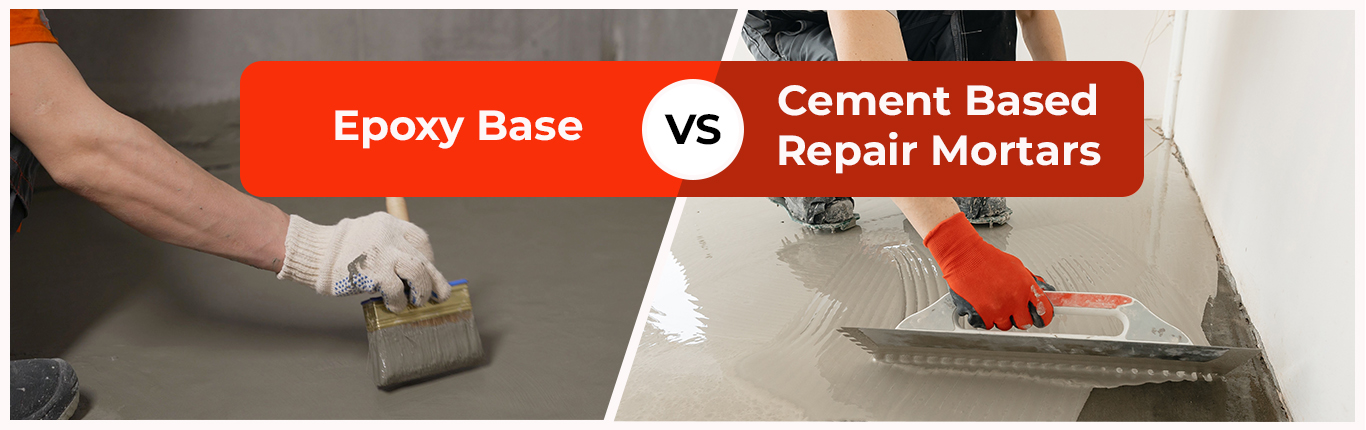
A clean finish prevents water damage and improves curb appeal once the bars come down.
Clean and Inspect the Area
- Remove all metal fragments and dust
- Check for remaining fastener stubs and grind or drill them flush
- Inspect for rot in wood frames or crumbling mortar in masonry
Patch Wood Window Frames
- Fill holes with wood filler or two-part epoxy.
- Sand smooth once dry.
- Prime and paint to match the trim.
Pro Tip: For large holes, insert a wooden dowel with wood glue before filling.
Repair Masonry Walls
- Brush out the hole and dampen it slightly.
- Fill with concrete patching compound or mortar mix.
- Press firmly to eliminate air pockets.
- Texture the surface to match using a trowel for smooth walls or a brush for stippled block.
- Let cure, then paint to blend.
Follow Critical Safety and Legal Rules
Ignoring safety or codes can lead to injury or legal issues during your security bar removal project.
Prevent Common Hazards
- Flying Debris: Always wear eye protection
- Sparks Near Glass: Shield the window because sparks can cause thermal shock and cracking
- Tool Kickback: Hold the grinder with both hands and stand to the side, not directly behind it
- Flammable Materials: Keep curtains, dry leaves, and paper away from the work zone
Check Egress and Building Codes
- Bedroom Windows: Most building codes require operable windows for emergency escape
- Quick-Release Bars: Some security bars have internal levers. Test before cutting, because removing them via the release preserves functionality
- Compliance: Removing bars from egress windows may be required by law, while removing them from non-egress windows is usually optional
Warning: Never remove bars from a rental property without landlord approval.
Troubleshoot Common Removal Problems
Soft Metal Strips During Slot Cutting
If the fastener deforms when you try to cut a slot, stop. The metal is too soft. Switch to grinding or drilling and don’t waste time on manual methods.
Drill Bit Slips Off the Fastener
Use a center punch to create a deep starting point. Begin with a 1/16″ pilot bit before moving to larger sizes.
Grinding Wheel Stops Cutting
If working with zinc or aluminum, the wheel is likely loaded. Use a flap disc instead. Clean the wheel frequently or switch to a fresh one.
No Power for Tools
In power-outage scenarios:
– Use a hacksaw to cut through flanges or create slots
– Use a hammer and chisel for masonry anchors, expecting slow progress
Planning to Reinstall Bars Later
Preserve the anchor system if possible:
– Drill only the head, not the entire shaft
– Leave threaded inserts in place
– Mark hole locations before removal for reinstallation accuracy
Frequently Asked Questions About Removing Security Bars
Can I remove security bars without an angle grinder?
Yes, but it takes longer. Use a hacksaw to cut slots in fasteners, a hammer and chisel for masonry anchors, and vise grips for bolt shanks. Power tools simply make the job faster and cleaner.
Will removing security bars damage my window or wall?
Some damage is likely, especially with masonry anchors. Drilling causes less visible damage than grinding. Plan to patch holes with wood filler, epoxy, or concrete patching compound afterward.
Are security bars required by building codes?
No. Building codes typically require operable egress windows in bedrooms, but they don’t mandate security bars. In fact, some codes require that security bars have quick-release mechanisms for emergencies.
How do I know what type of fastener I’m dealing with?
Look closely at the fastener head. Smooth metal lumps indicate shear screws or rivets. Six-sided shapes with center pins are security bolts. Anchors embedded in brick or concrete with no visible threading are masonry anchors.
Can I reuse the same holes if I reinstall bars later?
Sometimes. If you drill out only the rivet head and leave the threaded insert intact, you may be able to reuse it. Otherwise, plan to drill new holes nearby and fill the old ones.
Is it legal to remove security bars from a rental property?
Only with written landlord permission. Unauthorized modifications to a rental can result in lease violations or loss of your security deposit.
Key Takeaways for Successfully Removing Window Security Bars
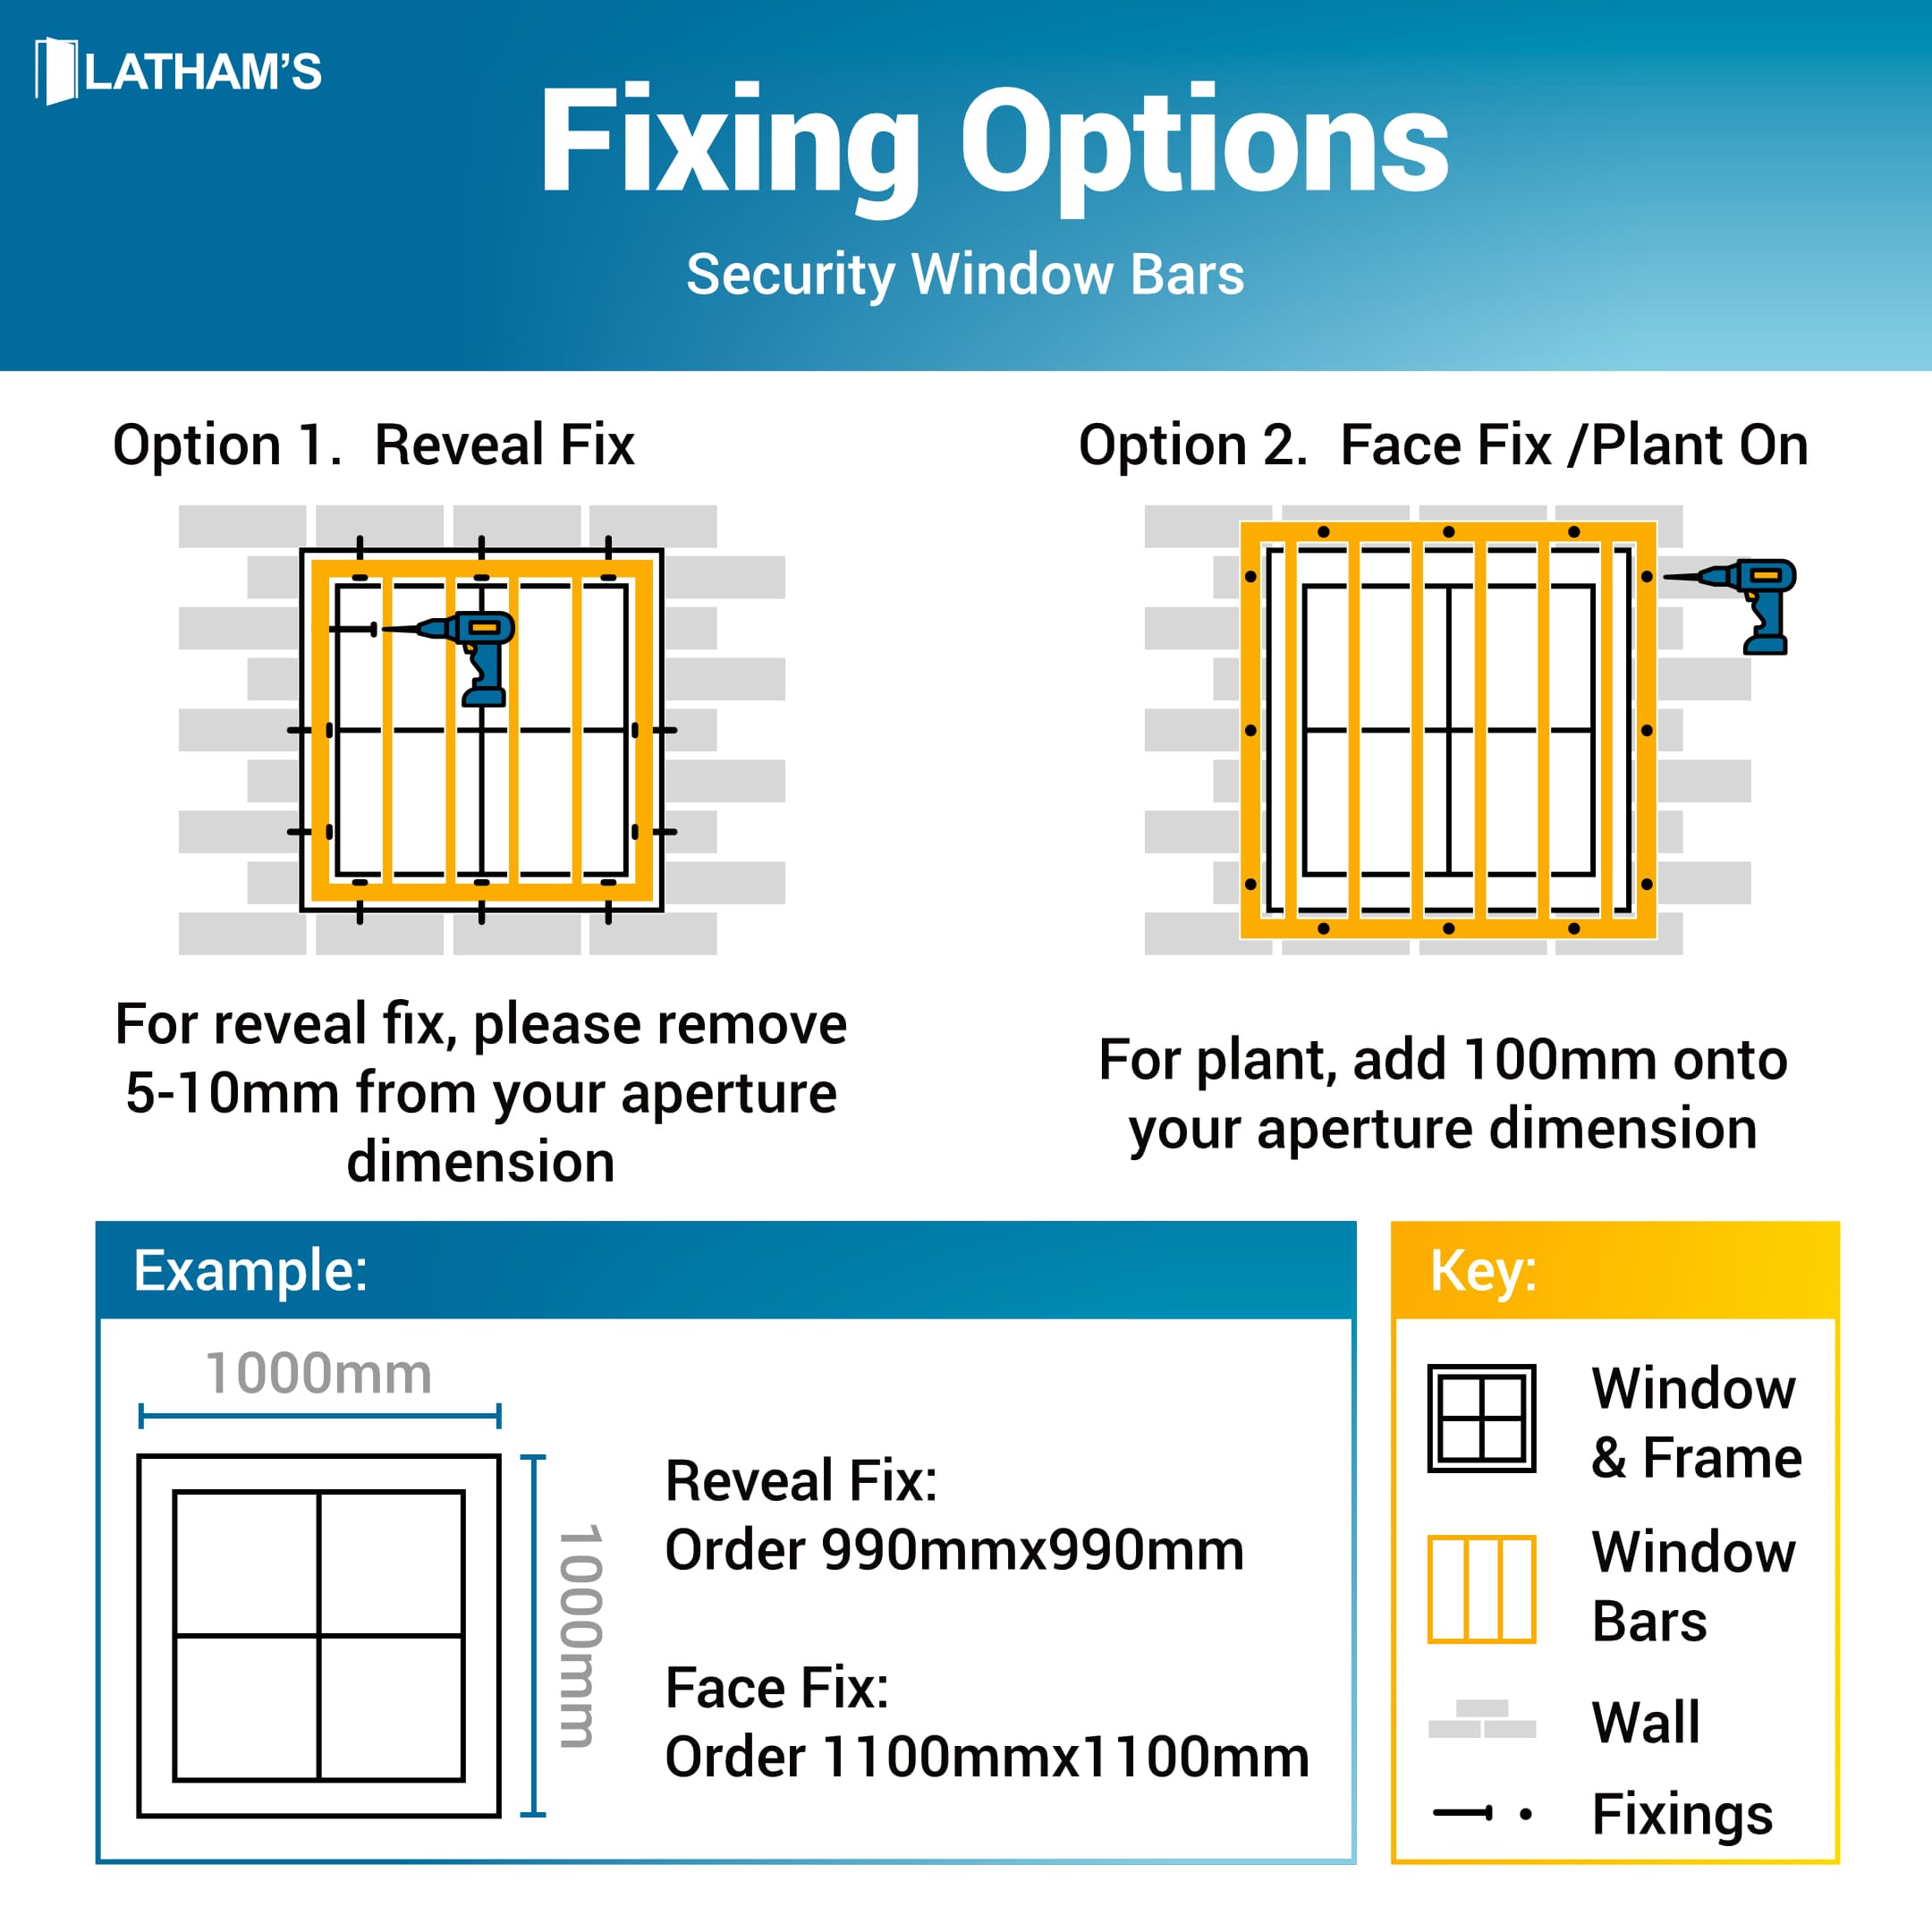
Learning how to remove security bars from windows comes down to three critical steps. First, identify your fastener type before choosing a method because shear screws, security bolts, and masonry anchors each require different approaches. Second, invest in an angle grinder and quality drill bits because manual methods rarely work against modern security hardware. Third, protect yourself and your property by wearing proper PPE, shielding the glass, and checking local egress codes before starting.
Ready to tackle your project? Start by examining one fastener closely to identify its type, then gather the matching tools from the lists above. Take your time with the first bar to build confidence, and you’ll have the rest removed before you know it.