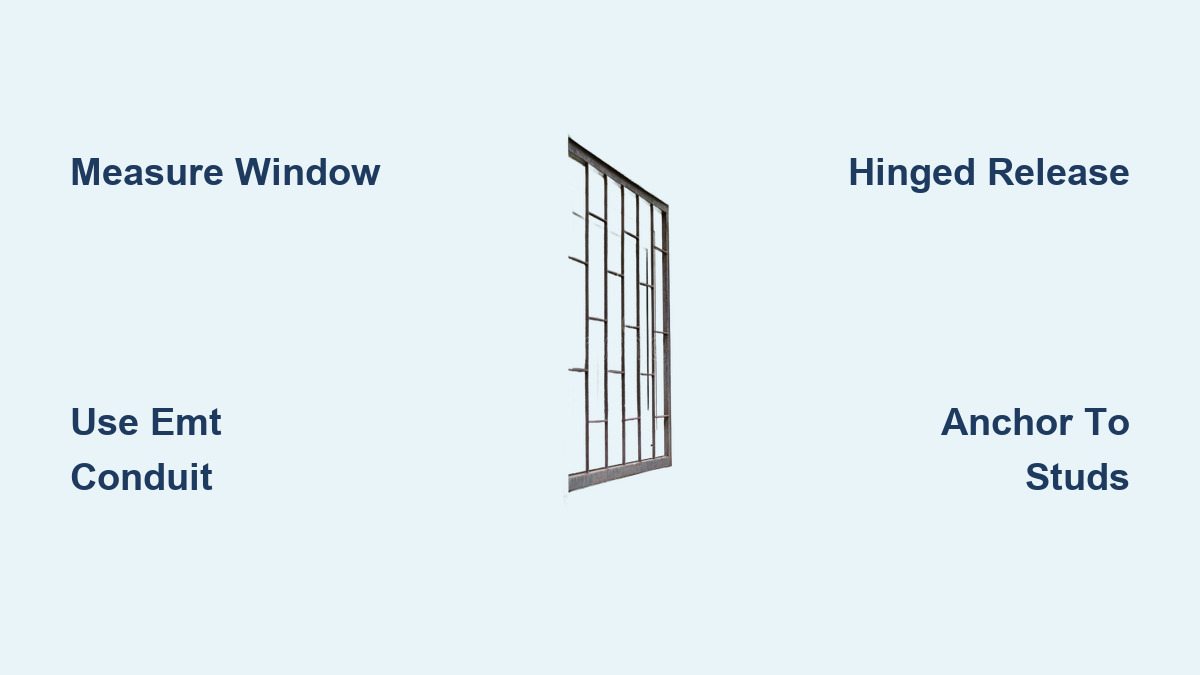

Ground-level and basement windows remain favorite entry points for burglars because they are often hidden from street view and easy to force open. A visible set of window security bars stops most intruders before they even try, while still letting fresh air and daylight into your home. Unlike plywood boards that block light and look unattractive, DIY security bars offer permanent protection with a clean, finished appearance.
This guide walks you through how to make security bars for windows from start to finish. You will learn how to choose materials, build two different bar styles, install them safely, and keep them in good shape for years. Best of all, most DIY projects cost under $200 in materials, compared to roughly $940 per window for professional installation.
Plan Your Security Bar Layout
Choose Interior or Exterior Mounting
Interior bars fit snugly inside the window frame, usually with about half an inch of clearance. They are harder to remove from outside and stay protected from weather, which means less maintenance. Exterior bars extend 2 to 4 inches beyond the window opening so they can anchor into the surrounding wall. They work well but face rain, sun, and tampering risks, so they need rust-resistant finishes and one-way screws.
Plan for Emergency Escape
Fire codes in most cities require bedroom and living room windows to remain usable as emergency exits. Your bars must include a quick-release feature like a hinged bottom rail, a barrel bolt, and a padlock. Never block an egress window completely. A simple hinge-and-bolt setup gives you strong security and a fast way out during a fire.
Set the Correct Bar Spacing
Space bars about 3.5 inches apart. This gap is narrow enough to stop an adult from squeezing through but wide enough to prevent a child from getting trapped. Always check your local building codes, because some areas require tighter spacing or specific opening sizes for fire safety.
Pick the Best Materials and Tools
Compare Bar Material Options
3/4-inch rigid metal electrical conduit (EMT) is the top choice for DIY interior bars. It is cheap, cuts easily with a chop saw, and stays lightweight. Although hollow, it becomes much stronger when filled with expanding spray foam. Avoid filling it with concrete, since concrete traps moisture and causes hidden rust.
Solid steel bars (10 to 15 mm) give you the toughest protection for exterior use. They resist cutting and bending but need an angle grinder to cut and welding or heavy bolts to assemble. Use them for high-risk windows where break-ins are more likely.
Wood-and-conduit hybrid combines ripped 2x4s with metal bars. The wood frame holds the conduit and can be painted to match your trim. The wood itself does not stop intruders, but it gives basement windows a clean, custom look.
Gather Your Tools
- Chop saw for cutting wood and conduit
- Angle grinder or hacksaw for solid steel
- Power drill with a 15/16-inch paddle bit
- 1/2-inch masonry bit for brick or stone
- Speed square, clamps, and rubber mallet
- Spray foam gun, wood glue, and dowels
- Rust-protecting primer and spray paint
- Safety gloves, goggles, and hearing protection
Build a Wood-Frame Conduit Bar System

Cut and Assemble the Frame
Rip two 2x4s in half to make four 1×2 strips. Cut two long pieces for the vertical sides and two shorter ones for the top and bottom. Label each piece so you keep the orientation correct. For stronger corners, cut simple mortise and tenon joints with a table saw and chisel, or just use butt joints with wood glue and screws.
Clamp the frame together and check that both diagonals measure the same length. Adjust until the frame is perfectly square before the glue dries.
Drill Holes and Insert the Conduit
Clamp the two vertical frame pieces together. Find the center, then mark hole positions every 3.5 inches using a speed square. Drill each hole 7/8-inch deep with a 15/16-inch paddle bit. This leaves a solid base while giving a tight fit for the conduit.
Cut 3/4-inch EMT conduit to length, about 40 inches for a standard basement window. Fill one end of each tube with expanding spray foam, insert it into the first frame piece, then tip the assembly upright and fill the top openings. Shine a flashlight inside to confirm the foam reached every section. Let it cure fully before moving on.
Finish the Assembly
Slide the second vertical frame piece onto the exposed conduit ends. Spread wood glue on the joints and tap everything together with a rubber mallet. Clamp the corners and lock them by hammering glued 1.5-inch dowels through pre-drilled holes. Wipe away extra glue and let the frame cure for 24 hours.
Sand rough spots, then spray all exposed metal with rust-protecting primer. Finish with two to three coats of black enamel spray paint. Allow up to one week of drying time before installation.
Fabricate Solid Steel Security Bars

Cut and Weld the Frame
Measure your window and add 2 to 4 inches to each side for mounting flanges. Cut solid steel bars with an angle grinder. Arrange four bars into a rectangle and weld the corners for maximum strength. Let the welds cool completely. If you do not own a welder, drill overlapping holes at the corners and bolt the pieces together with heavy-duty washers and nuts.
Add Interior Bars and Protect Against Rust
Weld or bolt vertical bars inside the frame at 3.5-inch intervals. Check the grid for squareness and stability. Grind down any rough welds, then coat all metal with anti-corrosion primer and a rust-resistant topcoat made for outdoor use.
Install Interior Bars with a Hinged System
Prepare the Window Area
Fix any broken glass or damaged hardware before installing. If the window crank or lock sticks out too far, build rough jamb extensions inside the frame to create clearance. Cut small 1/4-inch notches where hinges need space to fold.
Mount the Hinges and Lock
Hold the bar assembly against the window and confirm it is level. Attach galvanized utility hinges to the bottom rail, lining them up with the sill or jamb extensions. Add corner braces at the bottom for extra support when the bars fold down.
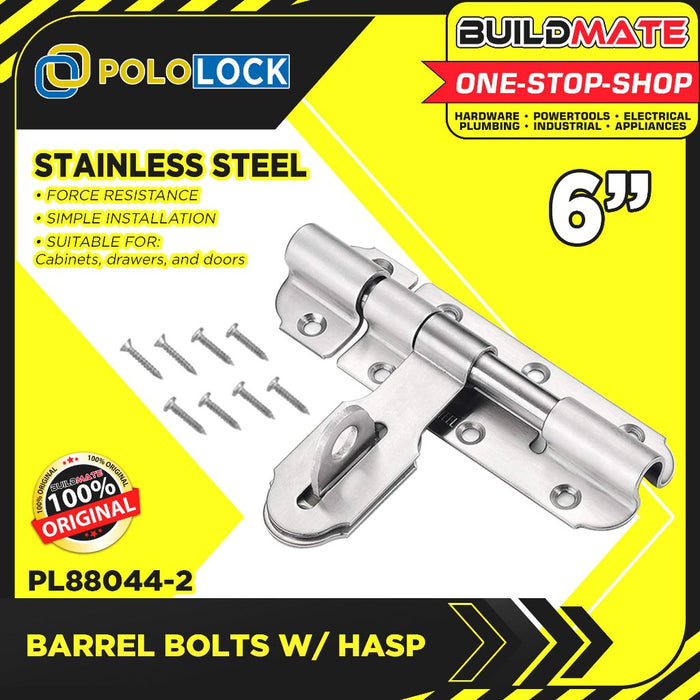
Drive long screws through the hinges and braces directly into wall studs or solid framing. Never anchor only into the window casing. Finish by adding a locking barrel bolt on one side of the top rail and a hasp with padlock on the other.
Test the Fit
Fold the bars up and down to confirm smooth operation. Slide nylon spacers between the bars and frame if you hear rattling. Adjust shims or hinges until the fit feels snug and silent.
Secure Exterior Bars to Masonry or Wood

Mark and Drill Mounting Points
Place the bar assembly over the window and mark every mounting hole. For wood or vinyl frames, drill pilot holes slightly smaller than your screws. For brick or stone, use a 1/2-inch carbide masonry bit. Drill slowly and dip the bit in water often to keep it cool. Make each hole about one inch deeper than the screw.
Anchor with Security Screws
Tap plastic or metal screw anchors into the masonry holes. Reposition the bars and drive one-way security screws through the mounting brackets into the anchors or studs. These screws go in normally but resist removal, stopping intruders from unscrewing your bars.
Push on the bars to test for wobble. Add more mounting points if needed. Confirm any operable window still opens and closes fully.
Maintain and Upgrade Your Bars
Prevent Rust and Wear
Check exterior bars every 3 to 6 months for chipped paint or early rust. Touch up problem spots right away with rust-inhibiting paint. Inspect interior hinges and locks once a year, and lubricate moving parts with silicone spray.
For wood frames in basements, watch for moisture damage or rot. Reseal or repaint as soon as you spot wear.
Add Layered Security
- Install window sensors that trigger your alarm if the glass breaks
- Add motion-sensor floodlights to remove dark hiding spots
- Point security cameras at bar-equipped windows
- Post alarm system signs to boost the deterrent effect
Improve Appearance and Function
Paint wood frames to match your window trim for a subtle look. Hinged interior bars let you clean the outside of the glass without removing the bars. Consider powder-coated finishes on steel bars to fight chipping and fading.
Troubleshoot Common DIY Problems
Fix Gaps and Loose Fits
Recheck your measurements before cutting. Use nylon spacers or shims to fill small gaps. A frame that is not square will never sit right, so always confirm equal diagonals during assembly.
Resolve Window Interference
If the window cannot open fully, shift the bars inward with jamb extensions. Notch the sash slightly if hinges or locks still rub.
Stop Rust Inside Conduit
Condensation collects inside hollow conduit and causes hidden rust. Prevent this by filling every bar completely with spray foam and sealing both ends. Use exterior-grade paint and fix scratches quickly.
Stabilize a Wobbly Installation
Wobble almost always means weak anchoring. Make sure screws hit studs or masonry, not just drywall or trim. Add corner braces or extra mounting points for a rock-solid fit.
Compare DIY vs. Professional Installation
DIY Costs and Time
A DIY project usually costs under $200 in materials, especially if you reuse scrap wood or leftover conduit. You save roughly $150 per window in labor. The trade-off is time: expect several hours per window for measuring, cutting, assembling, painting, and installing.
Risks and Benefits of Hiring a Pro
Professionals charge around $940 per window but bring code knowledge, precise fitting, and heavy-duty materials. They often include warranties. DIY risks include weak anchoring, blocked egress, or bars that come off too easily. Always confirm local codes and put fire safety first.
Frequently Asked Questions About DIY Window Security Bars
What is the cheapest way to make security bars for windows?
The most affordable method uses 3/4-inch EMT conduit and ripped 2×4 lumber. Total material costs often stay under $50 per window when you reuse scrap wood or leftover conduit from other projects.
How far apart should window security bars be spaced?
Space bars about 3.5 inches apart. This gap blocks adults from squeezing through while preventing children from getting trapped. Always verify spacing rules with your local building department.
Do security bars need a quick-release for fire safety?
Yes. Any bar covering a bedroom or living room window must include a quick-release mechanism or hinge so occupants can escape during a fire. Fixed bars on egress windows violate most fire codes.
Can I install security bars on a window that still opens?
Absolutely. Interior hinged bars let you fold the assembly down and open the window fully. Just add jamb extensions if the crank or lock sticks out, and leave clearance for the sash to move freely.
Will hollow conduit bars stop an intruder?
Hollow conduit on its own can bend or crush, but filling it with expanding spray foam adds serious rigidity. For high-risk windows, switch to solid steel bars instead.
How long does it take to build and install DIY security bars?
Plan for 4 to 8 hours per window if you are experienced, and longer for first-time builders. The process includes measuring, cutting, assembling, painting, and mounting.
Key Takeaways for Building Your Own Window Security Bars
Making security bars for windows is one of the smartest DIY upgrades you can tackle for home safety. The wood-and-conduit method gives you a clean, affordable solution for basement windows, while welded steel frames deliver maximum strength for exterior or high-risk spots. Focus on three essentials: proper bar spacing of about 3.5 inches, secure anchoring into studs or masonry, and a quick-release hinge for fire safety.
Your next step is simple: measure one vulnerable window, sketch your frame dimensions, and gather your materials. Start with one window to build confidence, then expand to other entry points. With careful planning and a weekend of work, you will have durable, professional-quality security bars that protect your home for years.