
Installing solar flood lights is one of the easiest ways to brighten dark outdoor spaces without hiring an electrician or running new wiring. Whether you want to light up a driveway, secure a backyard, or guide guests along a pathway, a properly installed solar flood light delivers reliable, automatic illumination every night. This guide breaks down the entire process into clear, actionable steps you can finish in an afternoon.
You’ll learn how to pick the perfect location, gather the right tools, mount every component securely, and even connect a Wi-Fi camera model if your light includes one. By the end, your solar flood lights will be ready to perform at their best for years to come.
Pick the Best Location Before You Drill
Match Brightness to the Area You Want to Light
Different outdoor zones need different lumen levels. Choosing the right brightness prevents wasted energy and poor visibility.
- Pathways and small patios work well with 500–1,000 lumens.
- Driveways, large yards, and parking areas need 3,000–5,000 lumens.
- Security zones benefit from motion-activated lights that save battery and startle intruders.
Walk your yard at night using a flashlight or temporary light to test coverage before you commit to a final spot.
Maximize Sun Exposure for Reliable Charging
Solar panels need 6–8 hours of direct sunlight daily to fully charge. Even partial shade can cut charging efficiency by up to 30%.
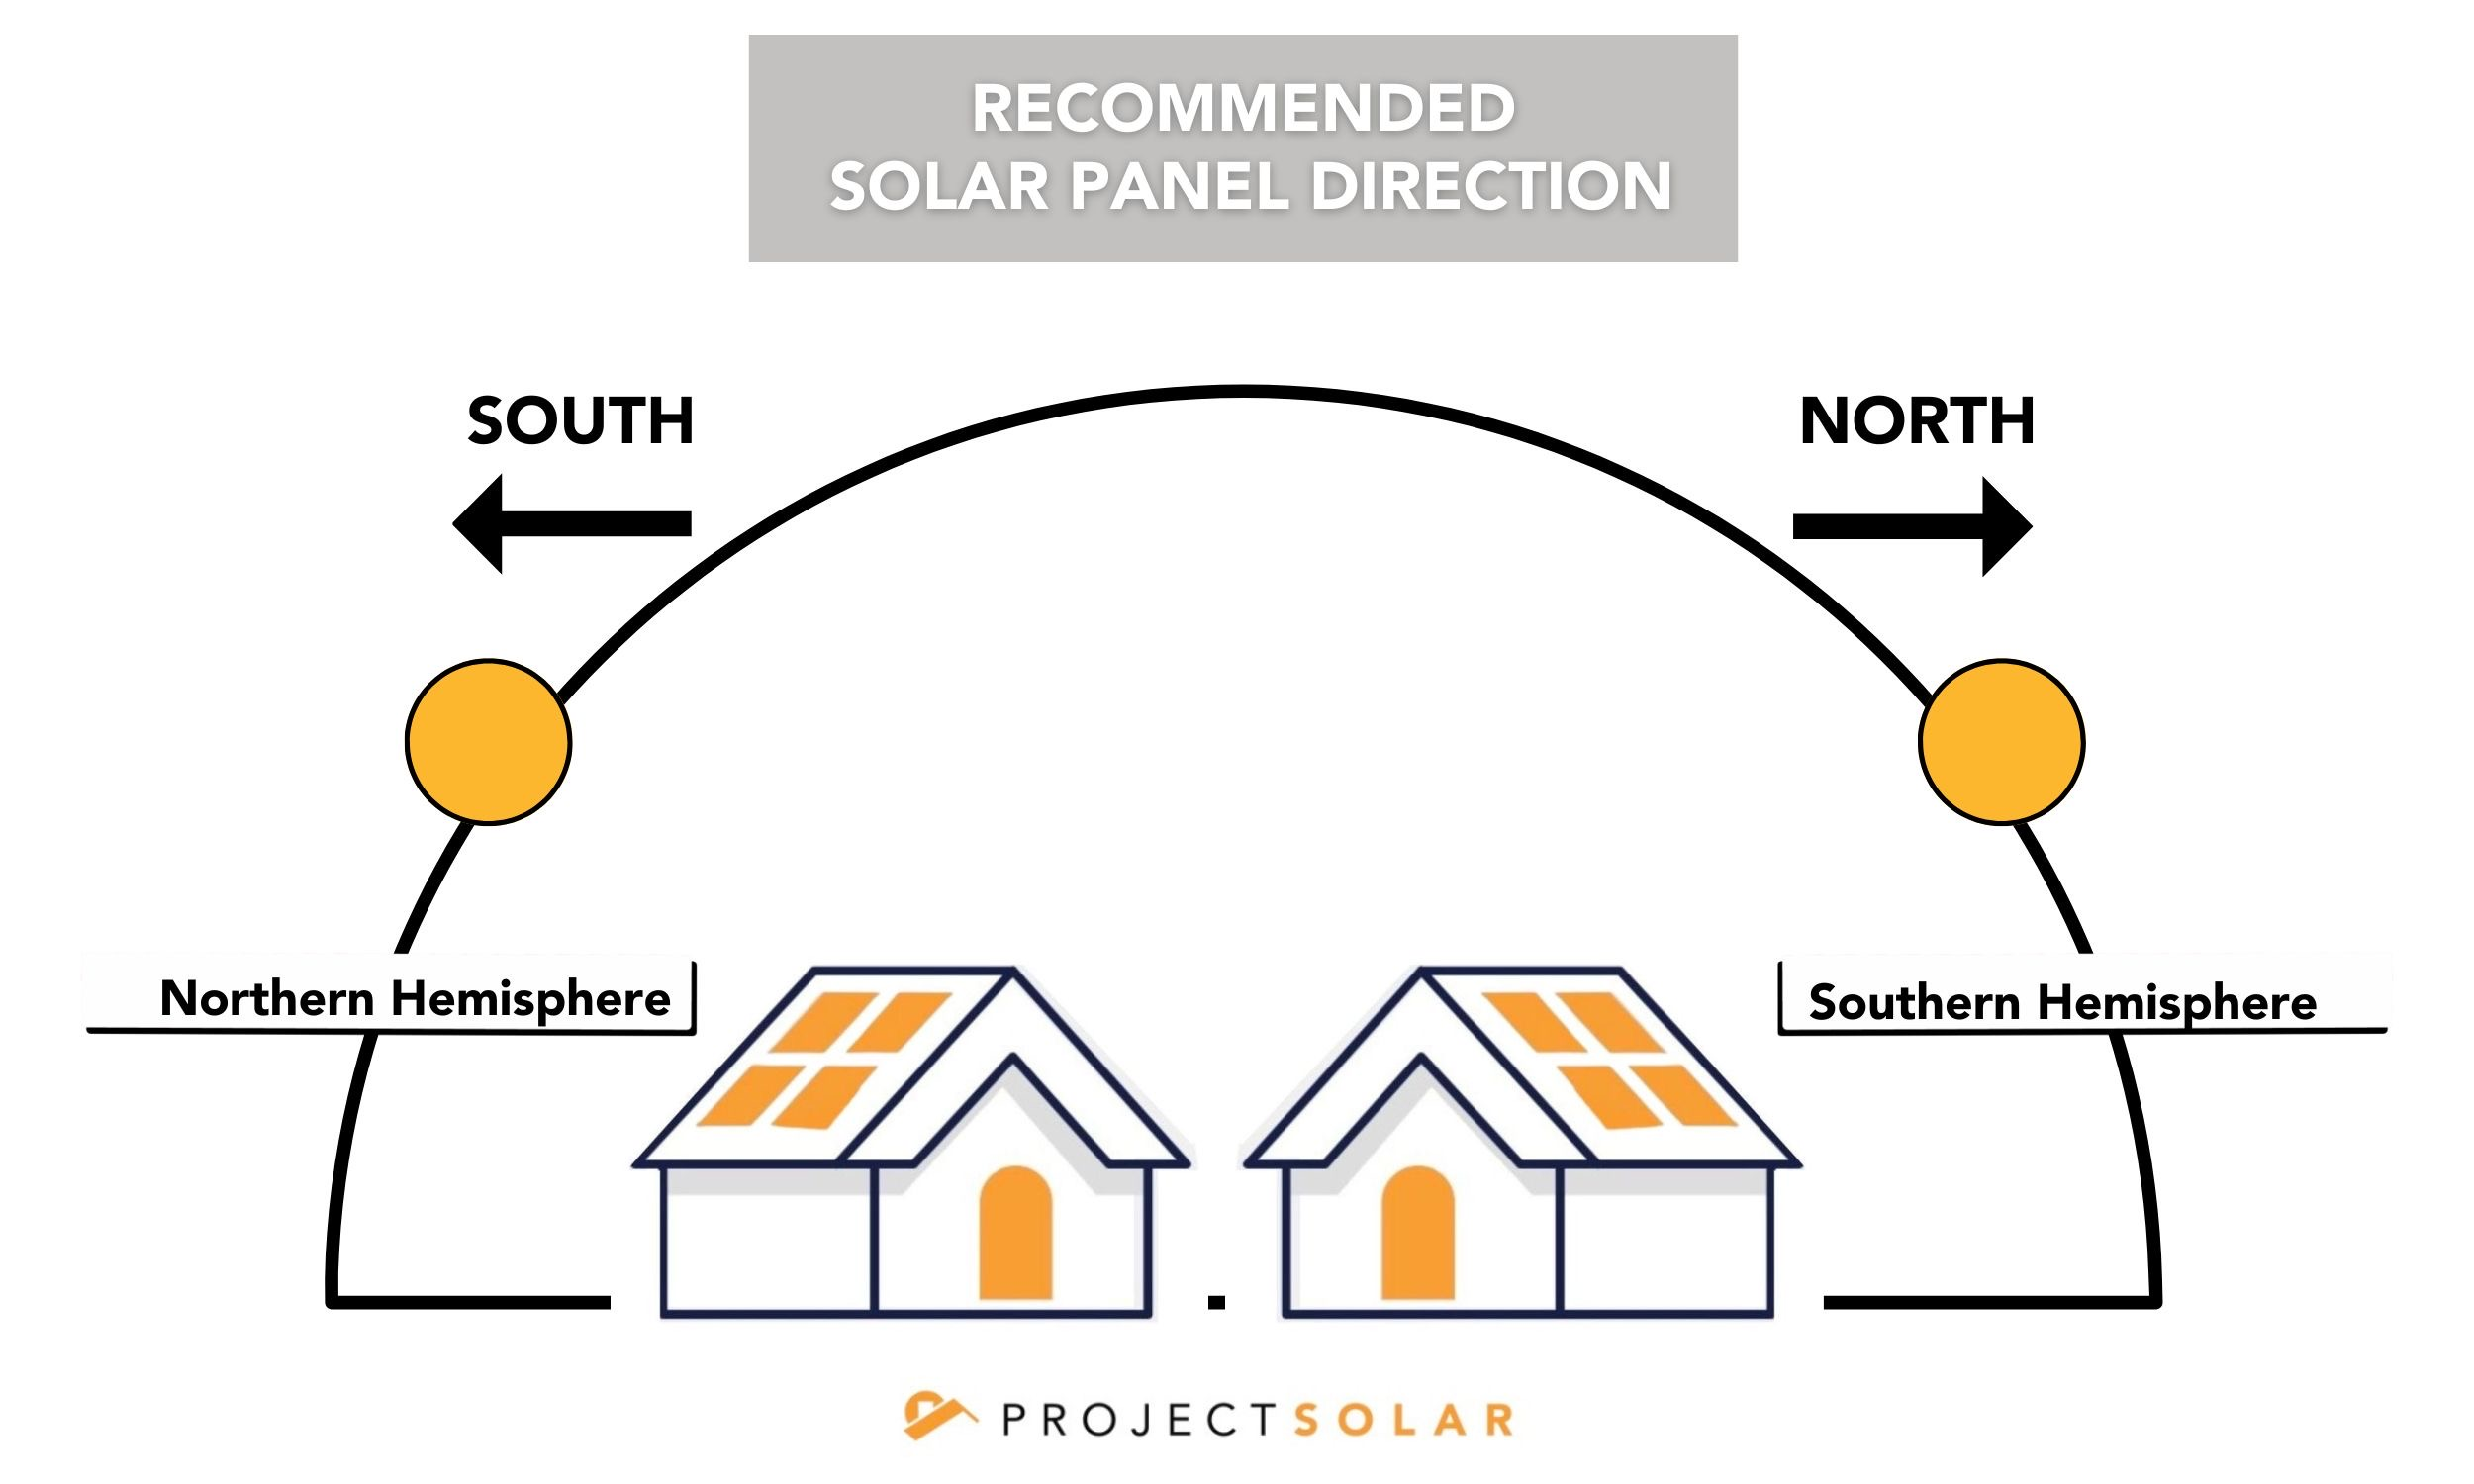
- In the Northern Hemisphere, face the panel south.
- Keep panels clear of shadows from trees, roofs, and overhangs.
- Trim branches now to prevent future shading.
For split-system lights, place the panel in full sun while the fixture can sit in a shaded spot where light is needed.
Plan Mounting Height and Coverage
Mount lights between 10–20 feet (3–6 meters) high for wide coverage. Higher placement spreads light farther but must remain reachable for cleaning and battery swaps.
- Mount on a garage wall to cover both driveway and side yard.
- Use a measuring tape to space multiple units evenly.
- Avoid aiming lights directly at windows to prevent glare.
Gather Tools and Safety Gear
Must-Have Installation Tools
Having the right tools on hand makes the job faster and safer:
- Drill and drill bits matched to your surface (wood, brick, concrete)
- Screwdriver set with Phillips and flathead drivers
- Measuring tape
- Pencil or marker for drilling marks
- Sturdy ladder for elevated mounting
- Safety glasses to protect your eyes during drilling
Optional Items That Improve Results
These add-ons boost accuracy and durability:
- Spirit level keeps panels and fixtures straight
- Wall anchors secure screws in masonry or drywall
- Silicone sealant adds weatherproofing around cable entries
- Cable clips or conduit protect wires from animals and tripping hazards
Critical Safety Warnings
- Never connect solar flood lights to 220V AC power. These units run on low-voltage DC only. Mains power will destroy the unit and risk serious shock.
- Mount only on solid, stable surfaces that won’t loosen over time.
- Do not disassemble the unit. Opening the light or panel voids the warranty and may damage internal components.
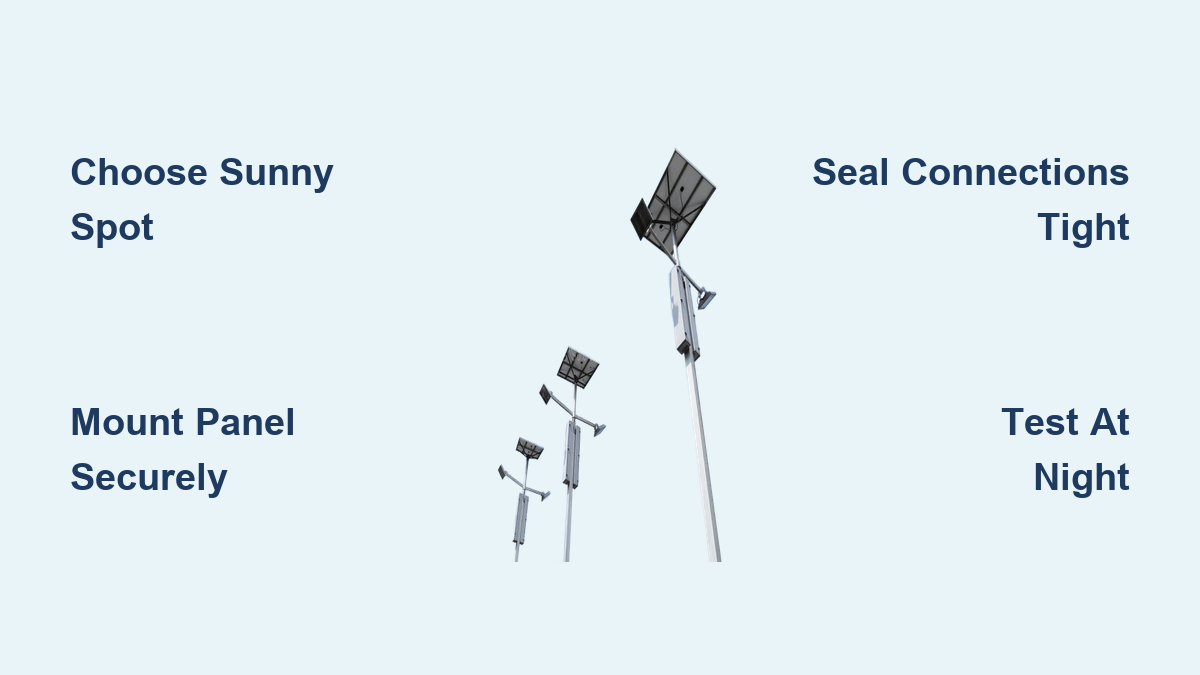
Mount the Solar Panel for Maximum Charging
Install the Bracket and Panel
For split systems, mount the panel first:
- Hold the bracket against a wall, pole, or fence and mark drill points.
- Drill pilot holes using the correct bit for your surface.
- Insert wall anchors if mounting on masonry or drywall.
- Secure the bracket with screws, then attach the panel.
Use a spirit level to confirm the bracket is straight. A crooked panel looks unprofessional and reduces efficiency.
Set the Optimal Panel Angle
Tilt the panel at 35 degrees from horizontal for the best year-round charging.
- Northern Hemisphere: Face south.
- Southern Hemisphere: Face north.
- Azimuth tip: Shift 5–10 degrees west to capture stronger afternoon sun.
Tighten all fasteners firmly so the panel resists wind and weather. Integrated units should also face south with no overhead shade.
Attach the Light Fixture Securely
Mark and Drill Mounting Holes
Position the fixture where it covers your target area and stays within cable reach of the panel.
- Hold the fixture in place and mark screw holes with a pencil.
- Drill pilot holes using masonry bits for brick or concrete.
- Insert anchors where needed.
Secure the Fixture in Place
- Align the fixture bracket with the pilot holes.
- Insert screws and tighten firmly.
- For ground stakes, push them into soil until the unit stands upright and stable.
Adjust the angle before final tightening so the beam points exactly where you need it.
Connect Components and Configure Settings

Seal the Waterproof Connection
Most split systems use a waterproof cable connector between the panel and light.
- Plug the cables together firmly.
- Screw the connector housing tightly to block water intrusion.
- Inspect the rubber gasket and replace it if damaged.
A loose connection is the top cause of system failure, so double-check this step.
Install or Inspect the Battery
Some models ship with batteries uninstalled.
- Open the battery compartment on the light or panel.
- Insert the battery, matching positive (+) and negative (–) terminals.
- Close the compartment and confirm the seal is tight.
Even on pre-installed units, check for corrosion or moisture before first use.
Configure Sensors and Modes
Before finalizing, adjust your sensors:
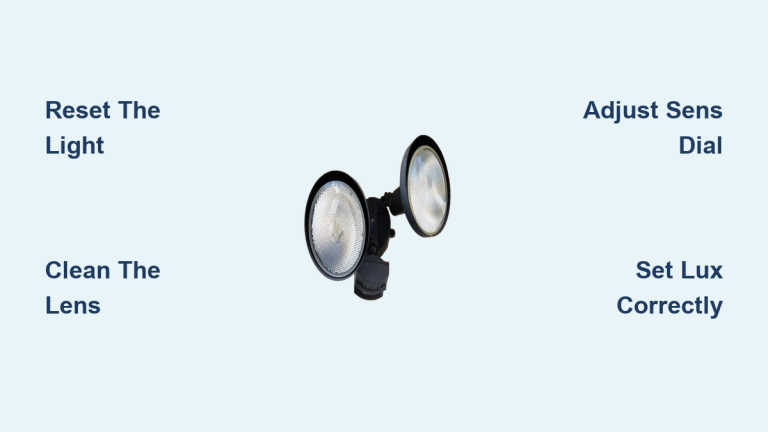
- Motion sensor: Set sensitivity and range (usually 120° field, 10–26 ft detection).
- Light sensor: Ensures the fixture only activates at dusk.
- Use the remote or app to choose:
- Auto mode (on at dark, off at dawn)
- Duration (30 seconds to 5 minutes after motion)
- Brightness level (low, medium, high)
Weatherproof and Secure Cables for Longevity
Reinforce Seals Against Moisture
Most units carry an IP65 rating, which protects against dust and water jets. You can extend that protection further:
- Apply a thin bead of silicone sealant around cable entries and panel edges.
- Install included rubber gaskets or weatherproof covers.
- Avoid leaving exposed wires dangling in the open.
Route and Secure Cables
For split systems, plan a clean cable path:
- Run cables along walls or fences.
- Fasten with cable clips or plastic conduit every 12–18 inches.
- Keep wires away from foot traffic and pet areas to prevent tripping or chewing damage.
Set Up Wi-Fi Camera Models
Confirm Compatibility First
If your solar flood light includes a Wi-Fi camera, check these basics before pairing:
- Router broadcasts a 2.4GHz network (5GHz will not work).
- Camera sits within 30–50 feet of the router.
- Phone runs iOS 9.0+ or Android 5.1+.
Download and Prepare the App
- Scan the QR code from the device or manual.
- Download the EseeCloud app.
- Create an account and log in.
- Enable Bluetooth on your phone for initial pairing.
Pair the Camera Using Bluetooth (Recommended)
- Turn on the light. The lamp flashes twice.
- Wait for the voice prompt: “Please configure the network.”
- The indicator light turns green and flashes.
- In the app, tap + > Add Device.
- Select your camera from the list.
- Enter your 2.4GHz Wi-Fi name and password.
- Tap Next and wait for the confirmation tone.
Pair Using the QR Code Method
- Press and hold the RST button for 3 seconds until the lamp flashes three times.
- In the app, tap + > Camera scan code to add.
- Enter Wi-Fi details to generate a QR code on your phone.
- Hold the phone 6–10 inches from the camera lens.
- Wait for the tone, then tap “Hear the prompt tone” in the app.
Choose the Right Camera Mode
- Surveillance Mode (Default): Records only on motion, which preserves battery life.
- Uninterrupted Recording: Continuous video that drains the battery fast and may not last through the night.
Stick with motion-only mode unless constant recording is essential.
Test the System and Fine-Tune Settings

Run the First Light Test
Before calling it done, confirm everything works:
- Let the panel charge in direct sunlight for 6–8 hours.
- Cover the panel with your hand or a cloth to simulate darkness.
- The light should turn on immediately.
If nothing happens:
– Check the waterproof connection.
– Verify battery polarity.
– Clear any obstructions blocking the sensor.
Adjust Settings for Your Needs
Use the remote or app to:
– Lower motion sensitivity to avoid pet triggers.
– Set detection duration (1 minute vs. 5 minutes).
– Reduce brightness when full power isn’t needed to extend battery life.
Maintain Your Solar Flood Lights for Years of Reliable Use
Clean Panels Monthly
Dirt, dust, and bird droppings block sunlight and cut charging efficiency.
- Wipe the panel with a soft, damp cloth once a month.
- Clean more often in dusty, rainy, or coastal areas.
- Skip abrasive cleaners or scrubbing pads that scratch the surface.
Inspect Sensors and Connections
- Clear spider webs, leaves, and grime from motion and light sensors.
- Look for frayed cables or chew marks from animals.
- Keep the battery compartment dry and corrosion-free.
Replace Batteries Every 2–3 Years
Lithium-ion batteries lose capacity over time. Watch for these warning signs:
- Lights dim quickly after dark.
- Runtime shrinks noticeably.
- Light fails to turn on after a full day of sun.
Swap in a 3.7V lithium-ion battery of the same capacity and avoid cheap knockoffs.
Troubleshoot Common Installation Problems
Light Won’t Turn On
- Confirm the waterproof connector is fully tightened.
- Make sure the panel received 6+ hours of direct sun.
- Inspect the battery for corrosion or loose terminals.
- Cover the panel completely to test activation.
Dim Light or Short Runtime
- Clean the solar panel surface.
- Check for new shade from growing trees or debris.
- Replace the battery if it’s older than 2 years.
Camera Won’t Connect
- Confirm you’re using 2.4GHz Wi-Fi, not 5GHz.
- Reset the camera with the RST button.
- Move closer to the router during setup.
- Reinstall the app if pairing keeps failing.
Frequently Asked Questions About Solar Flood Lights
How many lumens do I need for a driveway?
Driveways and large yards need 3,000–5,000 lumens for clear, safe illumination at night. Smaller pathways can get by with 500–1,000 lumens.
Can solar flood lights work in shaded areas?
Yes, if you use a split-system light. Place the solar panel in full sun and run the cable to the light fixture in the shaded area where illumination is needed.
How long does it take to fully charge a solar flood light?
A full charge requires 6–8 hours of direct sunlight. Partial shade or cloudy weather will extend charging time and reduce runtime.
Why won’t my solar flood light turn on at night?
The most common causes are a loose waterproof connector, insufficient sun exposure, or a battery installed with reversed polarity. Cover the panel completely to test activation and recheck each connection.
Do solar flood lights work in winter or cloudy climates?
They still work, but shorter days and weaker sunlight reduce charging. Clean panels regularly, angle them to capture low sun, and consider models with larger battery capacity for winter reliability.
How often should I replace the battery?
Rechargeable lithium-ion batteries typically last 2–3 years. Replace them when you notice dimming lights, shorter runtime, or failure to hold a full charge.
Key Takeaways for a Flawless Solar Flood Light Installation
A successful solar flood light installation comes down to three essentials: sun, security, and sealing. Choose a location with 6–8 hours of direct sunlight, mount every component on stable surfaces with proper anchors, and tighten every waterproof connection to keep moisture out. Configure your motion sensors and brightness levels to match how you actually use the space, then run a full charge-and-test cycle before walking away.
Your next step is simple: grab your tools, pick your brightest south-facing wall or pole, and start mounting. Within a single afternoon, you’ll have automatic, wire-free lighting that boosts security, adds curb appeal, and cuts energy costs for years to come.