Installing a flood light in vinyl soffit boosts home security, improves nighttime visibility, and elevates curb appeal. But cutting into vinyl without proper planning can lead to water leaks, pest infestations, or even structural failure. Done correctly, the fixture blends seamlessly with your soffit, stays weatherproof for years, and draws power safely through code-compliant wiring. This guide walks you through every critical step, from selecting the right electrical box to sealing against insects and moisture, ensuring a durable, professional-grade installation.
Choose Fixture Type and Location

Select Surface vs Recessed Flood Light
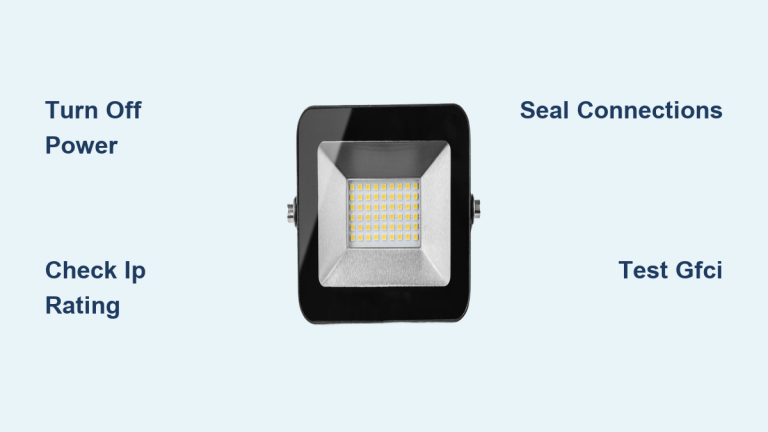
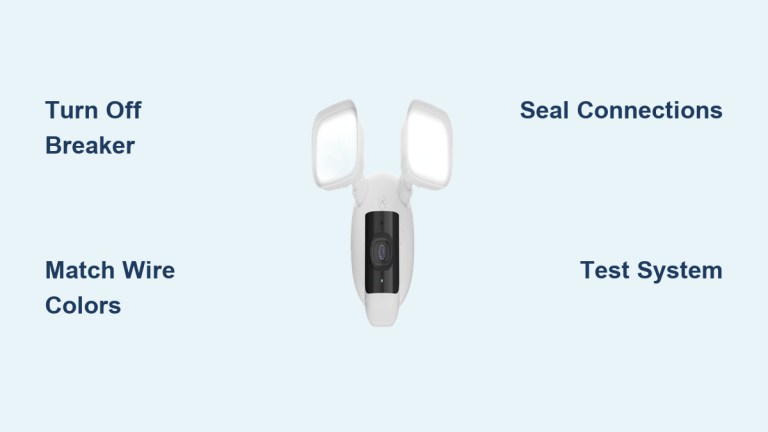
Your first decision determines how the light integrates with your vinyl soffit. Surface-mounted flood lights attach over the soffit with a canopy that hides the electrical box. They are easier to install, especially on existing soffits, and work with standard pancake or octagon boxes. Dual-head models with motion sensors are popular for driveway or entry lighting.
Recessed flood lights (also called exterior “cans”) sit flush with the soffit for a sleek, modern look. These require deeper electrical boxes and enough clearance above the soffit to fit the housing. While they offer a cleaner aesthetic, they must be installed with a gap between the can and vinyl to prevent heat damage, even with LED trims.
LED models are preferred for both types due to lower heat output, energy efficiency, and long lifespan (typically 25,000+ hours). Look for wet location-rated fixtures with an IP65 or higher rating to withstand rain and humidity.
Pick Finish to Match Vinyl Siding
Flood lights come in white, black, bronze, and nickel finishes. White and bronze are most popular for blending with common vinyl soffit colors. Matching the finish reduces visual clutter and maintains a cohesive exterior look. Avoid shiny chrome or bright finishes that stand out unnaturally.
Determine Ideal Light Placement
Position flood lights where security and visibility matter most: near garage doors, back entrances, or dark corners. Mount fixtures on the house side of the soffit to minimize glare and prevent water pooling on lenses. For dual-head surface lights, ensure both beams can be angled independently to cover multiple zones.
Avoid placing lights too close to windows, as glare can affect indoor visibility at night. Also, keep recessed cans at least 6 inches from insulation unless using IC-rated housings designed for direct contact.
Mount the Correct Electrical Box

Use Metal Box for Structural Support
Never mount a flood light directly to vinyl soffit because it cannot support weight. Instead, anchor the electrical box to structural framing. Plastic boxes degrade over time and may fail under fixture weight, especially after UV exposure. Use galvanized steel or aluminum octagon, pancake, or 4-inch round metal boxes for decades-long durability.
For surface-mounted fixtures, a metal pancake box (1/2″ to 1-1/4″ deep) is ideal when space is tight. It mounts directly to a 2×4 lookout or blocking. For recessed cans, a 4-inch round old-work box with toggle clamps works well in retrofit situations. If no blocking exists, use a telescopic bar box that spans between rafters.
Install 2×4 Blocking for Secure Mounting
In new construction or accessible attics, install 2×4 blocking between rafters at the fixture location. Cut the blocking to fit snugly and position it so the face aligns with the soffit plane.
Steps:
1. Cut 2×4 to span between two rafters.
2. Position it level and flush with the soffit line.
3. Secure with 3-inch exterior screws driven into each rafter.
4. Mount the electrical box to the blocking using screws through the box tabs.
This method ensures the fixture weight transfers to framing, not the vinyl. Never let the soffit bear any load.
Retrofit Box Without Attic Access
No attic access? You can still install a box, but it is more involved. Start by removing the vinyl soffit panel at the planned fixture location.
Then:
1. Insert a bar box through the opening.
2. Expand the telescoping arms between rafters.
3. Tighten the center screw to lock the box in place.
4. Reinstall the soffit around the box, leaving the opening clear.
Alternatively, fish in a short piece of blocking and secure it with lag screws through the rafters. Then attach a pancake or octagon box to the blocking.
Run and Secure Electrical Wiring
Follow NEC Code for Cable Routing
Use 14/2 NM-B cable with UV-resistant sheathing if any section will be exposed to sunlight. For maximum protection, run wiring through outdoor-rated PVC or liquid-tight conduit, especially near the exterior wall.
All outdoor lighting circuits must be GFCI protected to prevent shock hazards. This can be achieved with a GFCI breaker or an upstream GFCI outlet on the same circuit.
Staple Cable Within 12 Inches of Box
The National Electrical Code (NEC) requires cables to be stapled within 12 inches of an electrical box (8 inches for plastic boxes). In soffit cavities, this is often ignored, but skipping it risks wire damage from shifting or pests.
Use corrosion-resistant staples or cable clips. If stapling is impractical due to tight space, install a two-screw metal clamp connector on a metal box. This secures the cable and grounds the box, satisfying code requirements.
Pre-Run Fishing String for Future Upgrades
In new construction, hang a length of Romex from the box down the rafter bay and leave a fishing string inside the box. This allows easy wire pulling later when funds or permits are ready.
For multiple lights, leave a loose loop of wire centered in the cavity. This gives flexibility if final fixture placement shifts slightly during siding installation.
Cut and Seal the Vinyl Soffit

Cut Precise Hole for Fixture Fit
For recessed cans, trace the trim ring or housing diameter onto the vinyl soffit. Use a hole saw or jigsaw to make a clean, round cut. Trim slightly smaller if needed, as vinyl can be filed to fit.
For surface-mounted lights, cut only a small entry hole for the cable if not pre-drilled. The fixture canopy will cover the box entirely.
Always cut from the underside of the soffit to minimize chipping. Support the vinyl with a backer board when drilling to prevent cracking.
Prevent Pest Entry with Proper Sealing
Insects, bats, and rodents can enter through unsealed gaps. The vinyl soffit must wrap around the box, not cover it. The fixture’s canopy or trim ring should fully overlap the cut edge of the vinyl.
For recessed fixtures, leave a small gap (1/8″) between the can and vinyl to allow heat dissipation. The trim ring will cover this gap and block pests.
Do not caulk around the fixture, as this traps moisture and degrades seals over time. Rely on the fixture’s gasket and overhang for weatherproofing.
Connect and Mount the Flood Light
Make Waterproof Wire Connections
All splices must occur inside the electrical box. Strip wires carefully and connect:
– Black to black (hot)
– White to white (neutral)
– Bare copper to green or box screw (ground)
Use silicone-filled wire connectors or heat-shrink waterproof caps. Standard wire nuts fail outdoors due to moisture and corrosion.
Tuck wires neatly into the box, ensuring no pinching when the fixture mounts.
Secure Fixture to Structural Framing
Attach the mounting bracket directly to the blocking or rafter, not the vinyl. Use stainless steel or coated screws to prevent rust. Standard steel screws corrode within 2–3 years, leading to staining and failure.
Tighten the fixture until the gasket compresses slightly. Do not over-tighten, as this can crack the housing or distort the seal.
Adjust Angle to Prevent Glare and Water Pooling
Position dual-head flood lights to illuminate target areas without shining into neighbors’ windows. Angle the beams slightly downward to avoid light trespass.
Ensure the lens faces downward so water runs off and never pools. Proper angling also reduces insect attraction by minimizing upward light spill.
Test and Maintain the Installation
Verify Operation and Safety
Turn power back on at the breaker. Test the fixture:
– Does it turn on?
– Do motion sensors trigger correctly?
– Are all connections secure?
Use a non-contact voltage tester to confirm no live parts are exposed.
Perform Water Resistance Check
Simulate rain with a garden hose on a gentle setting. Spray the fixture and surrounding soffit for 1–2 minutes. Check inside the attic for any signs of water entry. If leaks occur, reseat the fixture or adjust the seal.
Inspect for Pest Intrusion and Corrosion
Check annually, especially in spring:
– Look for insect nests inside recessed trims.
– Inspect screws and box for rust.
– Ensure the canopy still fully covers the soffit cutout.
Replace damaged gaskets and clean lenses with mild soap and water to maintain brightness.
Frequently Asked Questions About Installing Flood Lights in Vinyl Soffit
Can I mount a flood light directly to vinyl soffit?
No. Vinyl soffit is non-structural and cannot support the weight of a flood light fixture. You must anchor the electrical box to framing members such as rafters, joists, or installed 2×4 blocking. Mounting directly to vinyl will eventually cause the fixture to pull free and may damage the soffit.
What type of electrical box is best for vinyl soffit flood lights?
Metal boxes (galvanized steel or aluminum) are strongly recommended over plastic. Pancake boxes work well for surface-mounted fixtures in shallow spaces, while 4-inch round old-work boxes suit recessed cans. Bar boxes (telescopic) are ideal for retrofitting when blocking is difficult to install.
Do I need GFCI protection for an outdoor soffit flood light?
Yes. The NEC requires all outdoor lighting circuits to be GFCI protected. You can achieve this with a GFCI breaker in your panel or an upstream GFCI outlet on the same circuit. This prevents shock hazards in wet conditions.
How do I keep pests out of the fixture opening?
The vinyl soffit should wrap around the electrical box, not cover it. The fixture’s canopy or trim ring must fully overlap the cut edge of the vinyl to block entry points. For recessed cans, leave a small 1/8″ gap between the can and vinyl for heat dissipation, then let the trim ring seal the gap. Avoid caulking, which traps moisture.
Can I install a flood light in vinyl soffit without attic access?
Yes, but it requires more effort. Remove the vinyl soffit panel at the fixture location, insert a bar box (telescopic) through the opening, expand its arms between rafters, and tighten to lock it in place. Then reinstall the soffit around the box. Alternatively, fish in blocking and secure it with lag screws through the rafters.
What IP rating should my flood light fixture have?
Choose a fixture rated IP65 or higher for soffit installations. This ensures protection against driving rain and humidity. Wet location-rated fixtures are essential because soffit-mounted lights are fully exposed to weather from above and below.
Key Takeaways for a Professional Flood Light Installation

Always mount to framing, never to the vinyl itself. Use metal electrical boxes for long-term reliability, and choose LED fixtures with an IP65+ rating for durability. Seal with overlap rather than caulk, letting the fixture’s design keep water and pests out. Run fishing strings during rough-in to make future upgrades effortless.
For new builds, install boxes and blocking before soffit panels go up. For retrofits, bar boxes offer the most flexibility. And never skip the GFCI; it is a safety must.
Your next step: gather your metal box, LED fixture, and waterproof connectors, then plan your blocking strategy before making a single cut. A little preparation now saves hours of troubleshooting later.