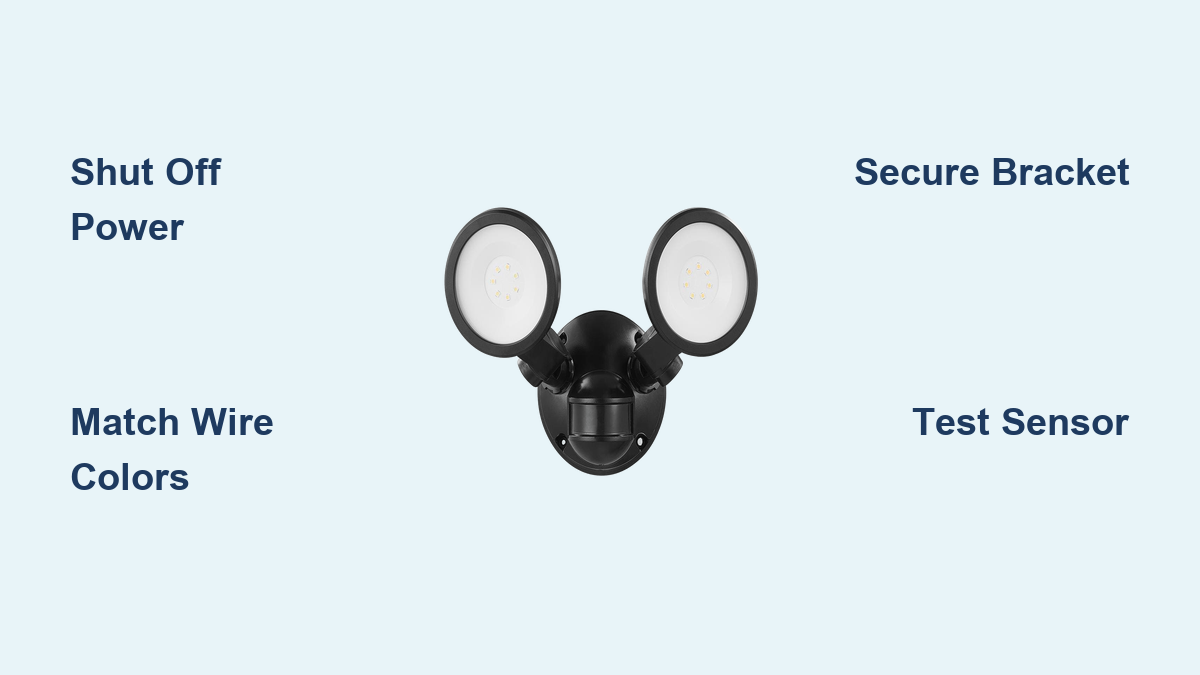

You’ve purchased a Defiant flood light to boost outdoor security and visibility, but now you’re staring at the box, wiring, and mounting hardware, unsure where to begin. Many homeowners hesitate at this step, worried about electrical work or an improper setup that could cause malfunctions or safety hazards.
Installing a Defiant flood light doesn’t require an electrician if you follow the right steps. With basic tools, careful attention to safety, and a clear walkthrough, you can have your flood light mounted and working in under an hour. This guide covers everything from shutting off power and wiring connections to adjusting motion sensors and testing your finished setup.
By the end, you’ll know exactly how to install a Defiant flood light for reliable performance and long-term durability. Let’s get started.
Essential Safety Steps Before Wiring
Protect yourself and your home by following these critical protocols before touching any wires.
Shut Off Power at the Breaker
Never work on live electrical circuits. Go to your home’s main electrical panel and switch off the breaker that powers the outdoor lighting. Use a non-contact voltage tester at the fixture location to confirm no electricity is flowing.
Pro Tip: Place a piece of tape over the breaker switch so no one accidentally turns it back on while you work.
Wear Proper Safety Gear
Put on insulated gloves and safety glasses before starting. Even with the power off, residual current or debris from drilling can pose risks.
Verify Local Building Codes
Some municipalities require permits or inspections for outdoor electrical work. Check your local codes before beginning the project to ensure compliance.
Tools and Parts Needed for Installation
Gathering everything in advance prevents delays and keeps the job running smoothly.
What’s in the Defiant Flood Light Box
Most Defiant models ship with:
– Flood light unit
– Mounting bracket
– Screws and wall anchors
– Wire connectors (wire nuts)
– Installation manual
Tools You’ll Need
- Flathead and Phillips screwdrivers
- Wire stripper
- Non-contact voltage tester
- Pliers
- Drill with appropriate bit
- Stable ladder rated for your weight
Note: For masonry or stucco surfaces, use a hammer drill with a masonry bit for clean, secure holes.
Remove the Old Fixture (If Replacing)
If you’re swapping out an existing light, remove it carefully to access the wiring.
Disconnect the Old Wiring
Unscrew the existing fixture from the wall or ceiling. Twist off the wire nuts and separate the connections. Identify each wire: black (hot), white (neutral), and green or bare copper (ground).
Inspect the wire ends for damage. Trim and strip any frayed or corroded sections using your wire stripper.
Take Down the Old Bracket
Unscrew the existing mounting bracket from the electrical box. Set the screws aside if you plan to reuse them, or discard the bracket.
Warning: Never reuse old wire nuts or damaged mounting hardware, as they may fail under load or weather exposure.
Mount the New Defiant Bracket
Secure the new mounting bracket to prepare for the flood light fixture.
Align the Bracket with the Electrical Box
Hold the new bracket over the electrical box and line up the screw holes. Place a level on top to confirm it’s straight. A crooked bracket leads to a crooked light.
Drive in the Mounting Screws
Fasten the bracket using the included screws. On wood siding, standard screws hold firmly. On masonry or stucco, insert plastic anchors first, then drive the screws into the anchors.
Pro Tip: Drill small pilot holes to prevent wood from splitting or masonry from cracking during installation.
Connect the Wiring Correctly

This is the most critical part of installing a Defiant flood light. Match each wire carefully.
Match Wire Colors by Function
- Black to black: Hot wire connection
- White to white: Neutral wire connection
- Green or bare copper to green or bare copper: Ground wire connection
Twist and Secure the Connections
Hold the matching wire ends together and twist them clockwise with pliers. Screw a wire nut onto each pair until tight. Give each connection a gentle tug to confirm it won’t come loose.
Expert Note: Wrap each connection with electrical tape for added moisture protection, especially in damp or exposed locations.
Tuck Wires into the Electrical Box
Carefully fold the connected wires into the electrical box. Avoid pinching or crowding the connections, which can loosen them over time.
Attach the Flood Light Fixture
With the wiring complete, mount the Defiant unit to the bracket.
Lock the Fixture in Place
Most Defiant models use a twist-lock or screw-down mounting system. Align the fixture with the bracket and rotate or fasten until it sits flush against the wall.
Confirm the rubber gasket or weather seal is properly seated to block moisture entry.
Aim the Light Head
Loosen the swivel screws or adjustment knobs to angle the light. Point it toward driveways, walkways, or dark corners of your yard. Retighten once the position feels right.
Pro Tip: Test the angle at night for the best coverage before final tightening.
Adjust the Motion Sensor (If Equipped)
Many Defiant flood lights include built-in motion detection. Configure it for reliable performance.
Set Sensitivity and Duration
Locate the control dials on the sensor housing:
– Sensitivity: Higher settings detect motion across a wider area but may trigger from pets or passing cars. Lower settings focus on a tighter zone.
– Duration: Controls how long the light stays on after detecting motion, typically adjustable from 10 seconds to 10 minutes.
Walk Through the Detection Zone
Test the sensor by walking across the coverage area. Avoid aiming the sensor directly at roads or busy sidewalks to reduce false triggers.
Note: Cold weather can temporarily reduce the effective sensor range.
Restore Power and Test the Light
The final step is turning the power back on and confirming everything works.
Flip the Breaker Back On
Return to the electrical panel and restore power to the circuit you switched off earlier.
Confirm Light Operation
- For motion-activated models: wave your hand in front of the sensor to trigger the light.
- For manual switch models: flip the wall switch and confirm the light turns on.
Watch for consistent brightness and stable operation over several minutes.
Troubleshooting Tip: If the light doesn’t turn on, double-check all wire connections and confirm the breaker is fully engaged.
Weatherproofing and Ongoing Maintenance
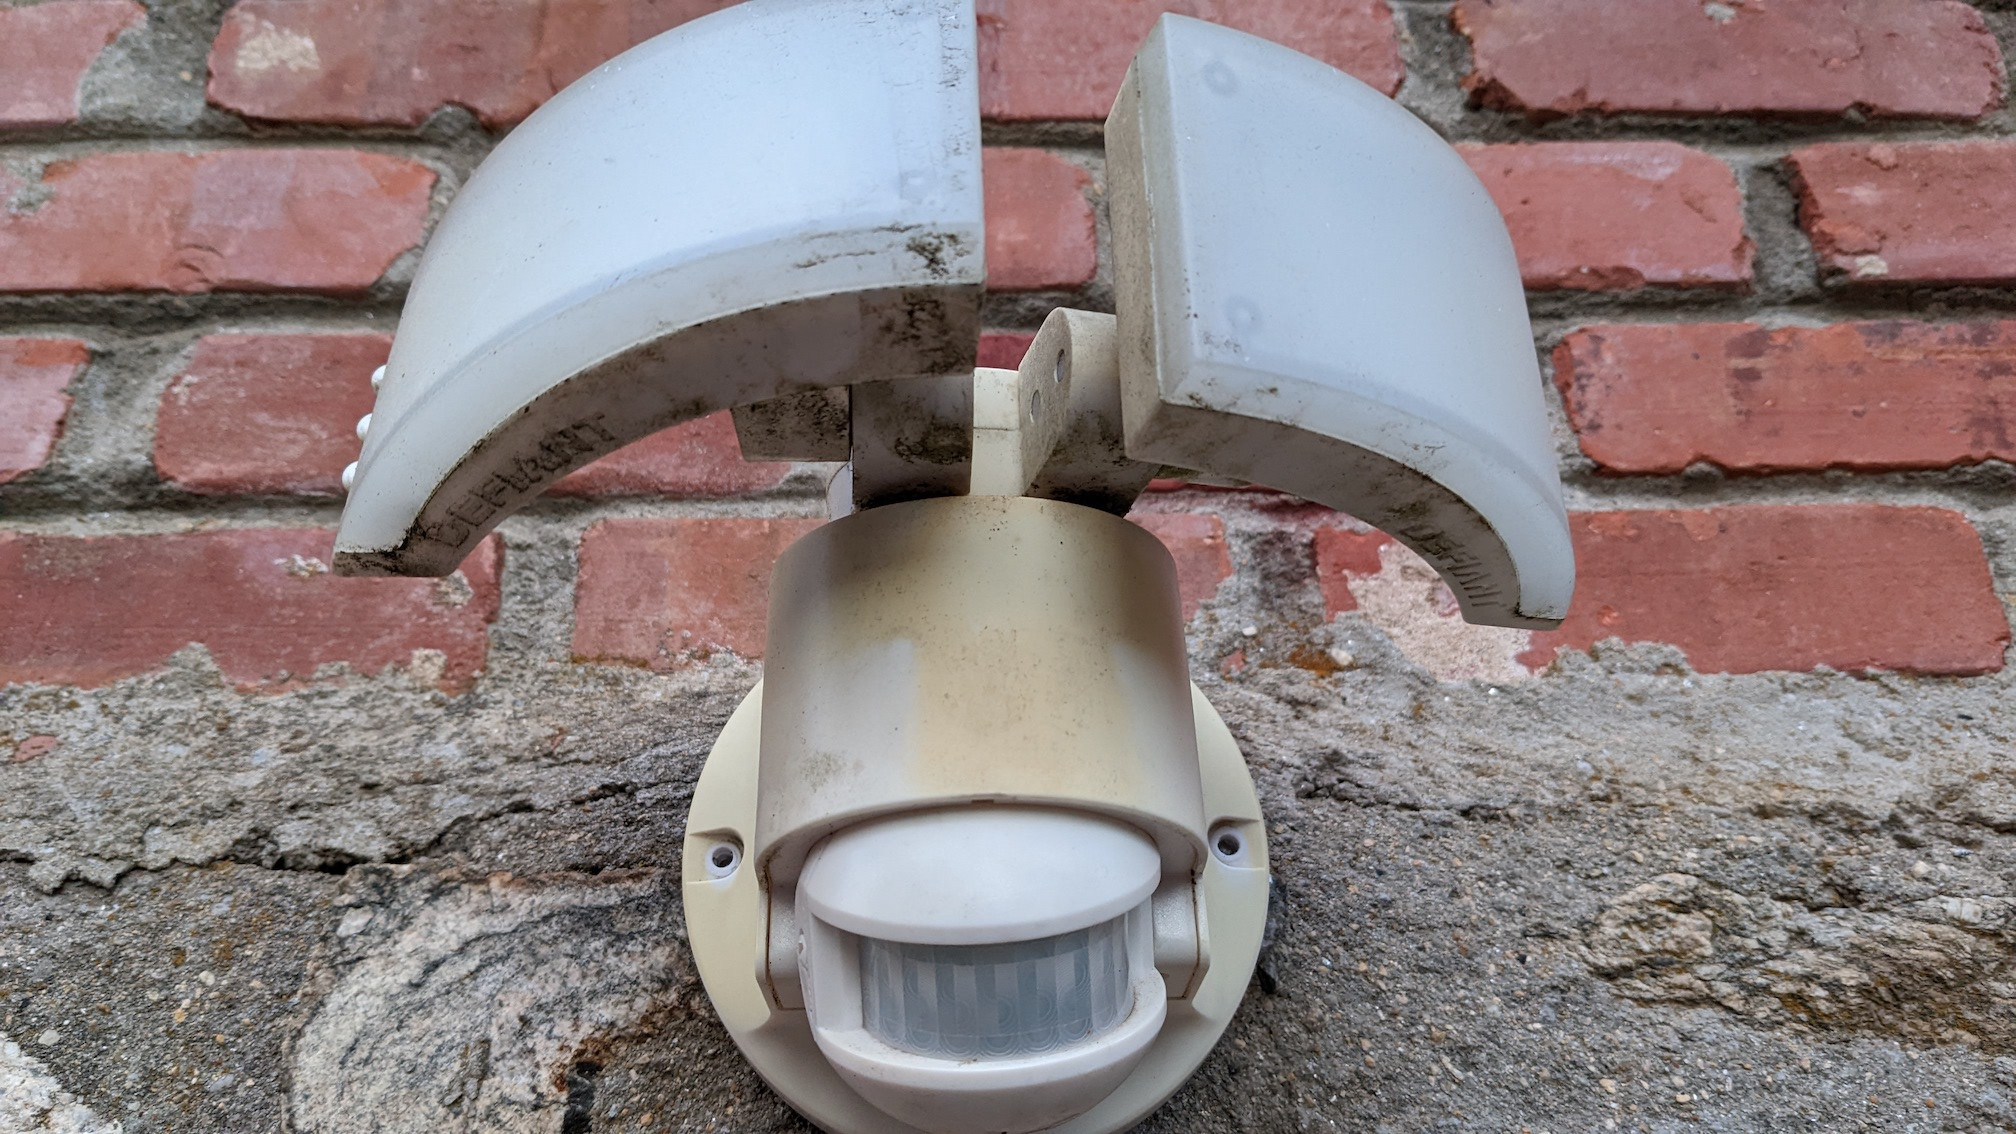
Protect your investment from rain, dust, and seasonal wear.
Seal the Mounting Area
Apply a bead of outdoor-rated silicone caulk around the base of the mounting bracket. This blocks water from seeping behind the fixture.
Clean the Lens Periodically
Dirt, cobwebs, and pollen reduce brightness over time. Wipe the lens with a damp cloth every few months to maintain full output.
Inspect the Fixture Annually
Check once a year for loose screws, corrosion around the wire nuts, or signs of water intrusion. Tighten or replace components as needed.
Pro Tip: If brightness dims significantly, consider replacing the entire LED unit, since most Defiant flood lights use non-replaceable bulbs.
Common Installation Mistakes to Avoid
Small errors can lead to big problems. Watch for these frequent pitfalls.
Skipping the Voltage Test
Assuming the power is off without testing can result in electric shock. Always verify with a non-contact voltage tester before handling wires.
Over-tightening Wire Nuts
Excessive force can strip the wires or crack the connector. Hand-tighten first, then secure gently with pliers.
Misaligning the Motion Sensor
Pointing the sensor too far downward limits its detection range. Aim it slightly downward but across the area you want to monitor.
Ignoring the Instruction Manual
Defiant models vary in wiring layout and sensor controls. Always review the included manual for model-specific guidance.
Final Adjustments for Best Performance

Fine-tune your setup to get the most out of your new flood light.
Pair with a Smart Switch (Optional)
If you want remote or scheduled control, install a compatible smart wall switch. Most Defiant flood lights lack built-in Wi-Fi but work well with external smart switches.
Note: Confirm switch compatibility with your specific Defiant model before purchasing.
Combine Dusk-to-Dawn and Motion Modes
If your fixture includes a dusk-to-dawn setting, pair it with motion detection to save energy while maintaining security.
Choose the Right Color Temperature
Defiant lights typically come in 3000K (warm white) or 5000K (daylight):
– 3000K: Softer, welcoming glow ideal for patios and entryways
– 5000K: Brighter, alerting light ideal for security and driveways
Frequently Asked Questions About Defiant Flood Light Installation
Do I need an electrician to install a Defiant flood light?
No, most homeowners can complete the installation themselves with basic tools and by following safety protocols. However, if you’re uncomfortable working with electrical wiring, hiring a licensed electrician is a safe choice.
How long does it take to install a Defiant flood light?
For a straightforward replacement, the process typically takes 30 to 60 minutes. New installations that require drilling into masonry or running new wire may take longer.
Can I install a Defiant flood light on any outdoor surface?
Yes, but the mounting hardware differs by surface. Wood and siding accept standard screws, while masonry, brick, or stucco require anchors and a hammer drill for a secure fit.
Why isn’t my motion sensor triggering the light?
Common causes include incorrect sensitivity settings, a misaligned sensor angle, or power not fully restored at the breaker. Recheck each of these before assuming a defect.
Are Defiant flood lights weatherproof?
Most Defiant models are rated for outdoor use and resist rain and dust. Sealing the mounting area with silicone caulk adds extra protection against moisture intrusion.
Can I replace the bulb in my Defiant flood light?
Most Defiant flood lights use integrated LED panels that are not user-replaceable. If the light dims or fails, the entire unit is typically replaced.
Final Thoughts on Installing Your Defiant Flood Light
Installing a Defiant flood light is a manageable DIY project that delivers real benefits in home security and curb appeal. The keys to success are shutting off power before any wiring work, matching wire colors correctly, and sealing the fixture against moisture.
Once installed, take time to adjust the motion sensor sensitivity and aim the light head for full coverage of your target area. Regular cleaning and annual inspections keep the fixture performing at its best for years.
Now that your Defiant flood light is mounted and tested, enjoy the confidence that comes with a brighter, more secure property.