
A Brinks door security bar is one of the simplest ways to reinforce an entry door without drilling holes or making permanent changes. It works by bracing between the floor and the door panel, creating pressure that resists forced entry from the inside. For renters, travelers, or anyone preparing for emergencies, this tool-free device offers immediate added protection in seconds. If you need to know how to install a Brinks door security bar, the process requires no tools and only takes a minute once you understand the steps.
This guide covers everything from adjusting the bar to fitting your door, positioning it for maximum resistance, engaging the locking latch, and activating the alarm on equipped models. You’ll also learn how to troubleshoot fit issues and keep the bar working reliably over time.
Adjust the Bar Length to Match Your Door
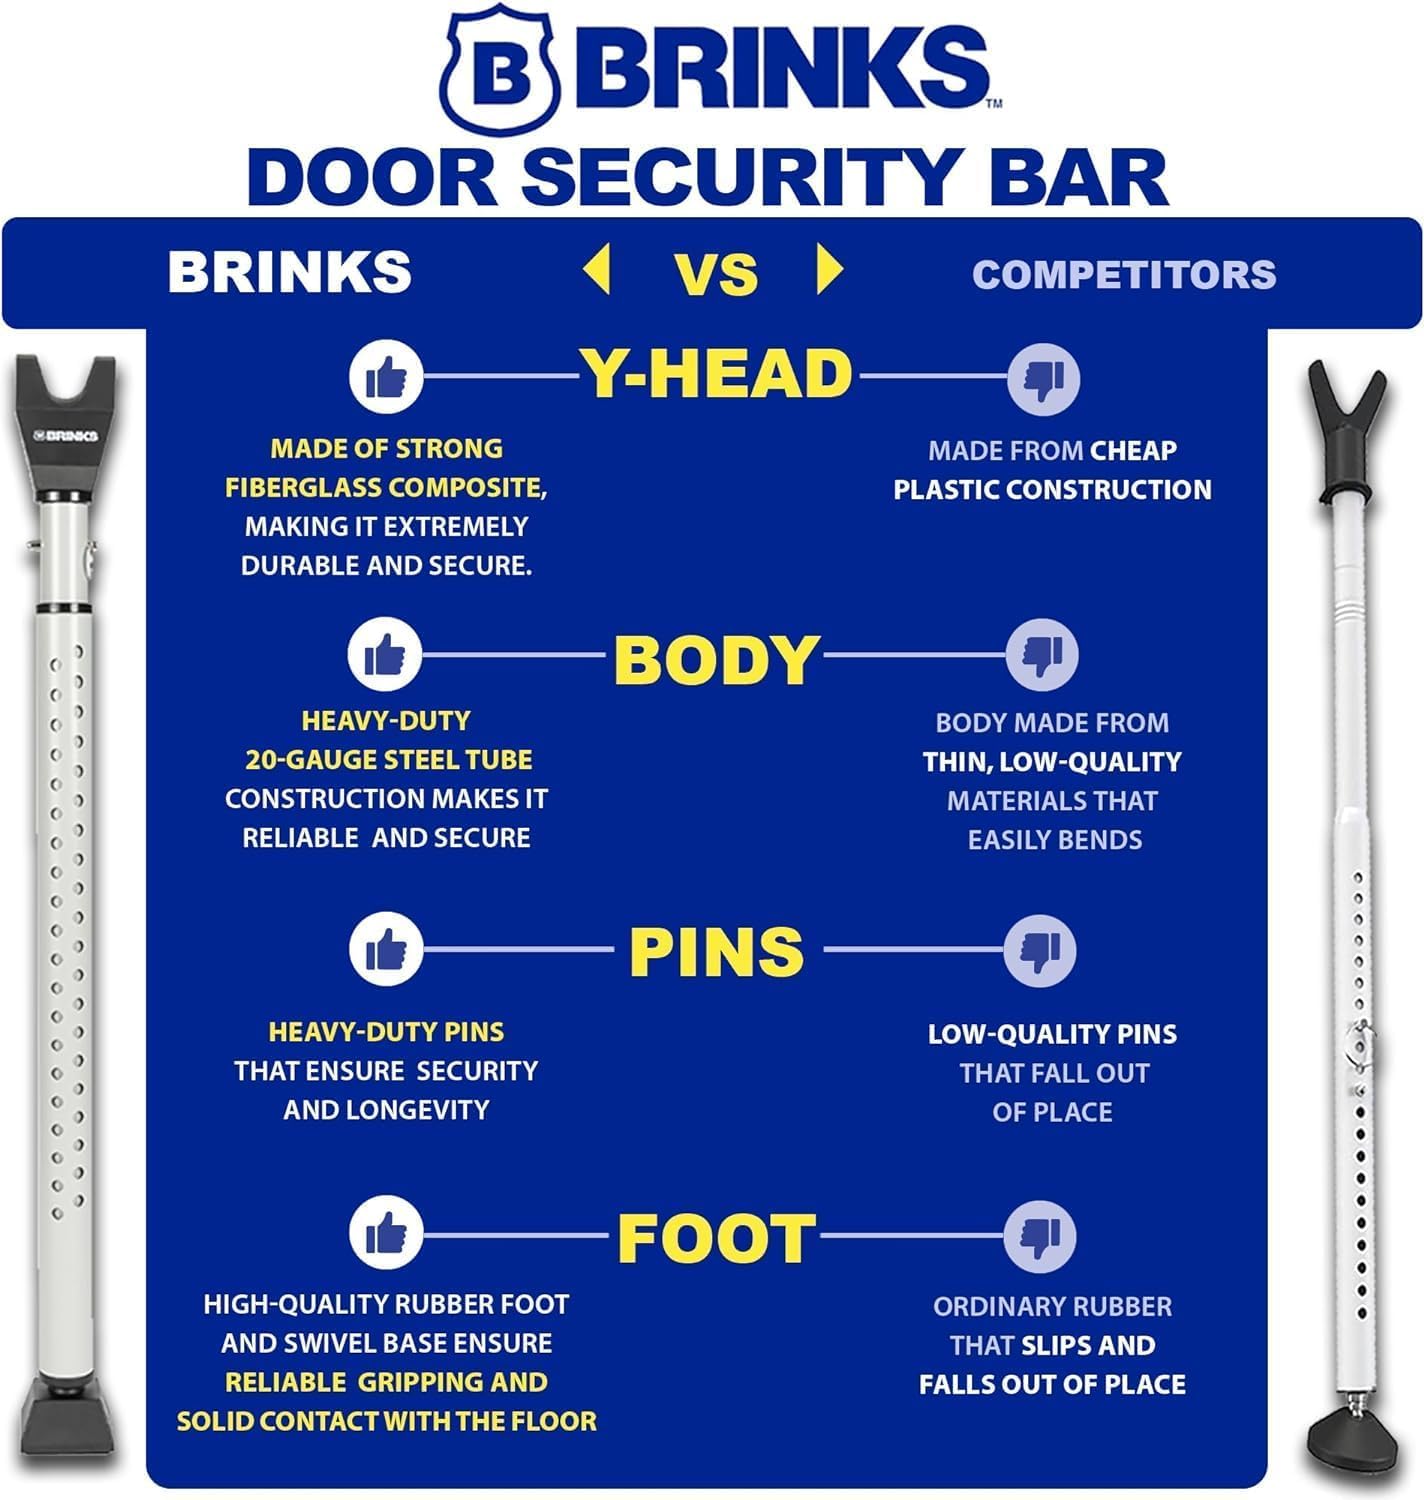
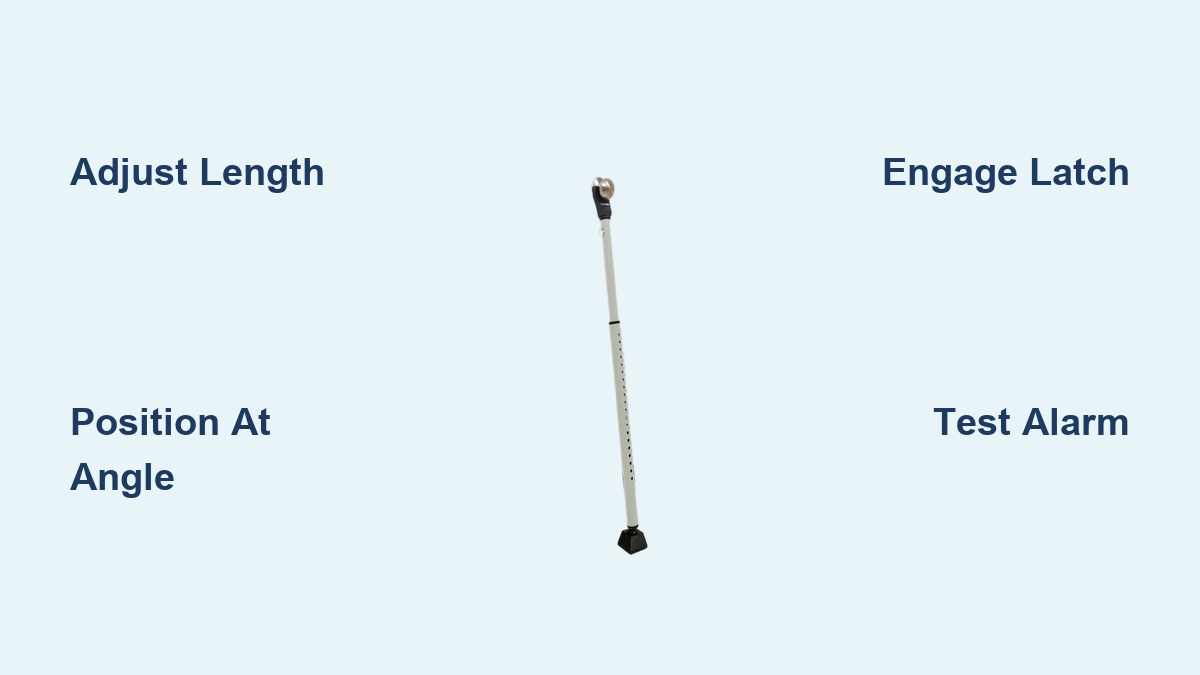
Before placing the security bar, you need to set its length so it fits snugly between the floor and the door. The Brinks bar uses a telescoping steel design that adjusts to accommodate standard residential door widths.
Extend or Compress the Telescoping Tubes
Hold both ends of the bar and gently pull or push to slide the inner and outer tubes. Adjust until the bar roughly matches the distance from the floor to the contact point on the door. At this stage, you are only setting the approximate size, not locking it yet.
Confirm Smooth Sliding Action
The tubes should move freely without sticking. If they feel stiff, wipe them with a dry cloth to remove dust or debris. Avoid using lubricants, as they can attract dirt and may interfere with the locking latch mechanism.
Position the Bar Against the Door
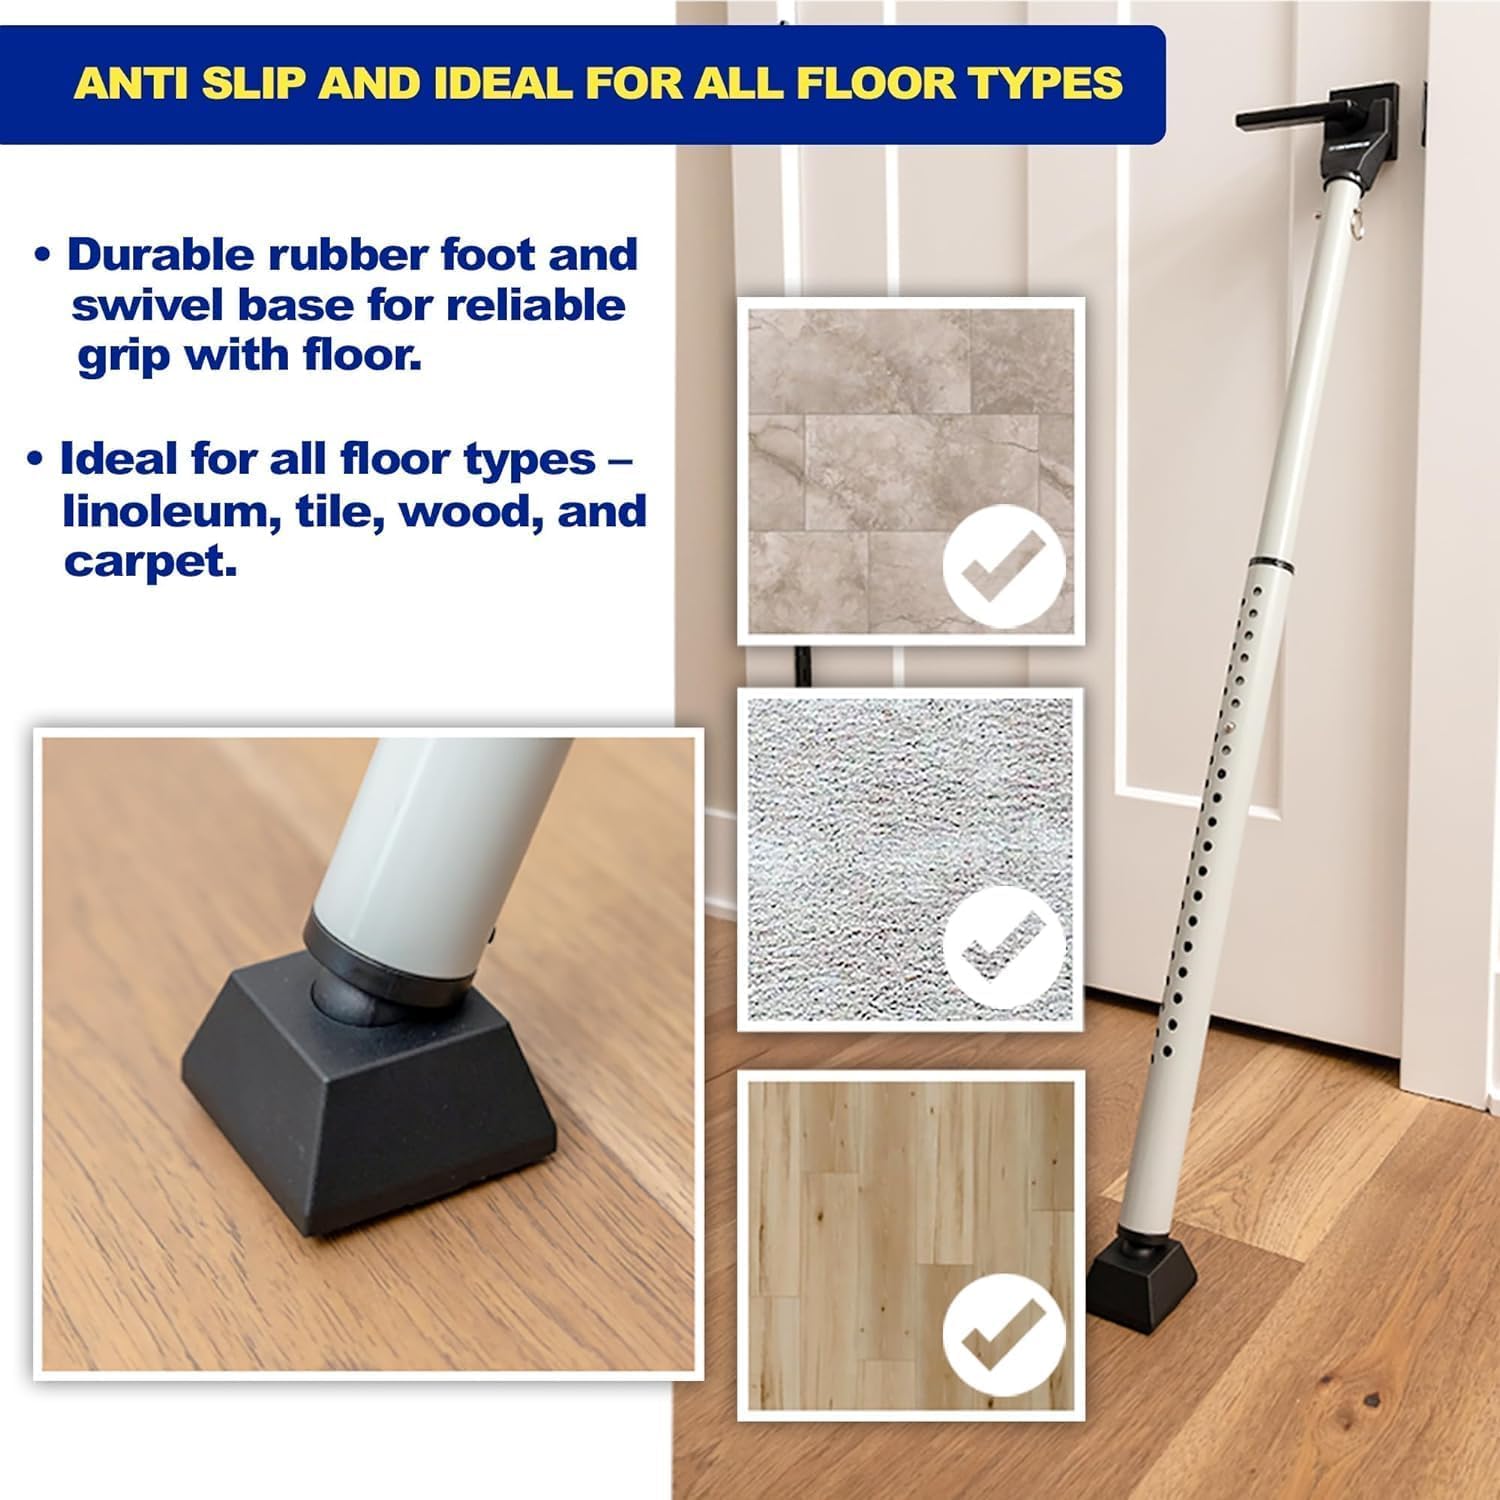
Correct placement is essential for the bar to deliver maximum resistance. Poor positioning reduces leverage and increases the chance of the bar slipping during an intrusion attempt.
Set the Base on a Stable, Non-Slip Surface
Place the bottom end of the bar firmly on the floor directly in front of the door. Make sure the rubber feet are attached and facing down. These feet protect your flooring and help prevent sliding on tile, hardwood, or laminate.
Pro Tip: Lightly push the base to test grip. If it slides easily, place a rubber-backed mat underneath, as long as it doesn’t raise the bar too high off the floor.
Angle the Top Against the Door Panel
Press the top end of the bar against the lower-middle to center portion of the door itself, not the frame or handle. This placement ensures force transfers straight down to the floor when pressure is applied.
The ideal angle is between 30° and 45°. Too shallow and the bar may buckle; too steep and it won’t generate enough resistance to hold the door shut.
Engage the Locking Latch Mechanism
Once the bar is positioned correctly, you must lock the telescoping sections so they hold their tension under pressure.
Lock the Tubes in Place
With the bar snug between the door and floor, activate the locking latch. This internal mechanism secures the adjustable sections, keeping the bar rigid and preventing collapse.
To engage the latch:
1. Apply slight upward pressure on the top end.
2. Flip or slide the latch switch, depending on your model.
3. Gently push the door to test stability.
You should feel firm resistance. If the bar compresses or shifts, readjust the length and re-engage the latch until it holds steady.
Activate the Built-In Alarm (If Equipped)
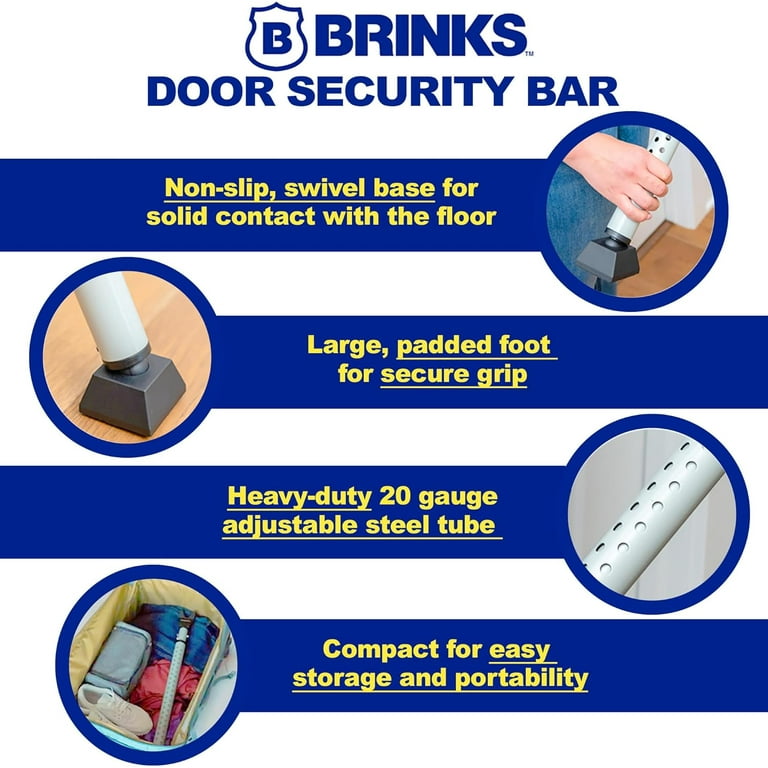
Some Brinks door security bar models include a 121-decibel alarm designed to scare off intruders and alert anyone nearby.
Turn On the Alarm Switch
For alarm-equipped models:
1. Locate the alarm switch or sensor on the top unit.
2. Flip the switch to the “On” position or arm the motion sensor.
3. Listen for a short beep that confirms activation.
The alarm triggers when the bar detects sudden movement or impact, such as someone attempting to kick the door open.
Note: 121 decibels is extremely loud, comparable to a chainsaw or live rock concert. Take care to avoid accidental activation around sleeping family members or pets.
Test the Installation
After setup, always verify the bar performs as intended before relying on it.
Apply Gentle Pressure to the Door
Push the door open with your hand or foot, without kicking. The bar should hold the door firmly closed with no slipping or compression. If the base slides, reposition it on a drier or more textured surface. If the top slips, make sure it sits flat against the door panel.
Confirm the Alarm Response (If Applicable)
For alarm models, lightly shake the bar or tap the door to confirm the siren activates within seconds. If the alarm doesn’t sound, the batteries may need replacement. Battery compartment access varies by model, so consult the original packaging if needed.
Remove or Reposition the Bar
Because the Brinks bar is portable and tool-free, removing it is just as quick as installing it.
Disengage the Latch and Lift Away
Flip the locking latch to release the telescoping tubes. The bar should compress easily. Remove the top end from the door, then lift the base off the floor. Store it in a dry, accessible location such as under a bed or inside a closet for quick redeployment.
Troubleshoot Common Fit Issues
Even with an adjustable design, some doors or flooring types can create challenges.
Door Too Tall or Too Short
The Brinks bar is built for standard doors. If the bar doesn’t reach or extends too far, confirm your door height. The bar works best on standard 80-inch (6’8″) residential doors.
Slipping on Smooth Flooring
Even with rubber feet, slick surfaces like polished tile or hardwood can cause the base to slide.
Try these fixes:
– Place the bar on a rubber-backed rug or mat
– Make sure the rubber feet are clean and undamaged
– Avoid wet or freshly waxed floors
Important: Do not modify the bar with tape, glue, or added weights. Modifications can compromise stability and void safe operation.
Maintain Your Brinks Security Bar
Routine care keeps the bar working at full strength for years.
Inspect the Rubber Feet Monthly
Check for cracks, flattening, or debris buildup. Worn feet reduce grip and can scratch flooring. Contact Brinks support if replacements are needed.
Wipe Down the Steel Tubes
Use a dry or slightly damp cloth to remove dust. In humid environments, regular wiping prevents moisture buildup that could lead to corrosion over time.
Test Alarm Batteries Every Three Months
If your model includes a siren, test the alarm monthly and replace batteries at least every three months. Most alarms use standard 9V or AA batteries, though you should verify based on your specific unit.
Understand the Bar’s Limitations
The Brinks door security bar is highly effective when used correctly, but it has clear boundaries.
It Supplements, Not Replaces, Primary Locks
Always pair the bar with:
– A solid-core door
– A reinforced strike plate
– A functioning deadbolt
The bar stops forced entry but does not prevent lock picking or bypassing if your primary lock fails.
Floor and Door Conditions Affect Performance
Uneven, warped, or very slick floors reduce the bar’s effectiveness. Hollow-core doors also offer less resistance and may dent under heavy pressure.
Ideal Use Cases for the Brinks Bar
This security bar shines in situations where quick, non-permanent reinforcement is needed.
Rental Property Protection
Tenants often can’t drill into doors or frames. The bar provides lease-friendly added security with zero modifications.
Emergency Preparedness
During storms, blackouts, or civil unrest, the bar adds peace of mind when normal security systems may be unavailable.
Home Renovations
With contractors and workers coming and going, the bar secures unused entry points at night without permanent installation.
Travel and Temporary Stays
Weighing only 4.5 lbs, the bar is easy to pack for hotels, vacation rentals, or mobile homes.
Final Installation Checklist

Before relying on your Brinks door security bar, confirm each step:
- Bar adjusted to fit door height
- Rubber feet attached and clean
- Base on a non-slip floor surface
- Top pressed against door center, not the frame
- Locking latch fully engaged
- Alarm activated, if applicable
- Tested under light pressure
- Easy to remove in case of emergency
Frequently Asked Questions About the Brinks Door Security Bar
Do I need tools to install a Brinks door security bar?
No. The Brinks door security bar is designed for tool-free installation. You simply adjust the telescoping tubes, position the bar between the floor and door, and engage the locking latch.
What door thickness does the Brinks bar fit?
The bar adjusts to fit standard residential doors between 2¾ inches and 4 inches thick. It works best on standard 80-inch (6’8″) doors.
Can the bar damage my flooring?
No, not when used properly. The bar includes rubber feet that protect tile, hardwood, and laminate from scratches while preventing slipping.
Does the Brinks bar come with an alarm?
Some models include a built-in 121-decibel alarm that triggers on impact or movement. Verify your package contents, as the alarm is a specific variation within the product line.
Can I use the bar on any type of door?
The bar works on both interior and exterior doors, but solid-core doors provide the best resistance. Hollow-core doors may dent under heavy pressure and offer less protection.
Where should I store the bar when not in use?
Store it in a dry, accessible location such as under a bed, in a closet, or in a vehicle for travel. Keeping it nearby ensures quick deployment during emergencies.
Key Takeaways for Installing Your Brinks Door Security Bar
Installing a Brinks door security bar takes only a minute and requires no tools, drilling, or permanent modifications. The most important steps are adjusting the bar to the correct length, positioning it at the right angle against the door panel, and fully engaging the locking latch. For alarm-equipped models, testing the siren regularly ensures it works when needed.
Pair the bar with a solid-core door and a quality deadbolt for the strongest defense. Inspect the rubber feet monthly, wipe down the steel tubes to prevent corrosion, and replace alarm batteries every three months. With proper setup and care, your Brinks door security bar delivers reliable, portable protection for your home, rental, or travel needs.