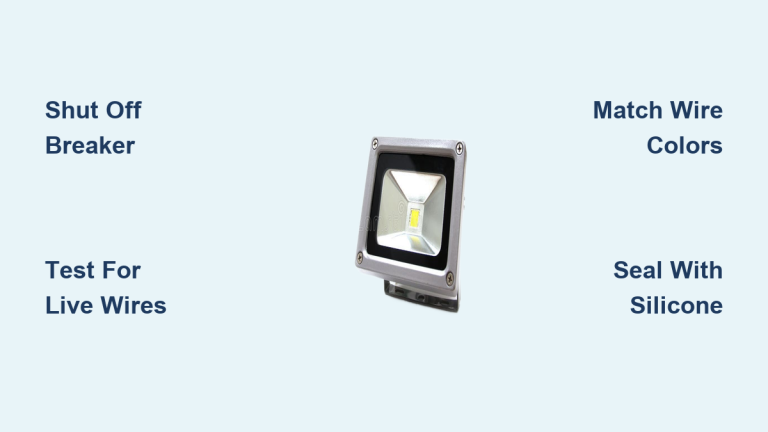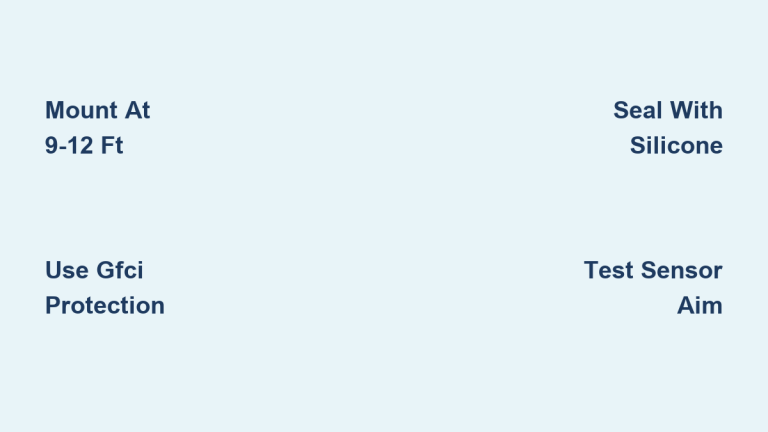

A dark driveway or unlit backyard can make any home feel unsafe at night. Connecting a flood light is one of the most effective ways to boost security and visibility around your property. The good news is that learning how to connect flood light fixtures is a manageable DIY project when you’re replacing an old unit. The process involves turning off power, matching wires correctly, and sealing connections against moisture. This guide covers every step in detail, from safety prep to final testing, so you can install your fixture with confidence. You’ll also learn when to call a licensed electrician for new wiring work.
Power Off and Verify Safety
Before touching any wire, you must disconnect and confirm that power is off. Skipping this step can result in serious electrocution.
Shut Off Circuit Breaker
Go to your main electrical panel and flip the breaker controlling the flood light circuit. If you are unsure which breaker powers the fixture, turn the light on, then flip breakers one by one until it shuts off. Label that breaker clearly so no one re-energizes it during your work.
Test for Live Wires
Use a non-contact voltage tester to confirm the wires are dead. First, test the device on a known live outlet to make sure it works. Then hold it near each wire at the fixture (black, white, and ground). No beep or light means power is off. Never skip this step, even if the fixture appears off, because wiring errors can leave conductors live regardless of switch position.
Confirm GFCI Protection
Outdoor circuits must be GFCI-protected to prevent shock in wet conditions. Check whether the circuit connects to a GFCI outlet or breaker. Press the “Test” button to trip it, then “Reset” once installation is complete. Without GFCI, a ground fault from moisture could cause severe injury.
Match Wires Correctly
:max_bytes(150000):strip_icc()/electrical-wire-color-coding-1152863-1885f3461ba9443f8bcf14a1f9236a2d.png)
Connecting the right wires ensures safe, reliable operation. Miswiring can damage the fixture, trip breakers, or create shock hazards.
Identify Wire Functions
Standard flood lights use a three-wire system. Match colors and terminal labels exactly:
- Black or Brown: Hot/live wire connects to house black.
- White or Blue: Neutral connects to house white.
- Green or Bare Copper: Ground connects to house ground.
Fixtures often label terminals “L” (Live), “N” (Neutral), and a ground symbol. International and US color codes differ, so always verify markings before connecting.
Use Outdoor-Grade Connectors
Twist wires together using outdoor-rated wire nuts filled with dielectric grease. This prevents corrosion from moisture intrusion. After twisting, tug each wire gently to confirm a tight mechanical connection. In humid climates, wrap connections with electrical tape for extra protection.
Avoid Common Wiring Mistakes
- Never connect neutral to ground, as this creates a dangerous fault path.
- Don’t reverse hot and neutral. Some fixtures may still function, but it increases shock risk during maintenance.
- Ensure no bare copper is exposed beyond the wire nut. Use wire strippers for clean, precise cuts.
Mount Fixture and Seal Junction

A secure, weatherproof installation prevents water damage, corrosion, and premature fixture failure.
Install Mounting Bracket
Remove the old fixture and inspect the junction box. If it is cracked or corroded, replace it before proceeding. Attach the new mounting bracket to the box using the provided screws. Use masonry anchors when mounting to brick or stucco. Confirm the bracket is level before tightening.
Route Wires Through Gland
Pass the fixture’s leads through the strain relief cable gland. Tighten the gland securely to block moisture and prevent wire strain. Make sure wires do not rest on sharp box edges that could damage insulation.
Apply Waterproof Sealant
Run a bead of exterior-grade silicone caulk around the junction box flange before attaching the fixture. This creates a secondary moisture barrier between the fixture base and the wall. Skipping this step can compromise IP65-rated performance and lead to water ingress.
Connect and Secure Fixture
With wires matched and the area sealed, it is time to finalize the physical installation.
Make Final Wire Connections
Connect black to black (hot), white to white (neutral), and ground to ground. Tuck wires neatly into the junction box, taking care not to pinch them when mounting.
Attach Fixture to Bracket
Align the fixture base with the bracket and insert mounting screws. Do not over-tighten, as this can crush the rubber gasket and break the weather seal.
Adjust Beam Angle
Loosen the head adjustment knobs and aim the light downward at a 30–45° angle. This illuminates the ground without shining into neighbors’ windows or reflecting off siding. Test the aim at night and make micro-adjustments as needed.
Test and Troubleshoot
After installation, restore power and verify everything works correctly.
Restore Power and Activate
Turn the breaker back on and flip the wall switch. If the fixture has a photocell, wait for dusk. If the light does not turn on, recheck the breaker, test voltage at the fixture, and inspect connections for looseness.
Fix Flickering or Failure
- Flickering? Likely a loose connection or incompatible dimmer. Tighten wire nuts and remove any dimmer if the fixture is not labeled dimmable.
- No light? Check for a tripped GFCI and confirm the sensor is not stuck in test mode.
- Breaker trips immediately? Indicates a short circuit. Inspect for crossed wires or exposed copper touching the box.
Verify Sensor Operation
For motion-activated fixtures, set sensitivity to avoid false triggers from pets or moving branches. Adjust the on-time duration (typically 1–5 minutes) and exit test mode for normal operation.
Install New Circuit (Hire Electrician)
Running new wiring is not a DIY job. It requires permits, trenching, conduit, and code compliance.
When You Need a Pro
Hire a licensed electrician if there is no existing junction box at the location, you need to run cable from the panel, or the circuit is already overloaded. The electrician will pull permitted cable, install a weatherproof box, ground the circuit, and confirm GFCI protection. Attempting this yourself can violate the National Electrical Code, void insurance, and create fire hazards.
Optimize Placement and Coverage

Correct positioning ensures effective lighting without glare or wasted light.
Choose Ideal Mounting Height
Mount between 9 and 12 feet high. Higher mounts provide wider coverage but dimmer ground light. Lower mounts create intense but limited illumination. Avoid mounting below 9 feet to prevent glare and tampering.
Select Beam Angle
- 60° beam: Focused security light covering roughly 10–12 feet wide at 10 feet height.
- 100° beam: Broad area flood covering roughly 16–18 feet wide at 10 feet height.
Consult photometric charts for precise coverage planning.
Prevent Light Spill
Aim lights downward and use visors or shields to avoid shining into neighboring properties. Follow local lighting ordinances to reduce light pollution.
Maintain for Longevity
Proper care keeps your flood light bright and reliable for years.
Clean Lens Regularly
Wipe the lens every six months with a soft cloth and mild soap to remove dirt, pollen, and bird droppings. Never use ammonia, alcohol, or abrasive cleaners on polycarbonate lenses.
Inspect Annually
Once a year, with power off, open the junction box and check for corrosion, loose wires, or cracked seals. Reapply silicone if gaps appear and tighten any loose mounting hardware.
Test GFCI Twice Yearly
Press “Test” and “Reset” on the GFCI outlet or breaker to confirm shock protection works. Replace the device immediately if it fails to trip.
Integrate Smart or Sensor Controls
Upgrade functionality with automation and remote access.
Use Built-in Sensors
Many flood lights include motion sensors or photocells. Adjust sensitivity and duration dials, and avoid aiming at moving tree branches that cause false triggers.
Add Smart Modules
Install Wi-Fi or Z-Wave smart switches to control lights via app, set schedules, and integrate with security systems. Confirm the smart switch supports LED loads and is rated for outdoor use.
Bypass Sensor for Manual Control
Some fixtures allow sensor bypass by toggling the switch on and off rapidly. Check the manual for instructions. If bypass is not supported, the light will only operate through the sensor.
Prevent Common Installation Failures
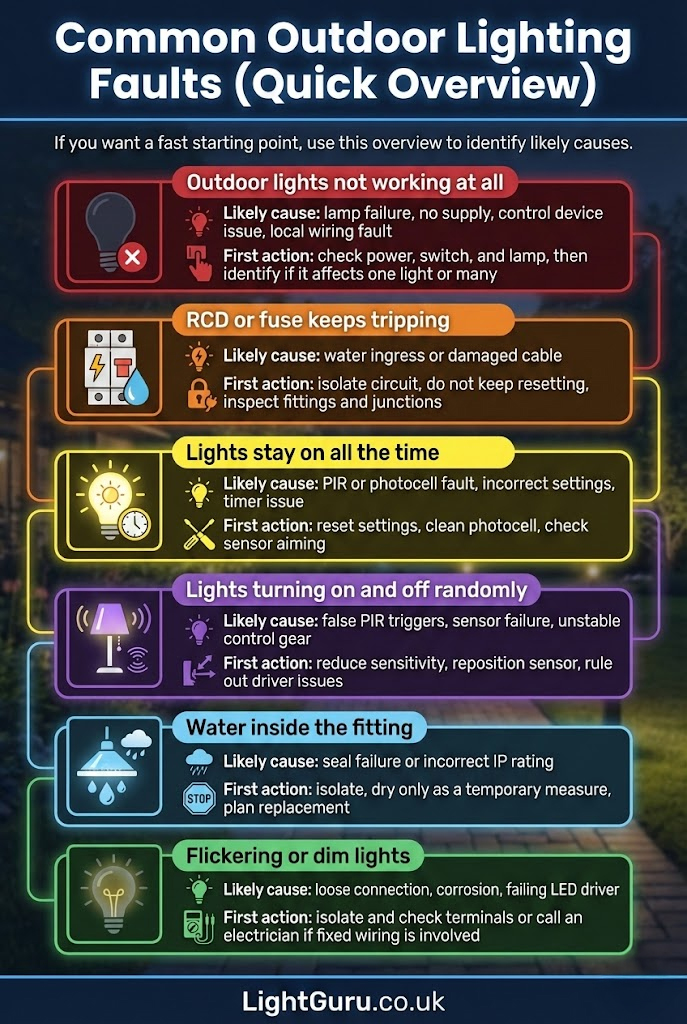
Most flood light problems stem from poor installation rather than fixture defects.
Seal Every Connection
Moisture is the leading cause of failure. Always tighten cable glands, use dielectric grease in wire nuts, and apply silicone around the base. Even a single gap can lead to corrosion and short circuits.
Avoid Over-Tightening Screws
Crushing the gasket breaks the weather seal. Snug is enough; do not force screws.
Don’t Skip the Ground Wire
Never leave the ground unconnected. It is a critical safety path during faults.
Use Correct Tools
Wire strippers prevent nicking conductors. A level ensures even mounting. A ladder with a tool pouch keeps hands free and stable.
Frequently Asked Questions About Connecting Flood Lights
Can I install an LED flood light myself?
Yes, replacing an existing fixture is a standard DIY task if you follow safety protocols: turn off the breaker, verify no power, and match wires correctly. Running new wiring or installing new boxes requires a licensed electrician.
What is the difference between motion-sensor and dusk-to-dawn lights?
Motion-sensor lights activate only when movement is detected within range. Dusk-to-dawn lights use a photocell to turn on at sunset and off at sunrise. Some models combine both technologies.
Why does my new flood light flicker?
Flickering is usually caused by loose wire connections, voltage fluctuations from other appliances on the same circuit, or a non-compatible dimmer switch. Tightening connections and checking circuit load typically resolves the issue.
How high should I mount my flood light?
Mount fixtures between 9 and 12 feet high for the best balance between coverage area and light intensity. Lower mounts create glare and harsh shadows; higher mounts reduce ground-level brightness.
Are outdoor lights required to be on a GFCI circuit?
Yes. Electrical codes mandate GFCI protection for all outdoor circuits to prevent electrocution in wet conditions.
What usually goes wrong during installation?
The most common failures are loose terminals, failure to tighten cable glands allowing moisture entry, and improper aiming causing glare or poor coverage. Rushing the sealing process is a primary cause of premature failure.
Key Takeaways for Connecting a Flood Light Safely
Connecting a flood light is safe and effective when you follow code, match wires correctly, and seal against moisture. For replacements, it is a DIY-friendly project that delivers immediate security benefits. For new circuits, always hire a licensed electrician to ensure compliance and safety. With proper installation and routine maintenance, your LED flood light will provide bright, reliable illumination for 10–15 years. Start by turning off the power, verify with a voltage tester, and take your time with each connection. Your safer, better-lit home is just one installation away.