
Choosing the right flood lights can transform your property’s safety, security, and visual appeal. Whether illuminating a backyard patio or securing a commercial parking lot, the wrong choice can lead to glare, wasted energy, or inadequate coverage. Flood lights feature wide beam angles, typically 60° to 120°, designed to wash large areas with light rather than focus on specific features. This guide provides a step-by-step approach to selecting flood lights based on brightness, beam angle, power source, and real-world application.
You’ll learn how to match lumen output to area size, avoid neighbor disputes, and choose between motion sensors, smart controls, and solar options. Every recommendation ensures weather resistance and long-term durability for your investment.
Match Lumens to Your Coverage Area

Brightness, measured in lumens, is the most critical factor when choosing flood lights. Too little light creates safety risks, while too much causes glare and light pollution. Use area size and intended use to determine the correct output.
Calculate Required Brightness
Apply this formula to avoid guesswork: Coverage Area = (Lumens × Beam Angle) / Lux Requirement. Lux measures light intensity on a surface. Pathways and patios need 100–200 lux, while driveways and commercial zones require 300+ lux for safety and surveillance clarity.
A wider beam spreads light over more area but reduces intensity. For example, a 4,000-lumen light with a 120° beam covers more ground than the same lumen count at 60°, but each square foot receives less light.
Use Wattage as a Lumen Guide
For quick residential decisions, refer to this wattage-to-coverage matrix:
| LED Wattage | Lumens | Best For | Coverage |
|---|---|---|---|
| 5W | 400 lm | Doorways | 5m x 5m |
| 10W | 750 lm | Patios | 10m x 10m |
| 20W | 1,500 lm | Driveways | 15m x 15m |
| 50W | 4,000 lm | Medium gardens | 30m x 30m |
| 100W | 8,000 lm | Large yards | 50m x 50m |
| 150W | 16,000 lm | Parking lots | 75m x 75m |
| 200W | 20,000 lm | Industrial sites | 100m x 100m |
Low-output models (700–1,500 lm) suit residential zones. High-output units (8,000+ lm) are essential for commercial security and camera compatibility.
Avoid Common Brightness Mistakes
Under-lighting leaves dark zones ideal for intruders. Over-lighting creates glare, disturbs neighbors, and wastes energy. A 200W flood light on a small patio is excessive and likely violates local nuisance laws. Always size the light to the space, not the fixture’s maximum capability.
Pick the Right Beam Angle

Beam angle determines how light spreads. Choosing the wrong one can wash out details or leave gaps in coverage.
Wide Beams for Area Wash
Flood lights range from 60° to 120°, ideal for illuminating entire walls, covering garden beds, or lighting stands of trees. A 120° beam floods a wall evenly, creating a soft, natural nighttime effect perfect for landscape aesthetics.
Narrow Beams for Targeted Lighting
Beams under 60° are technically spotlights. They highlight architectural details, house sidings between windows, statues, or focal points. Avoid using flood lights on flat house walls because they create a flat, daytime appearance. Use 60° spotlights instead for balanced light and shadow.
Use Diffusion for Softer Light
Fixtures with frosted lenses or ground-level well lights widen the beam and soften edges. These work well for uplighting bushes or trees without harsh glare.
Select the Right Activation Type

How your flood light turns on impacts security, energy use, and convenience.
Motion Sensors for Security
Motion-activated lights startle intruders, reduce energy use by 70% or more, and trigger security cameras to record. They are ideal for driveways, side yards, and entry points. Set sensitivity and duration to avoid false triggers from pets or passing cars.
Dusk-to-Dawn Sensors for Reliability
Photocell sensors turn lights on at sunset and off at sunrise. They work best for continuous perimeter lighting, pathways used nightly, and areas where manual control is impractical. This ensures consistent lighting without user input as daylight hours change.
Smart Controls for Flexibility
Smart flood lights offer remote on/off via app, scheduling, dimming for late-night energy savings, and integration with security systems. They are useful for commercial campuses or homes with complex lighting needs. Sync with cameras for color night vision when motion is detected.
Manual Switches for Simplicity
Basic on/off control works for areas needing constant light or user-managed operation. This option offers reliability and low cost without automation features.
Prioritize LED Technology
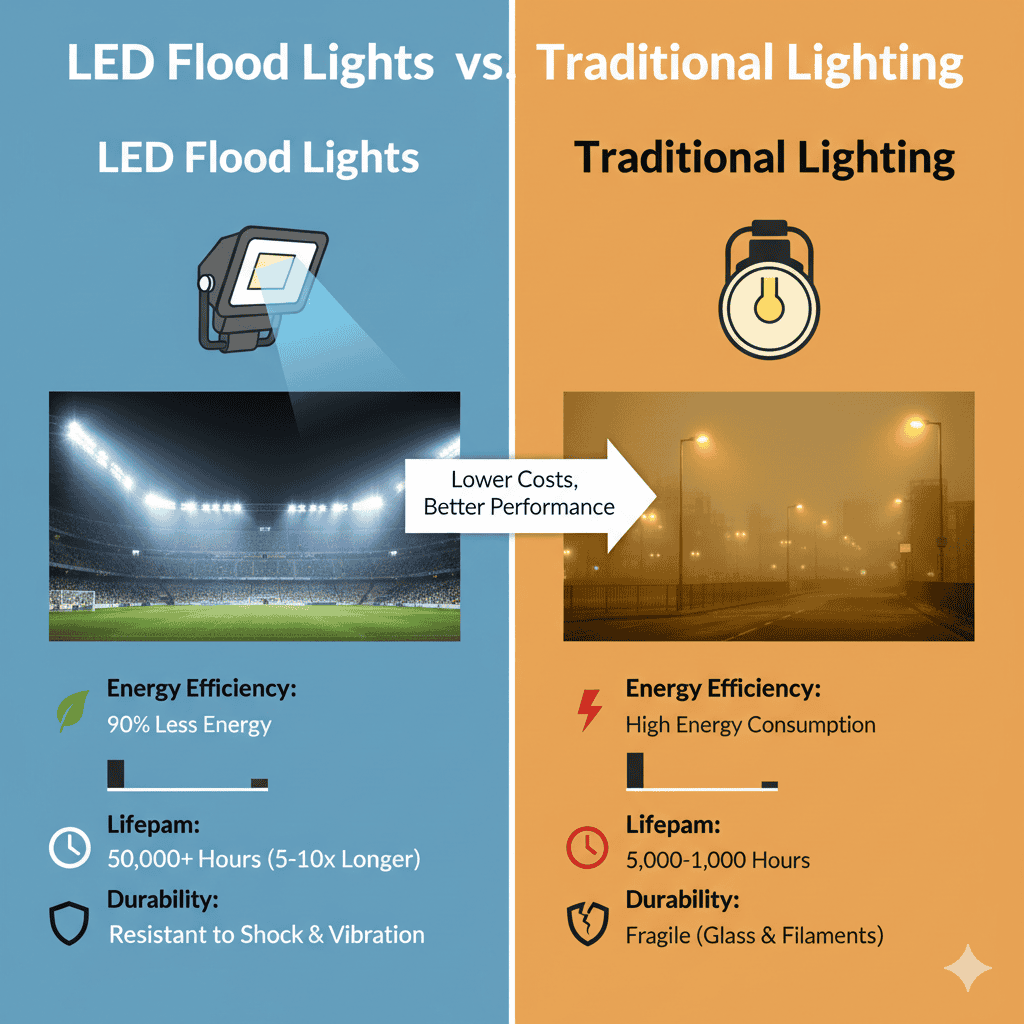
LEDs dominate flood lighting because they outperform halogen and incandescent options in every key metric.
Why LEDs Win
LEDs use up to 80% less power than halogen and last 25,000–50,000 hours versus 2,000–5,000 for traditional bulbs. They provide instant full brightness with no warm-up time, produce directional light that minimizes waste and skyglow, and generate low heat output for safer operation near materials and people.
Avoid Outdated Bulb Types
Halogen and incandescent flood lamps consume excessive energy, burn out quickly, generate high heat, and often fail in extreme weather. Stick with integrated LED fixtures for long-term value and reliability.
Choose Color Temperature Wisely
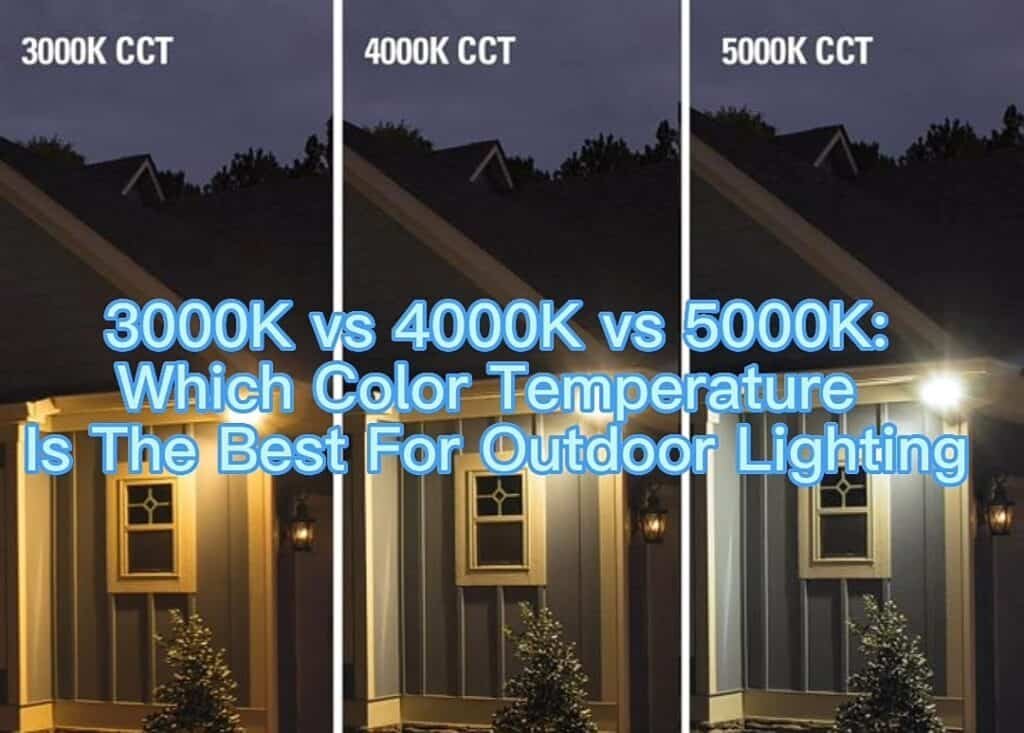
Color temperature, measured in Kelvin, affects mood, visibility, and security.
Cool White (4000K–5000K)
Cool white provides daylight-like clarity and enhances contrast and detail. It works well for parking lots, warehouses, security zones, and surveillance camera compatibility. The 5000K option provides maximum alertness and serves as the standard for industrial use.
Warm White (3000K–3500K)
Warm white offers a softer, inviting glow that reduces glare and skyglow. It suits residential facades, patios, and garden areas. Avoid 5000K+ in backyards because it can feel harsh and disrupt sleep for nearby homes.
Ensure Weather Resistance
Outdoor flood lights face rain, dust, and temperature swings, making durability essential.
Check IP Rating
Look for IP65 or higher ratings. IP65 means dust-tight plus protection against water jets. IP66 withstands powerful water jets. IP67 allows brief submersion. IP65 is the minimum for outdoor use, while higher ratings suit coastal or industrial zones.
Mount for Protection
Angle fixtures slightly downward to shed water and avoid placing them in direct splash zones like under downspouts. Use corrosion-resistant materials such as cast brass or aluminum for longer outdoor life.
Select Power Source by Use Case
The power source affects brightness, reliability, and installation complexity.
Hardwired (120V) for Maximum Output
Hardwired connections work best for commercial sites, high-security zones, and 24/7 operations. They provide reliable, high power without battery issues but require an electrician and cost more to install.
Low Voltage (12V) for Landscaping
Low voltage suits garden beds, path lighting, and small accent areas. It offers safer, easier DIY installation but requires a transformer and has limited range.
Solar for Remote or Eco-Friendly Sites
Solar works best for fences, driveway entrances, and off-grid locations. It requires no wiring and produces zero electricity cost but offers lower output, depends on sunlight, and has batteries that degrade over time. Use solar only for supplementary lighting, not primary security.
Apply Lights by Location
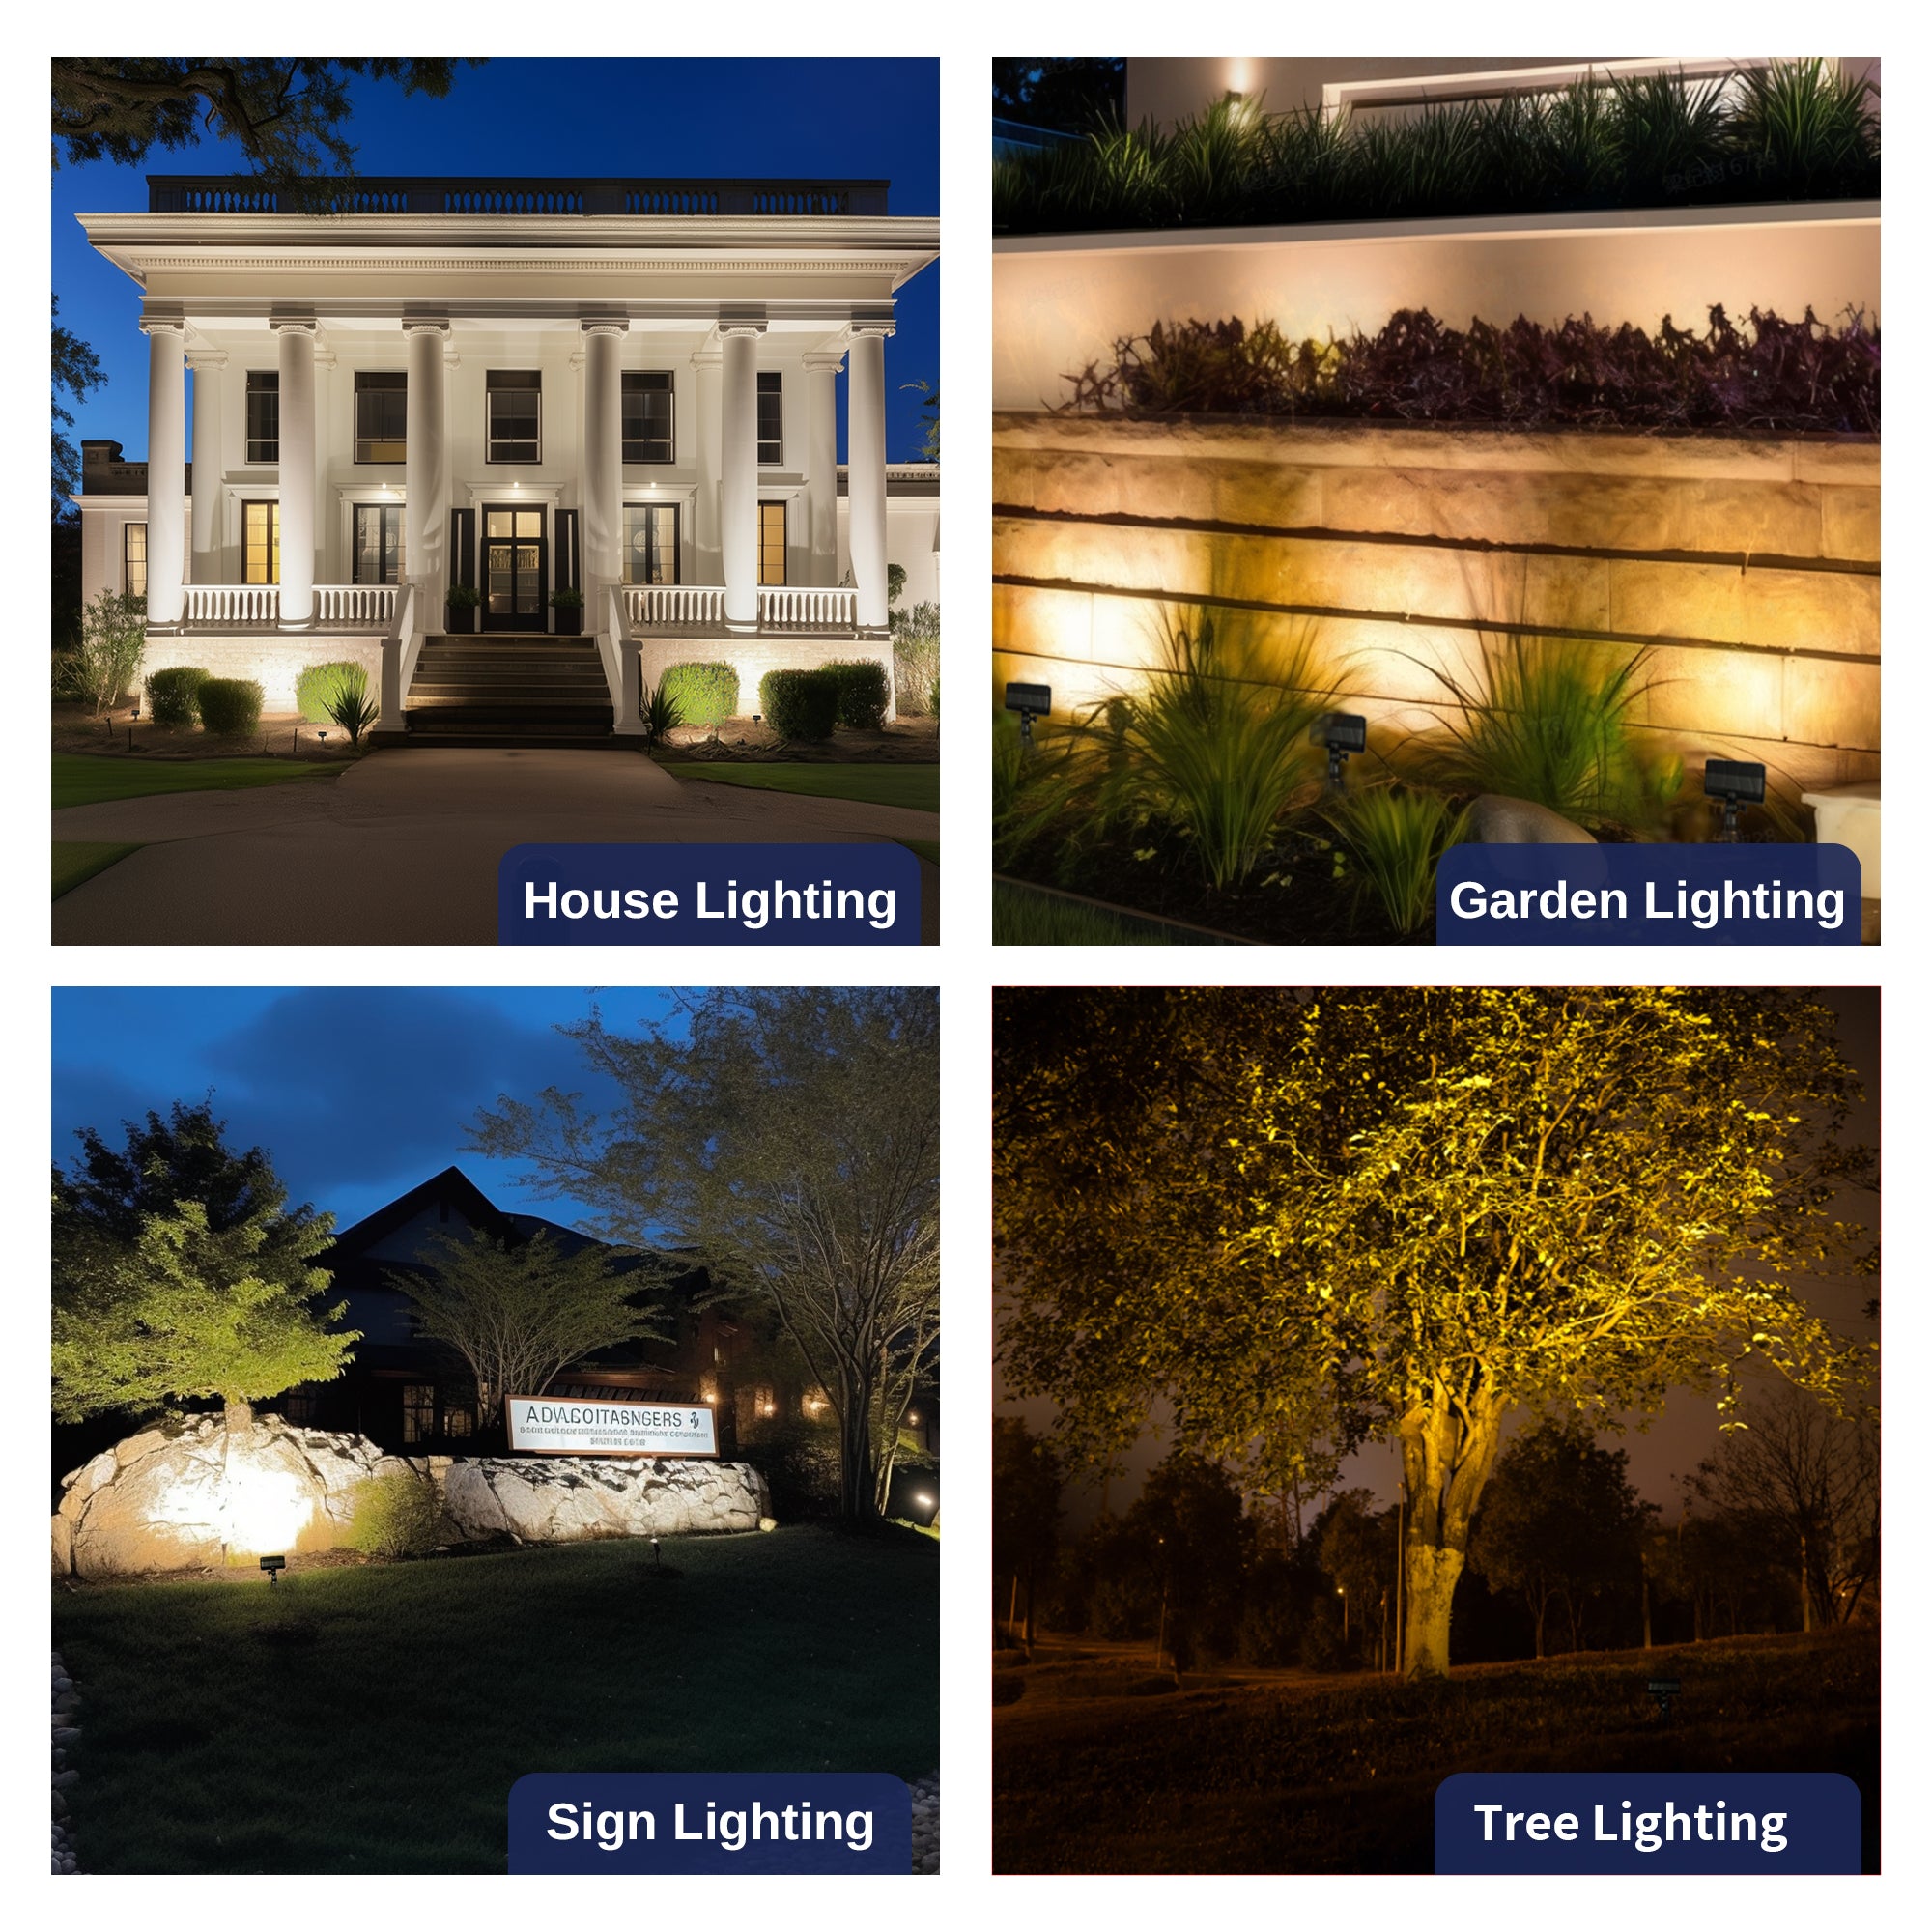
The best flood light depends on where you install it.
Residential Zones
Illuminate Walls and Facades
Use wide-beam (90°–120°) flood lights mounted at the base or from eaves. Avoid washing the entire house. Use spotlights for siding instead.
Light Trees and Bushes
Place fixtures at the base for uplighting. Use PAR36 or well lights for ground-level beams. Avoid shining into bedroom windows.
Cover Patios and Decks
Mount overhead at heights greater than 20 feet and angle lights more than 45° from horizontal. Use 3000K–4000K to avoid glare for seated guests.
Commercial and Industrial Zones
Secure Parking Lots
Use 150W–200W LED flood lights mounted on poles or building corners. Pair them with motion sensors or smart controls and integrate with floodlight cameras.
Light Warehouses and Docks
Install overhead or pole-mounted fixtures with 5000K color temperature for clarity. Choose high IP ratings for dust and moisture protection.
Highlight Signs and Entrances
Use 12V or 120V fixtures angled to avoid sign glare. Consider dusk-to-dawn sensors for automated operation.
Prevent Glare and Nuisance
Poorly aimed flood lights can cause legal issues and neighbor conflicts.
Control Glare
Install glare shields or louvers and use frosted lenses to soften beam edges. Aim lights downward rather than horizontally, and position them so beams don’t hit windows or roads.
Avoid Light Trespass
Light shining into a neighbor’s home can be a statutory nuisance. Councils may order removal if it disturbs sleep, invades privacy, or causes health issues.
Prevention tips:
– Aim lights at your property only
– Use shielding to block side spill
– Choose lower lumen models near boundaries
– Talk to neighbors before installing
Choose the Right Fixture Style
Form follows function. Pick a housing style that matches your needs.
Cast Brass Fixtures
These durable, corrosion-resistant fixtures are ideal for mailboxes, pillars, and walls. They work well with bi-pin LED bulbs.
Integrated LED Flood Lights
Nano or mini versions are tiny and finger-sized at 175 lumens, great for subtle accents. Rectangular models with yoke mounts offer high output and adjustability, perfect for trees or security applications.
PAR36 Flood Lights
These use replaceable lamps with wide beam starts, making them good for bushes. They are available as well lights for ground-level uplighting.
Round Wall Wash Fixtures
These feature frosted lenses with ultra-wide diffuse beams that eliminate harsh edges. They work best for smooth wall illumination.
Floodlight Cameras
These combine 8,000+ lm lighting with HD video, enabling color night vision, motion alerts, and two-way audio. They are the top choice for high-risk areas.
Follow the Pro Selection Checklist
Use this 8-step checklist to choose the right flood light every time:
-
Assess the Space
Identify whether it is a patio, wall, parking lot, or tree line. -
Determine Lumens Needed
Use the wattage/coverage table or brightness formula. -
Choose Activation Method
Decide between motion, dusk-to-dawn, smart, or manual control. -
Verify IP Rating
Confirm a minimum IP65 for outdoor use. -
Select Power Source
Choose hardwired (120V), low voltage (12V), or solar. -
Set Color Temperature
Use 4000K–5000K for security and 3000K–3500K for ambiance. -
Evaluate Smart Features
Determine if you need automation, dimming, or camera sync. -
Plan Glare Control
Use shields, proper angles, and neighbor-friendly aiming.
Frequently Asked Questions About Flood Lights
What is the difference between a flood light and a spotlight?
Flood lights have beam angles between 60° and 120° for wide, diffuse coverage of large areas. Spotlights have beam angles around 60° or less, producing conical beams for highlighting specific features like architectural details or house sidings.
How many lumens do I need for a residential flood light?
For residential zones, 700–1,500 lumens typically suffices for patios, driveways, and doorways. Use the wattage-to-coverage matrix to match lumens to your specific area size. A 20W LED (1,500 lm) covers a 15m x 15m driveway, while a 50W LED (4,000 lm) covers a 30m x 30m medium garden.
What IP rating do outdoor flood lights need?
Outdoor flood lights require a minimum IP65 rating. This ensures total dust protection and resistance to low-pressure water jets from any direction. Use IP66 or IP67 for coastal or industrial environments with harsher conditions.
Are solar flood lights bright enough for security?
Solar flood lights generally produce lower output than wired equivalents and depend on battery capacity and sunlight exposure. They work best for supplementary lighting in remote locations, fences, or driveway entrances rather than primary security applications.
What color temperature is best for security lighting?
Cool white at 4000K–5000K provides daylight-like clarity that enhances contrast and detail, making it ideal for parking lots, warehouses, and surveillance camera compatibility. Avoid 5000K+ in residential backyards because it can feel harsh and disturb neighbors’ sleep.
Can flood lights cause legal issues with neighbors?
Yes. Light shining into a neighbor’s bedroom window can be deemed a statutory nuisance if it unreasonably interferes with their use or enjoyment of their home. Councils may issue abatement notices requiring removal or modification. Prevent issues by aiming lights at your property only, using shielding, and communicating with neighbors before installation.
Key Takeaways for Choosing the Right Flood Lights
Selecting flood lights comes down to matching specifications to your specific environment. Start with lumen output based on area size using the coverage matrix, then choose a beam angle that fits your purpose. Wide beams (90°–120°) work for area washing, while narrower beams suit targeted lighting.
Prioritize LED technology for energy efficiency and longevity, and verify IP65 weather resistance for outdoor durability. Match activation type to your security needs, whether motion sensors for deterrence or dusk-to-dawn sensors for consistent coverage. Finally, always plan for glare control and neighbor considerations to avoid conflicts.
Your next step: measure your target area, identify its primary purpose, and use the 8-step checklist above to narrow your options before purchasing.