
You flip the switch expecting instant brightness, but your indoor flood light stays dark. Your first instinct is to grab a replacement bulb, yet modern lighting often defies that simple fix. Many newer indoor flood lights use integrated LED modules with no replaceable bulb at all. Instead, the entire fixture must be swapped when it fails. For other models, a quick bulb change is still the right approach. The key is knowing which type you own before you climb a ladder or touch any wiring. This guide shows you how to identify your fixture, replace bulbs when possible, and handle sealed LED units with confidence.
You will learn how to spot integrated versus replaceable designs, follow critical safety steps, choose the correct replacement, and troubleshoot common problems. Whether you are fixing a garage light or replacing an RV fixture, you will know exactly what to do.
Identify Whether Your Flood Light Has a Replaceable Bulb

The first step in changing an indoor flood light bulb is determining whether your fixture actually contains one. This single decision shapes your entire repair process.
Integrated LED vs. Replaceable Bulb
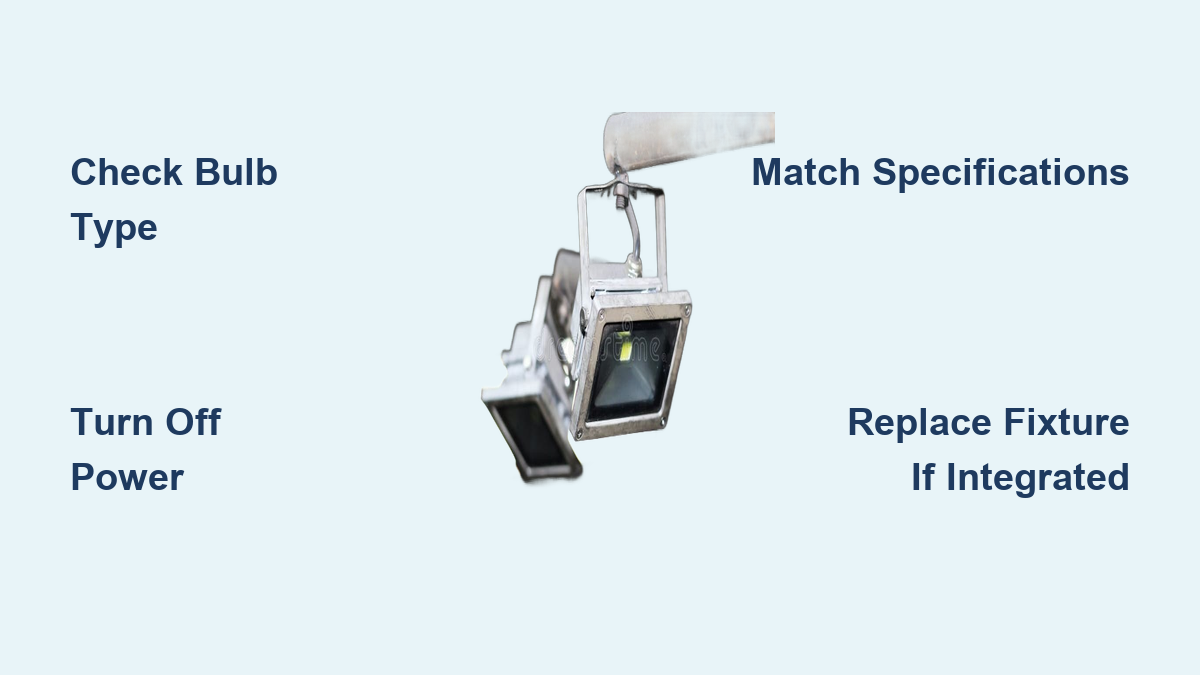
Integrated LED fixtures house the light source, driver, and heat sink inside a sealed unit. There is no socket or screw base to access. These designs dominate modern garages, hallways, and RV interiors. If the light panel looks flat and permanent, it is almost certainly integrated.
Replaceable bulb fixtures use standard bases such as E26 (standard screw) or GU10 (twist-lock pins). These behave like traditional lamps where you unscrew or unclip the old bulb and insert a new one.
Trying to remove a bulb that does not exist can crack seals or damage wiring. Always inspect before acting.
Quick Visual Checks
Look closely at your fixture and ask these questions:
- Is there a visible glass or plastic bulb shape? → Likely replaceable.
- Is the light area smooth, flat, and sealed with no moving parts? → Likely integrated.
- Does the cover require prying or unscrewing just to reach the interior? → Could be either, but sealed units often hide integrated LEDs.
For RV or specialty vehicles, check the owner’s manual or contact the manufacturer with your VIN. Proprietary designs are common, and hardware store bulbs may not fit.
Shut Off Power Before Touching Anything
Never skip electrical safety. Flood lights are often hardwired and mounted high, making live circuits especially dangerous.
Cut Power at the Breaker
Flip the correct circuit breaker in your electrical panel. Do not rely on the wall switch alone, since switches only break the hot wire and can be miswired or accidentally turned back on.
Use a voltage tester to confirm power is off at the fixture. Touch the probes to the wires inside the housing after opening it to verify zero current flow.
Let the Fixture Cool Down
Even LEDs generate heat. If the light was recently on, wait 10 to 15 minutes before handling. This prevents burns and keeps plastic covers from cracking during removal.
Gather Your Tools
Prepare these items before starting:
- Voltage tester
- Stable ladder rated for your weight
- Phillips and flathead screwdrivers
- Replacement bulb or fixture
- Wire nuts or connectors (if rewiring)
- Weatherproof silicone caulk (for outdoor or RV fixtures)
Having everything ready minimizes time spent working at height.
Remove a Replaceable Flood Light Bulb Step by Step

If your fixture uses a standard base, replacement is straightforward.
Access the Bulb Compartment
Unscrew or unclip the protective cover:
- Threaded rims turn counter-clockwise to release.
- Clips or latches press or slide to open.
- RV-specific covers are often sealed with caulk. Use a flathead screwdriver to gently pry the bottom edge and break the seal.
Set the cover aside carefully to avoid cracking.
Unscrew or Unclip the Old Bulb
Identify your base type before turning anything:
- E26/E27 (Screw Base): Grasp the bulb and turn counter-clockwise until free.
- GU10 (Twist-Lock): Push the bulb gently inward, then rotate counter-clockwise about a quarter turn. It will release.
Do not force a stuck bulb. Wear gloves for grip or use a suction cup tool designed for bulbs.
Inspect the Socket for Damage
Before installing a new bulb, check the socket:
- Are metal contacts discolored or corroded? Clean them with electrical contact cleaner.
- Is the socket loose or cracked? The fixture may need full replacement.
Also examine wiring for fraying or loose connections, especially in RVs exposed to constant vibration.
Choose the Right Replacement Bulb

Using the wrong bulb causes flickering, poor light output, or even fire hazards.
Match These Key Specifications
Your new bulb must align with the original on every point:
- Base Type (E26, GU10, etc.)
- Voltage (120V AC for homes, 12V DC for RVs)
- Wattage (never exceed the fixture rating)
- Beam Angle (90° to 120° for true flood coverage)
- Lumens (800 or higher for bright indoor areas)
- Color Temperature (4000K to 6500K for crisp, daylight-like light)
For motion-sensor lights, select bulbs labeled “motion sensor compatible” or “dimmable” to prevent flickering.
Where to Buy Replacement Bulbs
Standard E26 or GU10 bulbs are widely available at Home Depot, Lowe’s, and Amazon. For RVs or marine lights, OEM parts may be required. Contact the manufacturer or search by model number. Aftermarket options on Amazon often deliver better pricing and added features like dusk-to-dawn sensors.
Install the New Bulb Correctly
With the correct replacement in hand, installation takes only minutes.
Insert and Secure the Bulb
- E26/E27: Align the base and turn clockwise until snug. Do not overtighten.
- GU10: Insert the pins, push in slightly, then twist clockwise until it clicks.
The bulb should sit flush and stable inside the socket.
Reattach the Cover
Replace the lens or cover carefully:
- Screw it back on evenly to avoid cross-threading.
- For caulked RV fixtures, apply a thin bead of weatherproof silicone caulk around the edge before snapping it shut.
A proper seal prevents moisture ingress, which causes fogging and internal corrosion.
Restore Power and Test
Turn the breaker back on and flip the wall switch. The light should turn on instantly and shine evenly.
If it flickers or stays dark:
- Turn power off and recheck bulb seating.
- Ensure no wires are pinched or loose.
- Verify compatibility with motion sensors or dimmers.
Handle Integrated LED Flood Lights When the Bulb Cannot Be Replaced
No bulb means no simple swap. The solution requires a system-level fix.
Confirm the Unit Is Integrated
If there is no socket and the LED panel is glued or sealed in place, you cannot replace the bulb. The entire unit or internal driver must be serviced.
Diagnose the Problem
Common failure points include:
- Driver failure: Causes flickering or no power despite good wiring.
- LED array burnout: Light dims or goes out completely.
- Seal failure: Fogging inside the lens indicates moisture damage.
Use a voltage tester to check whether power reaches the fixture. If power is present but no light appears, the LED module or driver is dead.
Replace the Entire Fixture
For most users, full fixture replacement is the only practical option.
Remove the Old Fixture
- Turn off the breaker.
- Remove mounting screws or the bracket.
- Disconnect wires and note their colors:
– Black = Hot
– White = Neutral
– Green or Bare = Ground - Label or photograph the connections before disconnecting.
Install the New Fixture
- Mount the new bracket (reuse the old one if compatible).
- Connect wires using wire nuts: black to black, white to white, ground to ground.
- Tuck wires into the box and secure the fixture.
- Seal outdoor penetrations with silicone caulk.
Choose a new fixture with the same footprint to avoid wall damage or repainting, which is especially important for RV interiors and exteriors.
Troubleshoot Common Flood Light Problems
Even careful replacement can leave you with issues. Here is how to resolve the most frequent complaints.
Light Won’t Turn On
Walk through this checklist:
- Did the breaker trip?
- Is power reaching the switch?
- Is the bulb seated properly?
- Is voltage reaching the fixture?
If power is present but no light appears, and the unit is integrated, the module is likely dead.
Flickering After Replacement
Common causes include:
- Loose bulb or connection
- Incompatible bulb (non-dimmable in a dimmer circuit)
- Failing driver in integrated units
Tighten the bulb, verify compatibility, or replace the driver or fixture.
Fogging Inside the Lens
Moisture has entered through failed seals, which is common in RVs after rain.
Replace the rubber gasket if available. Otherwise, replace the entire fixture to prevent internal corrosion.
Short Bulb Lifespan
LEDs should last years. Early failure points to:
- Poor heat dissipation in enclosed fixtures
- Voltage spikes (install surge protectors)
- Low-quality bulbs
Upgrade to professional-grade LEDs with better thermal management.
Select the Best Replacement for Long-Term Performance
Whether you buy a bulb or a new fixture, choose with intention.
For Replacement Bulbs: Key Features
| Feature | Why It Matters |
|---|---|
| High Lumens (800–1500) | Brighter flood coverage |
| Wide Beam Angle (90°–120°) | Even light spread |
| Cool White (5000K–6500K) | Crisp, alert lighting for security |
| Weatherproof (IP65+) | Resists moisture in garages or damp rooms |
| Motion Sensor Compatible | Prevents flickering in automated lights |
For Integrated Fixtures: What to Look For
- IP65 or higher rating for moisture resistance
- Aluminum heat sink for longevity
- Built-in dusk-to-dawn or motion sensor for convenience
- Universal E26/GU10 retrofit options that allow future module swaps
Aftermarket fixtures on Amazon often outperform OEM RV units in both features and price.
Apply RV-Specific Tips and Upgrades
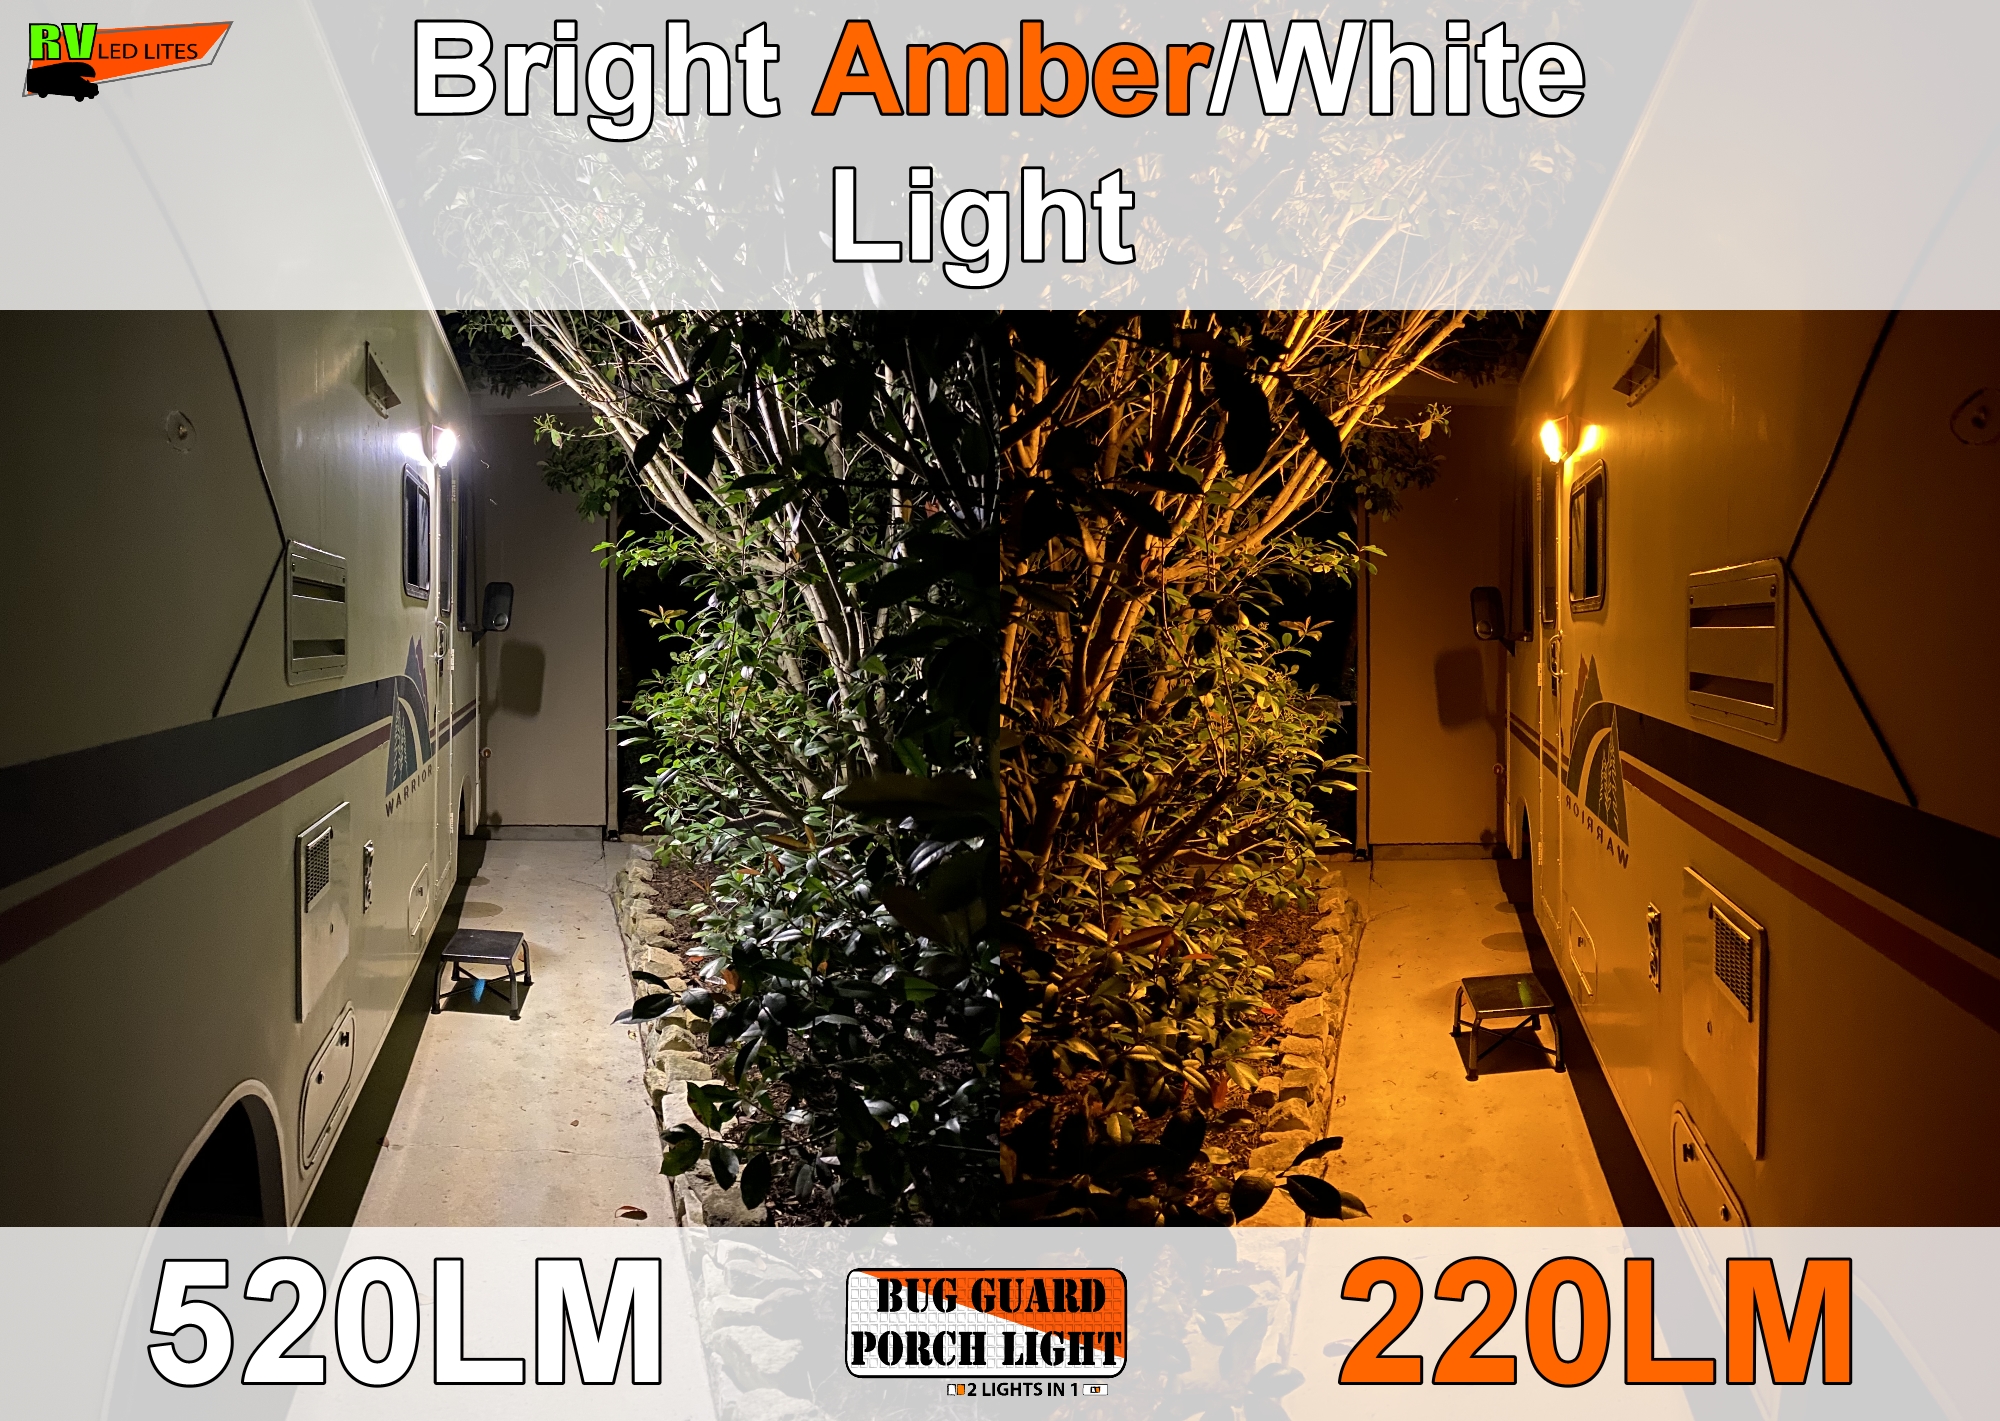
RV flood lights are a frequent source of frustration because they are proprietary, expensive, and hard to replace.
Avoid OEM Overpricing
Replacing a single OEM RV flood light can cost $27 plus $30 shipping. For that total, you can buy a better third-party fixture with added features.
Upgrade Instead of Replacing Like-for-Like
Many RV owners swap OEM units for universal LED flood lights from Amazon or specialty suppliers. Benefits include:
- Lower cost
- Higher brightness
- Better beam angles
- Built-in sensors
Ensure the new fixture covers the original mounting holes to avoid repainting fiberglass or siding.
Handle Direct-Wire LED Bars
Some RV lights have LED bars with wires soldered directly to the board. To replace:
- Cut the wires close to the old bar.
- Strip and connect to the new bar using wire nuts or solder.
- Seal connections with heat shrink tubing.
Label positive and negative leads before cutting.
Prevent Future Flood Light Failures
Smart choices today reduce headaches tomorrow.
Use Quality Components
Cheap bulbs fail fast. Invest in name-brand LEDs such as Philips, Sylvania, or Feit, or choose commercial-grade fixtures.
Seal Outdoor Fixtures Properly
Reapply silicone caulk every 2 to 3 years on outdoor or RV lights to maintain weather resistance.
Clean Fixtures Regularly
Dust and grime reduce light output. Wipe covers with a damp cloth every 6 months.
Consider Upgrading to Integrated Designs
While you cannot change the bulb, integrated LED fixtures last longer, run cooler, and eliminate user error. For high-mount or hard-to-reach areas, they are often the smarter long-term choice.
Frequently Asked Questions About Changing Indoor Flood Light Bulbs
How do I know if my indoor flood light bulb is replaceable?
Look for a visible bulb shape with a screw or twist-lock base. If the light panel is flat, smooth, and sealed with no socket visible, the fixture uses an integrated LED module that cannot be bulb-replaced.
Can I use any LED bulb in my flood light fixture?
No. You must match the base type (E26, GU10), voltage (120V AC or 12V DC), wattage limit, beam angle, and lumen output. Using the wrong bulb causes flickering, poor performance, or fire risk.
What should I do if my integrated LED flood light stops working?
Confirm power reaches the fixture with a voltage tester. If power is present but the light stays dark, the LED module or driver has failed. The practical solution is full fixture replacement, since internal components are rarely user-serviceable.
Why does my flood light flicker after replacing the bulb?
Flickering usually means a loose bulb, an incompatible dimmer, or a conflict with a motion sensor. Tighten the bulb first, then verify the new bulb is labeled dimmable or motion-sensor compatible.
Are RV flood light bulbs different from standard household bulbs?
Yes. RV fixtures often run on 12V DC systems and use proprietary bases or sealed designs. Standard hardware store bulbs typically do not fit. Contact the RV manufacturer with your VIN for the correct part number, or consider upgrading to a universal aftermarket fixture.
How often should I reseal outdoor or RV flood light fixtures?
Reapply weatherproof silicone caulk around the cover edges every 2 to 3 years. This prevents moisture ingress, which causes lens fogging, corrosion, and premature LED failure.
Key Takeaways for Changing Indoor Flood Light Bulbs Successfully
Changing an indoor flood light bulb is not always about the bulb itself. With modern LED technology, the answer often involves replacing the entire fixture. If your light has a socket, match the specifications carefully and swap the bulb safely after cutting power at the breaker. If the unit is sealed and integrated, plan for a full replacement using the correct wiring connections and weatherproof sealing.
Prioritize safety at every step, verify power is off with a voltage tester, and choose quality parts that match your voltage, beam angle, and environment. For RV owners, aftermarket fixtures frequently deliver better value and features than overpriced OEM parts.
Your next step: Inspect your flood light right now to determine whether it has a replaceable bulb. That single check will tell you whether you need a five-minute bulb swap or a planned fixture upgrade.