
You flip the switch expecting steady light, but your flood light only activates when something moves. Whether you need constant illumination for a late-night project, a backyard event, or security reasons, many homeowners eventually want to bypass a motion sensor on a flood light. The challenge is doing it safely without risking shock, fire, or voided warranties.
This guide covers manufacturer-approved override sequences, wiring configurations, and diagnostic tests that comply with electrical codes. You will also learn when replacement is smarter than modification, which mistakes cause the most damage, and how bypassing affects your energy bill.
Activate the Built-In Manual Override
Most modern motion-sensor flood lights include a manual override mode that requires no tools or rewiring. This is the fastest and safest way to keep your light on temporarily.
Use the Standard Toggle Sequence
Many models, including the Home Zone Security MK-SC0108, respond to a four-step switch sequence:
- Turn the wall switch ON.
- Wait about 15 seconds until the light cycles off.
- Within 3 seconds, flip the switch OFF → ON → OFF → ON quickly.
- The light turns back on and stays illuminated.
The sensor now ignores motion and ambient light settings.
Note: This mode typically lasts 6 hours or until dawn. To cancel early, turn the switch off and on once normally.
Reset if Override Fails
If the sequence does not work, try a basic reset:
- Turn the switch OFF.
- Wait 5 seconds.
- Turn it ON again.
This clears internal logic glitches. Repeat the override steps afterward.
Know the Limitations
- A power outage resets the unit to automatic mode.
- Not all brands use the same sequence. Check your manual.
- This is a temporary fix, not a permanent solution.
Install a Parallel Switch for Manual Control
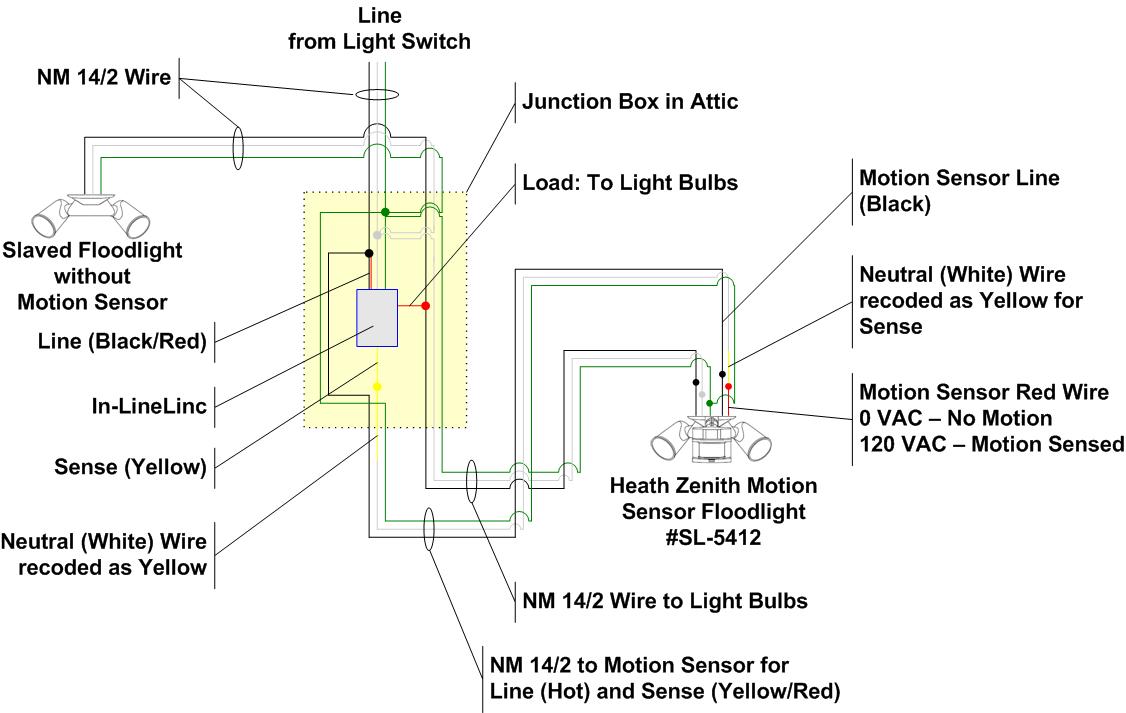
If you want the option to run the light continuously or let the sensor handle detection, a parallel switch setup gives you both modes from one fixture.
How the Configuration Works
- The motion sensor stays installed.
- A second switch feeds power directly to the light.
- When this switch is ON, it bypasses the sensor entirely.
- When OFF, the sensor operates normally.
You get automatic lighting at night and full manual control when needed.
Wiring the Parallel Switch
You will need 14-3 or 12-3 cable (black, red, white, ground) running from the switch box to the fixture.
- Turn off the breaker and confirm with a voltage tester.
- At the switch box, connect the black wire to one terminal and the red wire to the motion sensor’s line input. Join the white wire to the neutral bundle.
- At the fixture, connect black to the light input, red to the sensor’s load terminal, white to neutral, and ground to ground.
When you flip the parallel switch, power flows directly to the light and skips the sensor.
Code-compliant tip: As long as both circuits share the same breaker leg, this setup follows NEC 210.70.
Hardwire the Fixture to Bypass the Sensor Permanently

If you never want motion detection again, hardwiring removes the sensor from the circuit entirely.
Disconnect the Sensor Internally
- Cut power at the breaker and test wires with a CAT III 600V multimeter.
- Remove the fixture housing to access the junction box.
- Identify the wires:
– Black: Line (hot)
– Red: Load (switched hot from sensor)
– White: Neutral
– Green or bare: Ground - Disconnect the red load wire from the sensor.
- Connect the black line wire directly to the light’s hot input.
- Match white to white and ground to ground.
- Cap the unused red wire with a wire nut.
The light now operates like any standard fixture, controlled only by the wall switch.
Warning: This modification voids UL/ETL certification under UL 1598 and may violate NEC 110.3(B). It also shifts liability to you in case of fire or shock.
Replace the Fixture with a Standard Flood Light
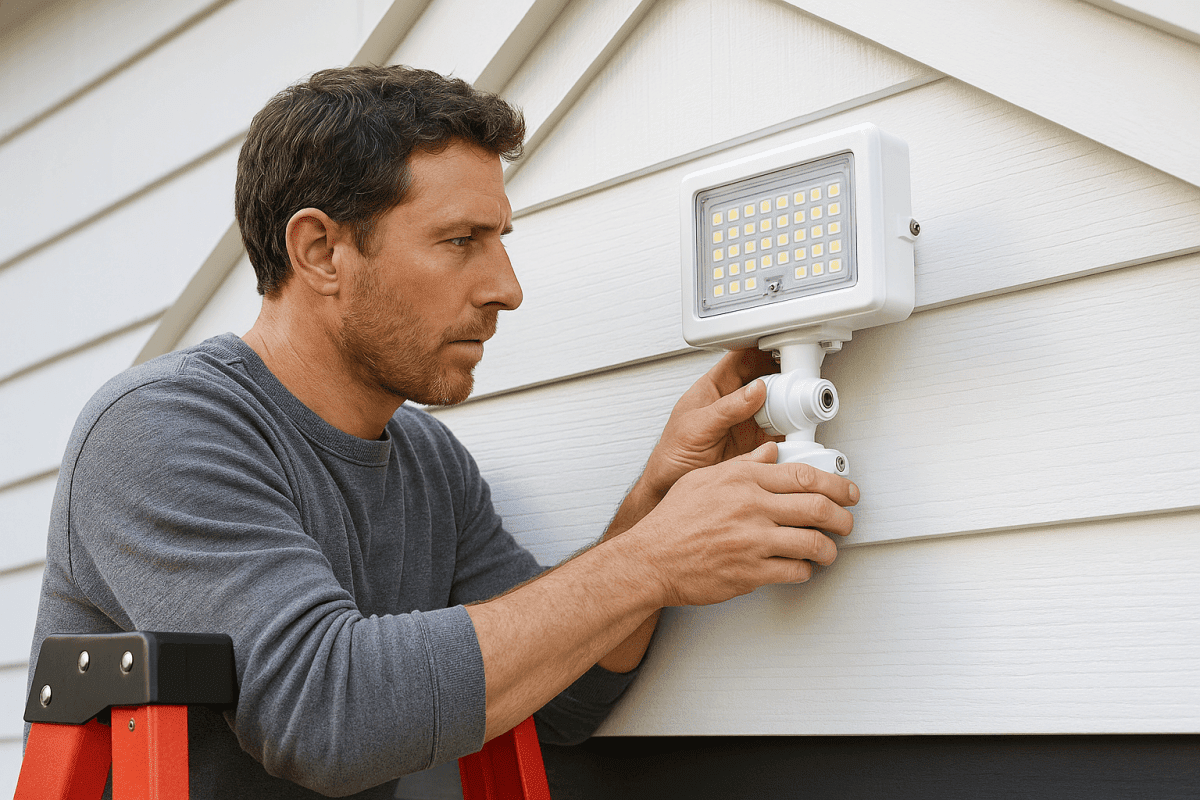
When long-term reliability matters more than keeping the old housing, replacing the entire unit is the cleanest solution.
Why Replacement Often Beats Modification
- Maintains code compliance and insurance coverage.
- Eliminates risk of improper wiring or fire hazards.
- Simplifies troubleshooting and maintenance.
- Allows upgrade to LED fixtures rated for continuous use.
Replacement Steps
- Turn off power at the breaker and verify with a non-contact tester.
- Unscrew and remove the old fixture.
- Disconnect the wires: black (line), white (neutral), and ground. Cap any unused red wire from the old sensor.
- Connect the new fixture: black to black, white to white, ground to ground.
- Secure all connections with wire nuts and tuck wires into the box.
- Mount the new light and restore power.
You now have a switch-controlled fixture with no sensors and no glitches.
Run a Diagnostic Bypass to Find the Real Problem
Before assuming the sensor is bad, test whether the light itself works. A diagnostic bypass isolates the fault.
Tools You Need
- Insulated alligator-clip jumper rated for 120–277V
- CAT III 600V multimeter
- Safety glasses and insulated gloves
- Lockout/Tagout (LOTO) device
Testing Procedure
- Turn off power and lock the breaker.
- Open the junction box.
- Locate the line (black) and load (red) wires at the sensor.
- Connect the jumper between line and load to simulate a closed sensor.
- Keep neutral and ground connected.
- Restore power and observe.
Results:
– Light turns on? The sensor is faulty. The fixture is fine.
– Light stays off? The problem is the LED board or driver.
Critical: Remove the jumper immediately after testing. Never leave it as a permanent fix.
Avoid These Dangerous Bypass Mistakes
Small errors during a bypass can lead to shock, fire, or destroyed equipment.
Never Use a Screwdriver as a Jumper
Bridging wires with a metal tool causes arc flashes, shock, and fire. Always use insulated jumpers rated for the circuit voltage.
Do Not Apply Line Voltage to 0–10V Controls
Some commercial fixtures use low-voltage DC signals to dim the light. If you see blue or grey control wires, never connect them to 120V. Doing so destroys the driver instantly. Replace the sensor module instead of bypassing it.
Keep Both Circuits on the Same Breaker Leg
Mixing phases in a dual-switch setup causes short circuits and equipment damage. Verify that all feeds come from the same leg.
Never Fabricate a Neutral Wire
Older switch boxes may lack a neutral. Do not borrow one from another circuit. This violates code and creates serious shock risks. Call an electrician.
Understand the Energy and Lifespan Impact
Bypassing a motion sensor changes how much power you use and how long the fixture lasts.
Higher Energy Bills
A 50W flood light running on a sensor uses about 130 kWh per year. Hardwired to run 24/7, it consumes roughly 430 kWh per year. That is about $45 in extra annual costs at average electricity rates.
Shorter Fixture Life
LEDs last longer when they cycle on and off. Continuous operation raises junction temperature and accelerates lumen depreciation. Expected lifespan can drop from 50,000 hours to 30,000–35,000 hours, and driver capacitors wear out faster under constant load.
When to Call a Licensed Electrician
Some situations require professional help. Stop and call a pro if:
- Wires are damaged, brittle, or unmarked.
- The switch box has no neutral wire.
- The fixture uses 0–10V, DALI, or networked controls.
- You are unsure which wire is line, load, or neutral.
Legal note: NEC 110.3(B) requires installation per manufacturer instructions. Unauthorized modifications can void insurance coverage in case of fire.
Choose the Right Bypass Method for Your Goal

| Your Goal | Best Solution |
|---|---|
| Light on for one night | Use the manual override sequence |
| Want sensor plus manual control | Install a parallel switch |
| Never want motion detection again | Replace with a standard fixture |
| Diagnosing a dead light | Use a diagnostic jumper test |
| Fixture uses 0–10V controls | Replace the sensor, not bypass it |
Frequently Asked Questions About Bypassing a Motion Sensor
How do I turn off a motion sensor light temporarily?
Most models respond to a quick toggle sequence: turn the switch ON, wait 15 seconds, then flip it OFF → ON → OFF → ON within 3 seconds. The light stays on for about 6 hours or until dawn.
Can I bypass a motion sensor without cutting wires?
Yes. The manufacturer-approved manual override uses only the wall switch. No tools or wiring changes are required, making it the safest temporary option.
Will bypassing void my warranty?
Hardwiring or cutting internal wires typically voids UL/ETL certification and the manufacturer’s warranty. Using the built-in override does not affect warranty status.
How much energy does a bypassed flood light use?
A 50W fixture running continuously uses about 430 kWh per year, compared to 130 kWh with motion detection active. Expect roughly $45 more annually on your electricity bill.
What happens if I connect 120V to a 0–10V control wire?
The driver and control board will be destroyed instantly. Low-voltage control circuits cannot handle line voltage. Replace the sensor module rather than attempting a bypass.
Is it legal to bypass a motion sensor light?
Temporary overrides are generally allowed. Permanent modifications may violate local energy codes such as ASHRAE 90.1 or California Title 24, and could affect insurance coverage. Replacing the fixture is the most compliant long-term option.
Final Takeaways for Bypassing a Motion Sensor on a Flood Light
The easiest and safest way to bypass a motion sensor on a flood light is to use the built-in override sequence. It requires no tools, preserves your warranty, and works for most short-term needs. If you want permanent control or the sensor is faulty, replacing the fixture with a standard flood light offers the best combination of safety, code compliance, and long-term reliability.
Before touching any wires, always turn off the breaker and verify with a voltage tester. Respect low-voltage control systems, avoid improvised jumpers, and call a licensed electrician whenever the wiring is unclear or non-standard. A careful approach keeps your home safe, your lights reliable, and your insurance coverage intact.