Setting up a Canary security camera is designed to be fast, intuitive, and hassle-free. Most users complete the process in under 10 minutes, whether installing the Canary Home for indoor monitoring or the Canary Flex for indoor and outdoor use. This guide walks you through every step of the Canary security camera setup, from powering the device to connecting it to Wi-Fi and configuring alerts.
You will learn how to pair your camera with the app, position it for optimal coverage, and fine-tune settings like motion detection and geofencing. We also cover troubleshooting tips for common issues so your system works flawlessly from day one.
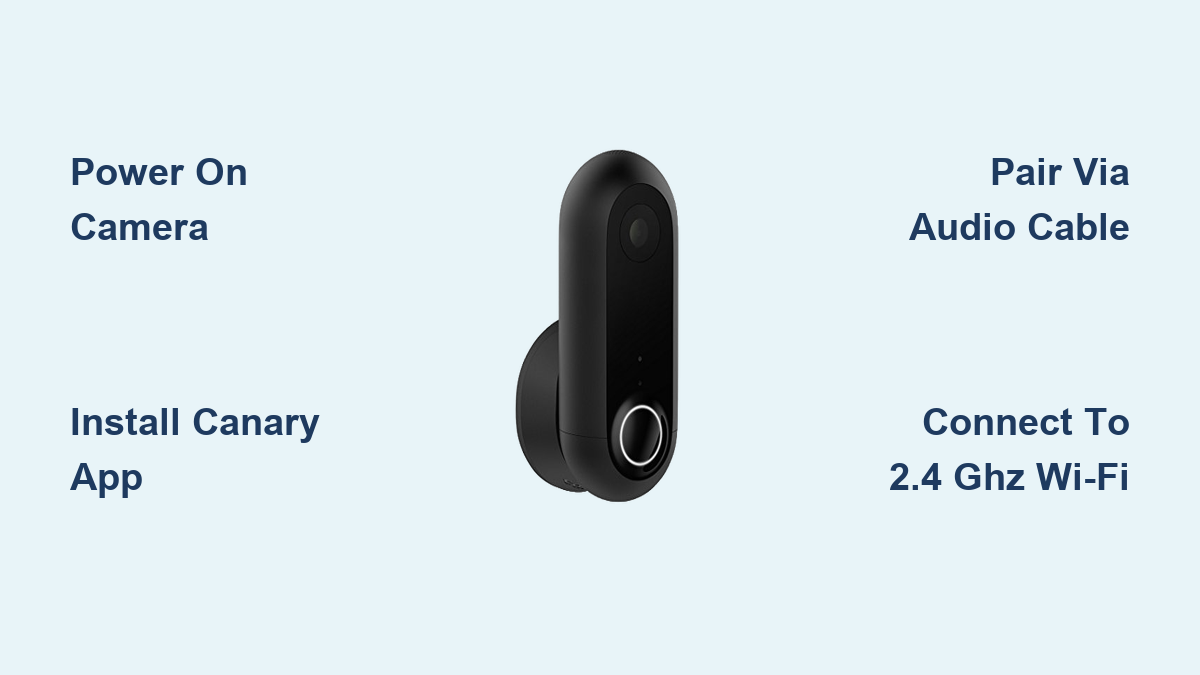
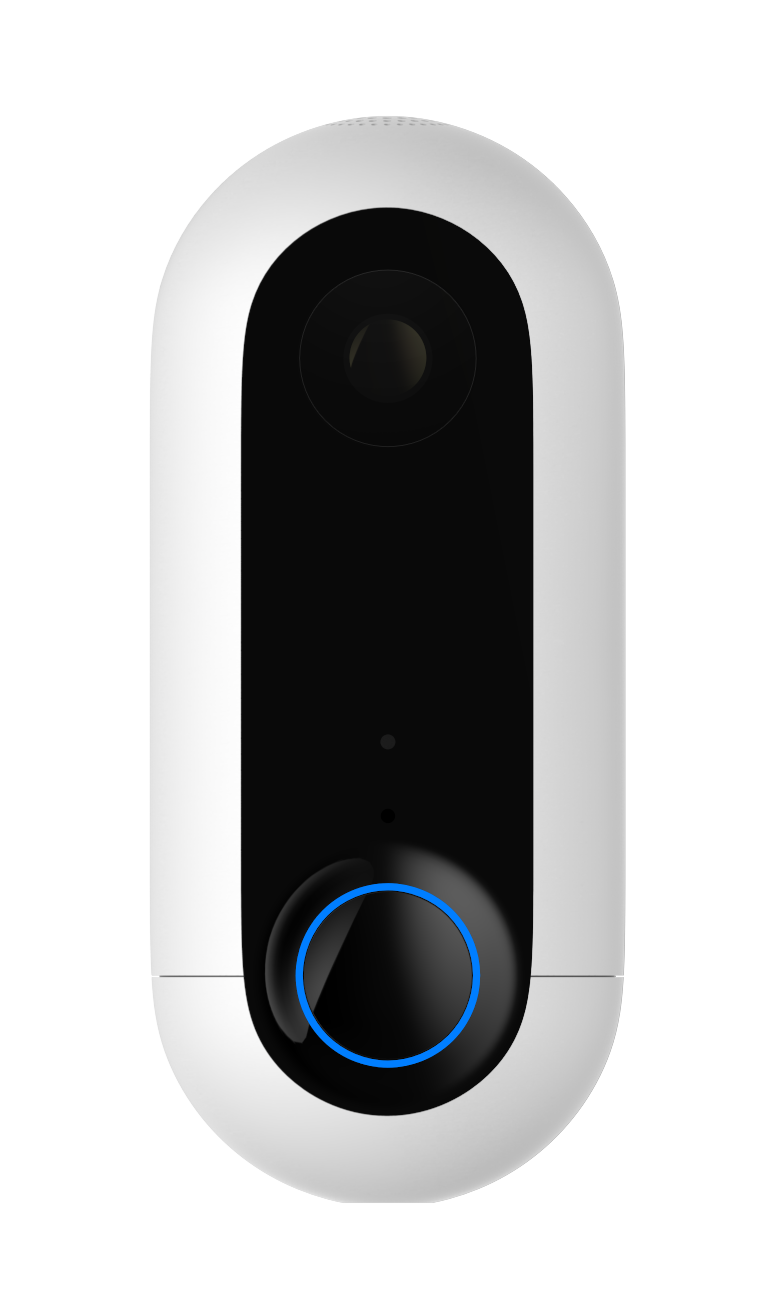
Power On Your Canary Camera
Start by connecting your Canary camera to power using the included cable and wall adapter. The Canary Home uses a micro USB to USB cable plugged into the power brick, while the Canary Flex uses the correct charging cable for your model year (micro-USB or USB-C depending on when you purchased it).
Initial Power Check
Once powered on, look for these indicators:
- Canary Home: A white light appears at the base when properly connected
- Canary Flex: May not show visible light immediately; check the app for response
Troubleshooting Tip: If the camera does not power on, try a different outlet, test with another cable, ensure the power brick is fully seated, and confirm you are using the correct cable type for your model.
Install the Canary App
The Canary app is essential for setup and daily operation. Download it from your device’s app store:
- iOS (12.0 or later)
- Android (via Google Play)
- macOS (M1 chip or later)
- visionOS
The app is 15.1 MB, developed by Max Stahl (Eighty-Eight Hustle LLC), and rated 4+ for age. English is the primary language supported.
Pro Tip: iOS users often report smoother pairing than Android users. Consider using an iPad or iPhone for initial setup if you have one available.
Create a Canary Account
Launch the app and create your account to begin device setup. Tap “Create Account,” enter your email address and a strong password, then verify your email via the confirmation link sent to your inbox.
Once verified, you can log in and start adding your device. The account supports multi-user access, allowing family members to view live feeds and receive alerts after they download the app and accept your invitation.
Enter Pairing Mode
The pairing process differs slightly between the two Canary models, so follow the steps for your specific device.
Pairing the Canary Home
Touch the top of the device until the base light flashes blue, indicating it is ready to pair. If no flash occurs, use the yellow auxiliary audio cable included in the box. Plug one end into the aux port on the Canary and the other into your phone’s headphone jack, then play a high-volume tone (the app may generate this automatically).
Expert Tip: Use a louder device like an iPad at maximum volume to boost the audio signal success rate during pairing.
Pairing the Canary Flex
The Canary Flex does not require touch activation or the audio cable. The device creates its own temporary Wi-Fi network during setup, and your phone connects directly to it to transfer your home Wi-Fi credentials.
Android Workaround: Some users successfully configure the Flex by connecting it to a computer via USB first, then managing it through the app.
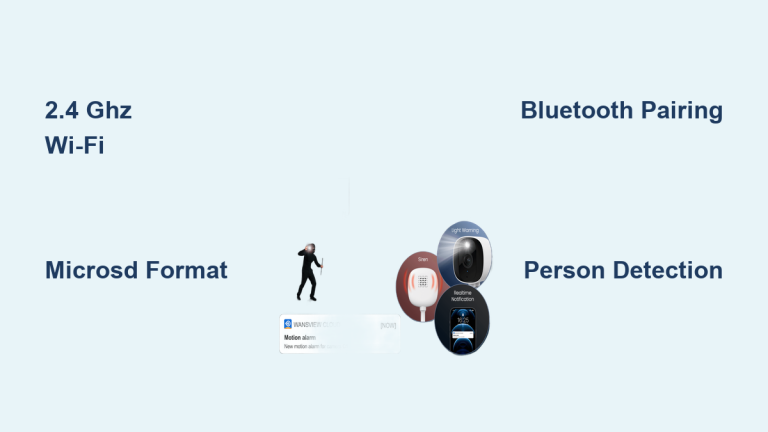
Connect to 2.4 GHz Wi-Fi
In the app, choose your home Wi-Fi network, enter the password carefully, and wait for the camera to connect.
Critical Requirement: Canary devices only support 2.4 GHz Wi-Fi during setup. The Flex does not accept 5 GHz at this stage.
If Connection Fails
Restart your router and camera, move the camera closer to the router, and confirm your 2.4 GHz network is enabled (some dual-band routers hide it). Re-enter the password, avoiding special characters if possible. For used devices, perform a factory reset by holding down the power button for 15 seconds or more, or contact support@canary.is to unlink from the previous owner.
Finalize Device Configuration
After Wi-Fi connection succeeds, assign a name to your camera (such as “Living Room” or “Front Porch”), set a location if managing multiple cameras, and confirm the live video feed appears in the app.
Best Practice: Use the live view to adjust the camera angle and verify full coverage before mounting or leaving the device unattended. Most users complete full setup in under 10 minutes.
Optimal Placement Tips

Where you install your Canary camera significantly impacts its effectiveness. Choose locations that provide clear sightlines to entry points and high-traffic areas.
Indoor Placement (Canary Home)
- Bookshelf center for wide-angle view
- Entryway to monitor arrivals
- Living room near high-traffic zones
- Near garage or fireplace for environmental monitoring
Outdoor Placement (Canary Flex Only)
- Front porch
- Backyard
- Driveway
- Garage entrance
Warning: Avoid direct sunlight, extreme heat, or enclosed spaces that block sensors from detecting motion accurately.
Mounting Options
Canary Home Setup
The Canary Home is designed for tabletop or shelf placement. No permanent mounting hardware is included. Place it on a stable surface facing key entry points for best coverage.
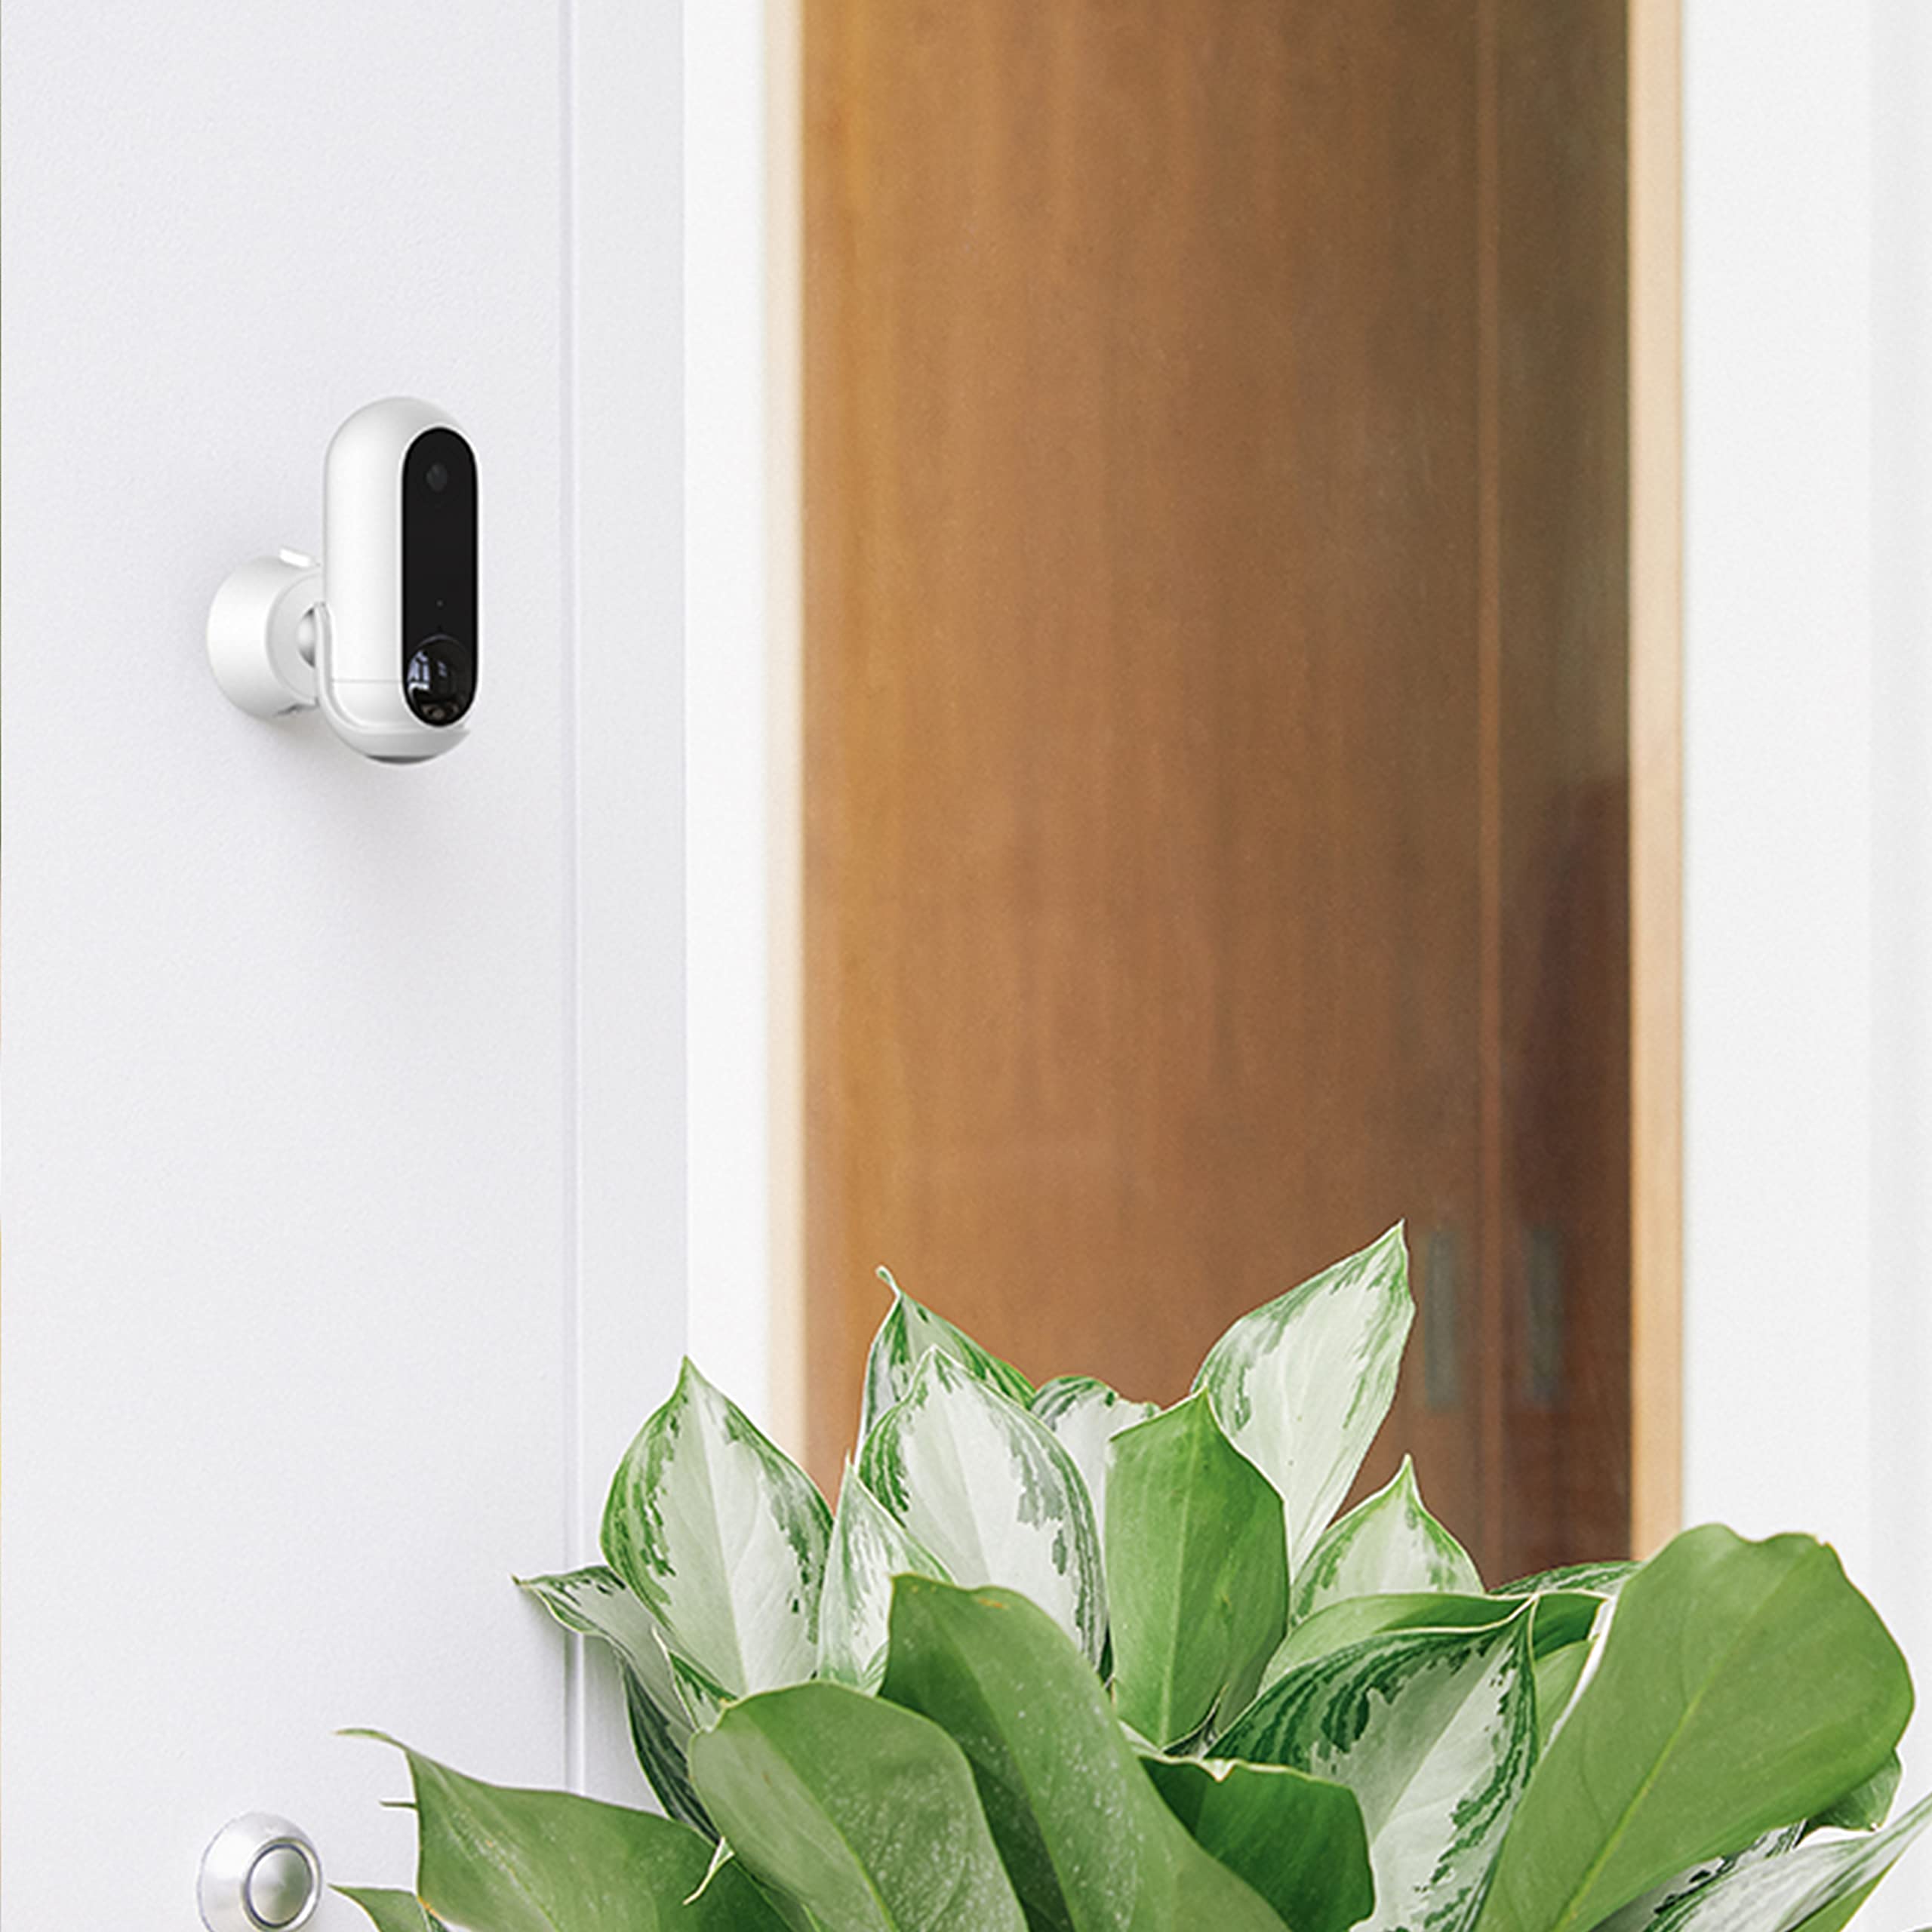
Canary Flex Setup
Use the magnetic swivel base on metal surfaces for quick installation, or wall-mount using the included screws and anchors. The 360-degree rotation allows flexible positioning, so adjust the angle freely before tightening.
Pro Tip: Use the app’s live feed to test angles before securing screws permanently.
Key Features to Enable Post-Setup
After completing the Canary security camera setup, enable these features to maximize your camera’s capabilities.
Turn On Geofencing
Geofencing enables automatic Home/Away Mode. The camera arms when you leave and disarms when you return, based on your phone’s location. Enable this in Settings and grant location permissions when prompted.
Adjust Motion Sensitivity
Go to Settings, select Motion Detection, and choose your sensitivity level (Low, Medium, or High). Enable pet recognition and tag false alerts as “pet” or “sunlight” to train the system over time.
Test the 90 dB Siren (Home Model Only)
Tap the siren button in the app and confirm it is loud enough to deter intruders. The 90 dB siren is audible throughout a standard home, but use it sparingly to avoid startling family or pets.
Enable Privacy Mode When Needed
Privacy mode temporarily disables recording and sensors. Toggle it on from the app’s home screen during private conversations or guest visits.
Environmental Sensors (Canary Home Only)
The Canary Home includes built-in environmental sensors that monitor air quality, temperature, and humidity. These sensors begin collecting data immediately after setup, though initial readings may fluctuate.
Calibration Period
Environmental sensors require 2 to 3 days to stabilize. Ventilate the room (open windows) to speed up accuracy. Access real-time data and trend graphs (24-hour and 7-day views) on the Home screen in the app.
Note: Keep vents unobstructed for best sensor performance.
App Interface Walkthrough
The Canary app provides intuitive control over all camera functions from a clean, organized interface.
Home Screen Overview
The home screen displays the Arm/Disarm button on the left side, Privacy Mode toggle, and a central “Watch Live” button for instant streaming. The status light strip shows your device state at a glance.
Activity Feed
Swipe up to see motion, sound, and environmental events. Filter by event type and save or share clips directly from the feed.
Notifications
Receive push alerts for detected activity. Optional SMS alerts serve as backup. Respond by viewing the live feed, sounding the siren, or calling emergency services if enabled.
Troubleshooting Common Setup Issues
No Blue Light Flash (Canary Home)
Use the yellow audio cable and play the tone at maximum volume. Try a louder device (iPad or older iPhone) if pairing continues to fail.
Wi-Fi Connection Fails
Confirm your 2.4 GHz network is active, restart both router and camera, and re-enter the password carefully. Move the camera closer to the router during setup.
Used Device Will Not Pair
Perform a factory reset or contact support@canary.is for account unlinking assistance.
App Not Detecting Camera
Ensure Bluetooth and Location are enabled on your phone, close and reopen the app, and update to the latest version.
Long-Term Maintenance Tips
Keep your Canary system running smoothly with these maintenance practices.
- Firmware updates happen automatically, so ensure the camera stays powered and connected
- Clean the exterior with a dry cloth only; never use liquids
- Secure outdoor cables using weatherproof covers or conduit
- Check the field of view periodically and re-adjust if furniture or decor changes
- Review alerts weekly and mark false positives to train the system
Subscription Plans and Cloud Storage
The free basic plan includes 7 days of cloud storage, Full HD video, motion and sound alerts, and two-way audio. Premium plans (available via the app) offer extended storage (30+ days), advanced analytics, multi-device support, and enhanced event tagging.
Security Note: All footage is end-to-end encrypted and backed up to the cloud, even if the device is tampered with.
Limitations to Know Before Buying
Understanding these limitations helps set realistic expectations for your Canary security camera setup.
- No Battery Backup: The camera stops during power outages
- No Smart Home Integration: Not compatible with Alexa, Google Assistant, or Apple HomeKit
- No 5 GHz Wi-Fi: Setup requires 2.4 GHz only
- No Local Storage: All video is cloud-based
- No Automation Rules: Cannot trigger lights or locks on motion
Ideal Use Cases
Who Should Use a Canary Camera
- Renters seeking no-drilling installation
- Pet owners wanting to reduce false alerts
- Travelers needing remote home monitoring
- Elderly care providers tracking room conditions
- Small businesses watching offices or retail spaces
- Outdoor monitoring with the Flex model (IP65-rated for rain, snow, and dust)
Not Ideal For
- Large homes requiring comprehensive coverage (single camera covers one room)
- Off-grid locations needing constant power and Wi-Fi
- Smart home enthusiasts requiring platform integrations
Frequently Asked Questions About Canary Security Camera Setup
How long does it take to set up a Canary camera?
Most users complete the Canary security camera setup in under 10 minutes. The process is designed to be quick and intuitive, with the app guiding you through each step.
Why won’t my Canary camera connect to Wi-Fi during setup?
Canary devices only support 2.4 GHz Wi-Fi during setup. Ensure your router is broadcasting a 2.4 GHz network, restart both devices, and move the camera closer to the router. Avoid special characters in your Wi-Fi password.
Do I need the yellow audio cable to set up my Canary Home?
The audio cable is only required if your Canary Home does not flash blue when you touch the top. It serves as a workaround for pairing issues using audio transmission instead of wireless discovery.
Can I use my Canary Flex outdoors?
Yes, the Canary Flex is IP65-rated for dust and water resistance, making it suitable for outdoor placement on porches, in backyards, or at garage entrances.
Does the Canary camera work without a subscription?
The free basic plan provides 7 days of cloud storage, motion alerts, and two-way audio. Premium plans offer extended storage and advanced features but are not required for basic operation.
How do I reset a used Canary camera?
Hold down the power button for 15 seconds or more to perform a factory reset. Alternatively, contact support@canary.is to unlink the device from the previous owner’s account.
Key Takeaways for Your Canary Security Camera Setup
The Canary security camera setup is one of the most user-friendly in the smart home market. With intuitive app guidance, clear visual feedback, and a plug-and-play design, most users are up and running in under 10 minutes. While a few encounter hiccups (especially with Android pairing or used units), the audio cable workaround and factory reset option resolve nearly all issues.
The Canary Home excels as an all-in-one indoor monitor with environmental sensors, while the Canary Flex offers rugged, rotatable outdoor surveillance. Both deliver crisp 1080p video, reliable alerts, and secure cloud storage, making them excellent choices for renters, pet owners, and remote monitors.
Remember these critical requirements: the camera needs constant power, only 2.4 GHz Wi-Fi works during setup, and there is no Alexa or HomeKit support. For simple, effective home security without complexity, the Canary camera delivers straight out of the box.