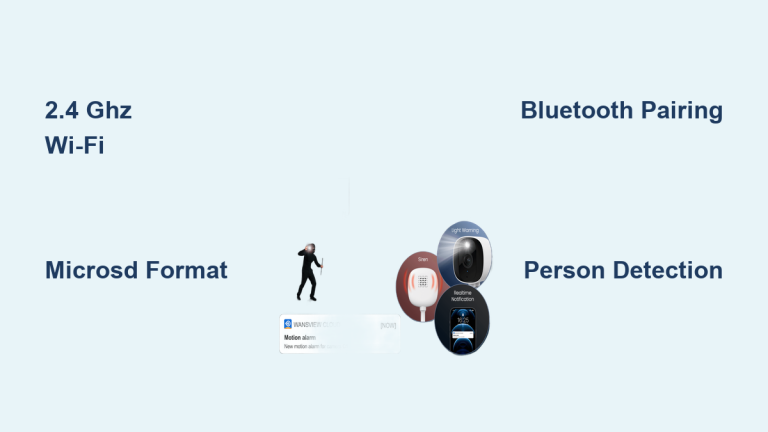
Installing an Annke security camera system gives you full control over your home or business surveillance without monthly fees. Whether you’re setting up a DVR or PoE NVR system like the FDH800, proper installation ensures reliable 4K recording, AI-powered motion alerts, and seamless remote access via the Annke Vision app. This guide walks you through planning, mounting, cabling, configuration, and troubleshooting based on real-world setup experiences.
You’ll learn how to avoid common pitfalls like inverted images, missing playback controls, and failed remote connections, while maximizing features like color night vision, two-way audio, and smart detection.
Plan Your Camera Layout First
Before purchasing or mounting anything, take time to plan your camera positions. This prevents costly mistakes and ensures complete coverage.
Draw a House Layout
Start by sketching your property’s floor plan or exterior. Mark where you want cameras: front door, side yard, backyard, garage, and indoor entryways. This helps estimate cable lengths and identify blind spots.
Measure Cable Runs
Annke kits include 60-ft PoE cables, but some locations may need longer runs. One user needed an 84-ft run, so they joined two cables. For runs exceeding 60 ft, consider splicing or using high-quality extension cables to avoid signal loss.
Use Existing Entry Points
Route all cables through a single wall entry like your cable-TV line to minimize drilling and maintain structural integrity. Test old cables first; one installer confirmed reused cable matched new ones electrically, saving time and cost.
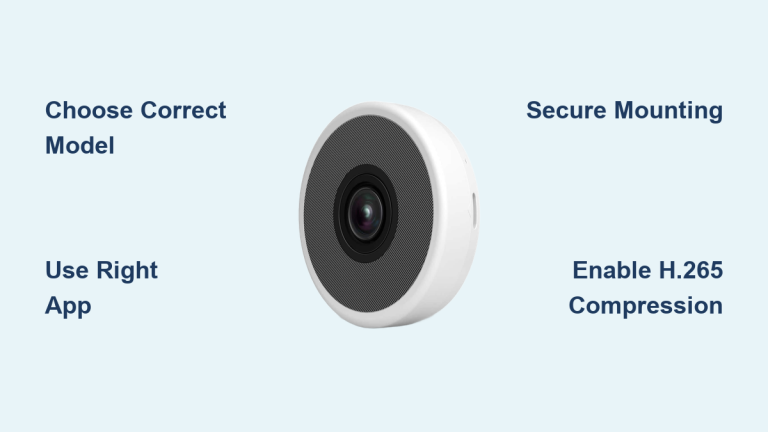
Mount Cameras Correctly
Proper mounting prevents image issues and ensures professional alignment. Follow these steps for each camera type.
Use the Drilling Template
Each kit includes a sticky drilling template with three guide holes. Apply it to the wall for consistent, level mounting across all cameras. This ensures professional alignment, especially for multi-camera setups.
Install Bullet Cameras
- Attach the mounting bracket using included screws
- Loosen the vertical tilt knob to adjust up/down angle
- Rotate horizontally by loosening the collar
- Tighten both once the view covers your target area like the front approach or driveway
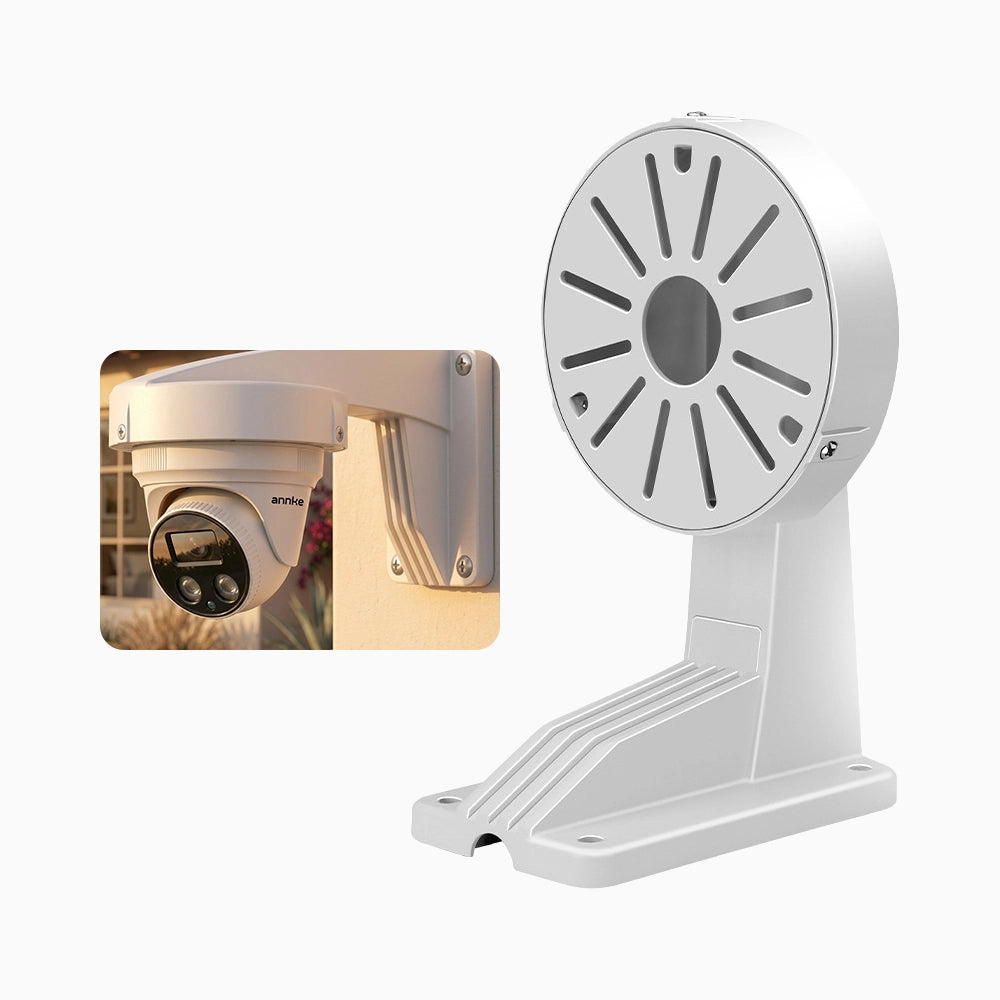
Mount Turret Cameras Properly
- Secure the base plate to the wall
- Align the arrow on the camera with the mark on the plate
- Insert and lock the camera
- Route the cable through the front or back channel
- Install with the lens facing up and LEDs down. If mounted upside-down, the video will be inverted, a common mistake requiring remounting.
Position Dual-Lens Panoramic Cameras
Use 180° panoramic models at entry points for wide coverage. Mount centrally at corners or over doors. These eliminate blind spots without needing multiple cameras.
Connect and Power the System

Connection methods differ between PoE and non-PoE systems. Choose your setup below.
For PoE NVR Systems
- Plug each camera into an 8× PoE port on the NVR using the included Ethernet cables
- Connect the NVR to your router via the LAN port
- Plug in the DC power adapter
- Power on the unit
PoE simplifies wiring: just one cable per camera for both power and data.
For Non-PoE DVR Setups
- Use AC power adapters for each camera
- Connect video cables to the DVR’s BNC inputs
- Plug the DVR into power, HDMI, and USB for mouse
Install the Hard Drive
- Remove the NVR/DVR top cover
- Slide the HDD into the slot
- Connect SATA data and power cables
- Reassemble the unit
A 4 TB drive supports 24/7 recording for up to 30 to 45 days with 8 cameras.
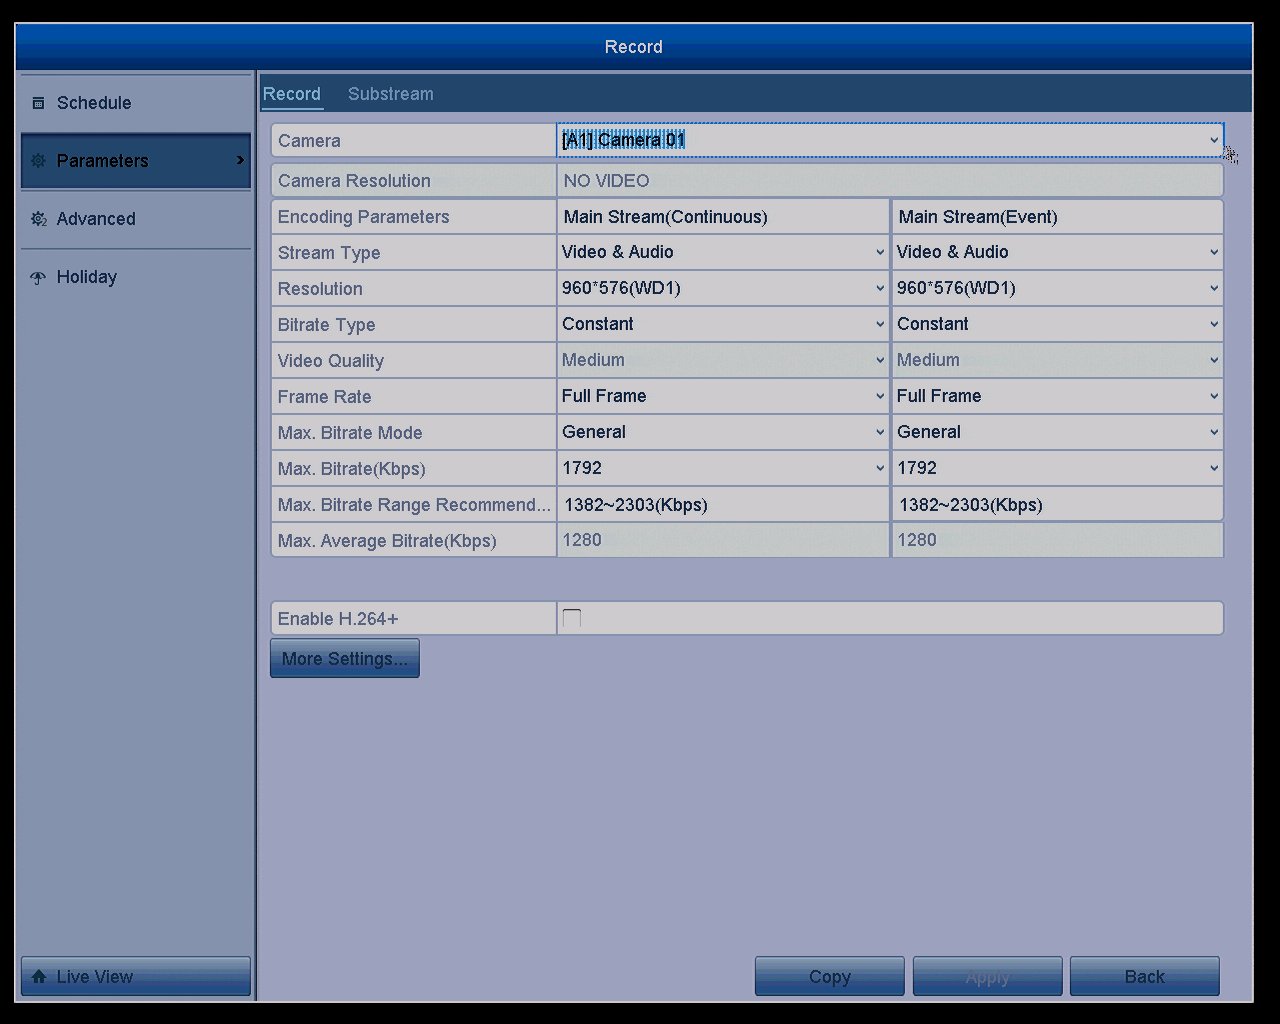
Configure the NVR/DVR
Proper configuration ensures your system records reliably and connects to your network.
Power On and Initial Setup
- Connect HDMI to a monitor, USB to the included mouse
- Power on the unit
- Select language
- Create a strong password with 8 to 16 characters mixing letters, numbers, and symbols
Press the Auto Button
On FDH800 and similar models, press Auto to format the hard drive automatically, sync system time via NTP, and obtain IP address via DHCP from your router. This eliminates manual network configuration and reduces setup errors.
Set Up Remote Access
Use P2P Cloud for reliable remote access. Enable Annke Vision in settings, open the Annke Vision app, scan the QR code displayed on the NVR screen, and enter the on-screen verification code to link the system. P2P is more reliable than static IP: users who failed with IP setup succeeded after switching to P2P.
Optimize Display and Playback
Your monitor resolution affects what controls are visible. Choose the right settings for your needs.
Choose the Right Monitor Resolution
1920×1080 Full HD works best for live viewing with clean UI. However, 1280×1024 is required to see full playback controls like fast forward, rewind, and 64× speed. Some monitors hide UI elements at higher resolutions due to scaling. Switch to 1280×1024 to access all buttons.
Access Playback
- Right-click on the screen
- Select Playback
- Use the timeline: blue bar shows real-time recording, red markers indicate motion events
Double-click any feed to view full-screen.
Adjust Playback Speed
At 1280×1024, you can fast forward up to 64× speed, rewind, pause, and jump to events instantly. Use this to quickly scan hours of footage.
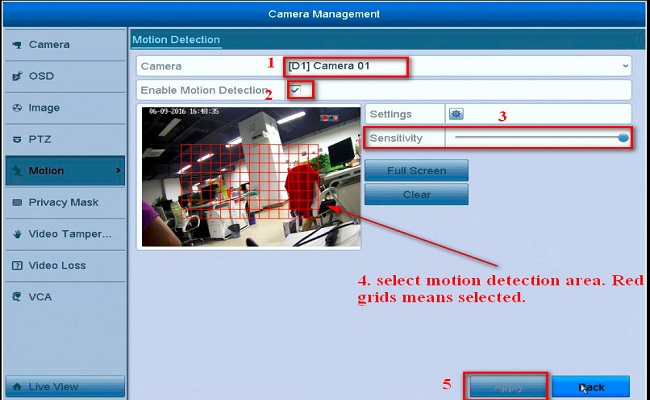
Enable Smart Motion Detection
AI-powered detection reduces false alerts and focuses notifications on real threats.
Set Detection Zones
- Go to Settings, Intelligent Detection, Camera
- Use touch or mouse to draw red detection zones on screen
- Only motion in these areas triggers alerts
Avoid covering trees or roads to reduce false alarms.
Choose Detection Type
Select what triggers alerts: all objects, human only, vehicle only, or human and vehicle. AI Motion 2.0 filters out pets and debris, sending alerts only for real threats.
Adjust Sensitivity
Lower sensitivity if wind or small animals cause false alerts. Higher sensitivity works for high-risk zones like back doors.
Use the Annke Vision App
The mobile app provides full control over your system from anywhere.
Install and Log In
Download Annke Vision for Android or iOS. Enable fingerprint login for security.
View Live Feeds
Watch real-time video from all cameras. Pinch-to-zoom works on any feed. The app auto-rotates between portrait and landscape.
Review Events
Instant Playback rewinds about 5 minutes instantly. The event timeline shows red lines for motion events. Tap any event to jump directly. Filter by person, vehicle, or object. Download clips with the download button for evidence.
Enable Two-Way Audio
On FDH800 models, tap the mic icon to speak through the camera’s built-in speaker. Use the siren or white LED flash to scare off intruders remotely.
Control Night Vision Modes
Choose from Smart Light: IR on with spotlight on motion only, Color Night Vision: spotlight stays on for full-color video, Black-and-White: IR only for privacy, or Off: disable both if light pollution is a concern.
Troubleshoot Common Issues
Solve these frequent problems quickly to get your system running properly.
Fix Missing Playback Controls
Problem: No fast forward or rewind at 1920×1080. Solution: Change monitor resolution to 1280×1024. UI scaling hides controls at higher resolutions.
Resolve Remote Access Failures
Problem: Cannot connect from phone or laptop. Solution: Use P2P via QR code instead of static IP. Reinstall app if needed. Match login credentials between app and NVR admin.
Correct Inverted Video
Problem: Image is upside-down. Cause: Turret camera mounted lens-down. Fix: Remount with lens up, LEDs down.
Improve Low-Light Image Quality
Problem: Blurry night vision. Cause: Long cable runs or poor cable quality. Fix: Replace with high-quality cables. Tested upgrades showed clearer IR performance.
Maximize Security and Performance
Get the most from your Annke system with these advanced strategies.
Use AI Motion 2.0
Leverage smart detection to reduce false alarms by 80% or more. Focus alerts on humans and vehicles. Ignore pets, bugs, and foliage.
Mix Camera Types
Combine bullet cameras for long-range backyard coverage, turrets for side walls with tamper resistance, and panoramic dual-lens for front doors with 180° view. All work on the same 8-channel NVR.
Upgrade to Audio-Enabled Models
Standard Annke cameras do not record audio. But DVR supports audio input, and you can upgrade to microphone-equipped cameras. FDH800 includes built-in mic, speaker, and siren for two-way talk, perfect for front-door communication.
Frequently Asked Questions About Annke Security Camera Installation
How long does it take to install an Annke security camera system?
Most installations take 2 to 4 hours for a complete 8-camera setup. This includes planning, mounting all cameras, running cables, and configuring the system. Professional results depend on your property layout and whether you need to drill new entry points.
Do Annke cameras work without internet?
Yes, Annke cameras record locally to the NVR or DVR without internet. However, remote viewing through the Annke Vision app requires an internet connection. Local monitoring via HDMI/VGA monitor works completely offline.
What resolution should I use for my Annke NVR monitor?
Use 1920×1080 for clean live viewing. Switch to 1280×1024 when you need full playback controls like fast forward, rewind, and 64× speed. Some monitors hide UI elements at higher resolutions due to scaling.
Can I mix different camera types on one Annke NVR?
Yes, you can mix bullet cameras, turret cameras, and panoramic dual-lens cameras on the same 8-channel NVR. All Annke cameras compatible with your system work together seamlessly.
Why is my Annke camera showing inverted video?
Your turret camera is mounted upside-down. Remount it with the lens facing upward and LEDs downward. This is a common mistake that is easily fixed by repositioning the camera.
How do I reduce false motion alerts on my Annke system?
Draw specific red detection zones covering only your priority areas. Enable AI Motion 2.0 to filter by human or vehicle only. Adjust sensitivity lower if wind or small animals trigger false alerts.
Key Takeaways for Annke Security Camera Installation
The ANNKE FDH800 PoE system delivers professional-grade security with AI detection, two-way audio, and lifetime free access. By following this guide, you will avoid common mistakes, optimize performance, and get the most from your Annke security camera installation.
For best results, use high-quality cables for runs over 60 ft, enable P2P remote access instead of manual IP configuration, and set smart detection zones to reduce false alerts. Choose 1280×1024 monitor resolution when you need full playback controls.
Plan your camera layout before mounting, mount turret cameras with lens facing up, and take advantage of the Auto button for one-touch setup. Your system will provide reliable 24/7 surveillance with advanced features at no monthly cost.