Installing Amcrest security cameras is one of the most effective ways to protect your home or business. Whether you need a weatherproof 5MP PoE camera for your driveway or a simple 1080P indoor Wi-Fi camera for your living room, proper installation makes all the difference in video quality and reliability. This guide walks you through every step of amcrest security camera installation, from selecting the right model to configuring AI features and storage.
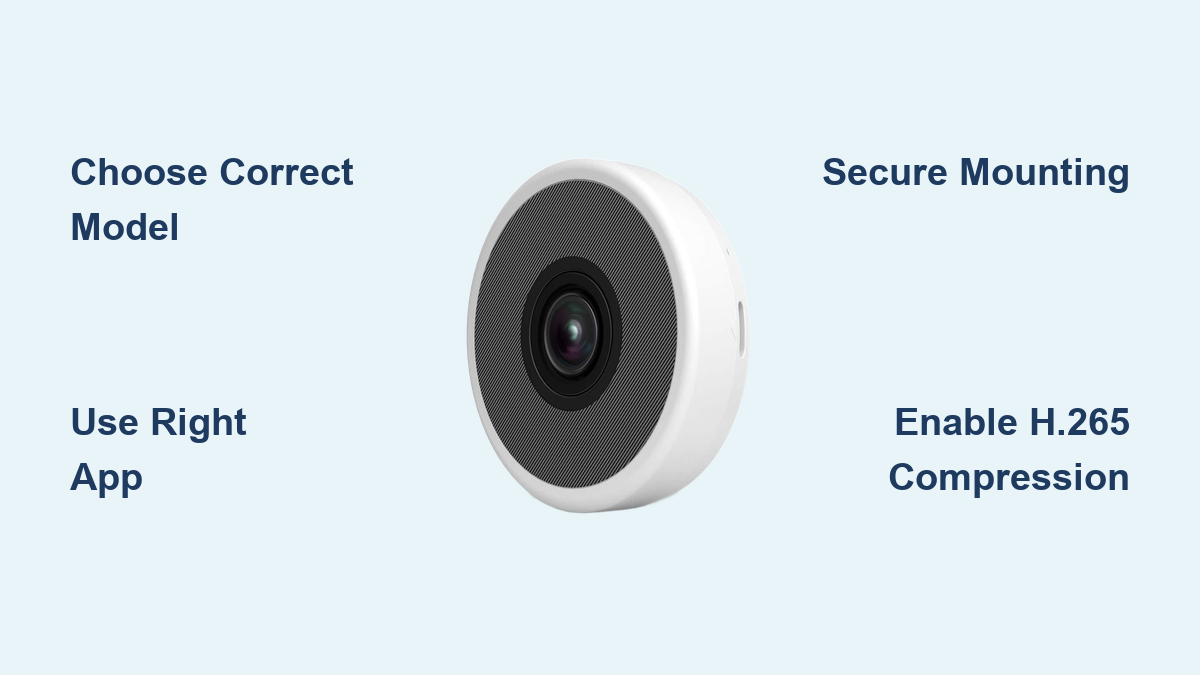
Choose the Right Amcrest Camera Model for Your Needs
Before beginning your amcrest security camera installation, you must select the correct camera type for your environment. The two main categories serve very different purposes.
5MP PoE Outdoor vs. 1080P Indoor Wi-Fi
The Amcrest 5MP PoE Outdoor Camera delivers Ultra HD resolution with IP67 weather resistance, making it ideal for exterior locations like driveways, entryways, and garages. It uses Power over Ethernet for both power and network connectivity, supports H.265 compression, and includes AI detection features for human, vehicle, and perimeter monitoring.
The Amcrest 1080P Indoor Wi-Fi Camera connects via 2.4 GHz Wi-Fi and requires an AC power adapter. This model is not weatherproof and should only be used indoors in living rooms, hallways, or nurseries.
Pro Tip: Reserve PoE cameras for outdoor or high-traffic areas where reliability is critical. Use Wi-Fi cameras only where running Ethernet cables is impractical.
Mount Your Amcrest Camera: Flush or In-Wall Installation
The mounting method depends on your camera type and whether you want surface-mounted or concealed wiring.
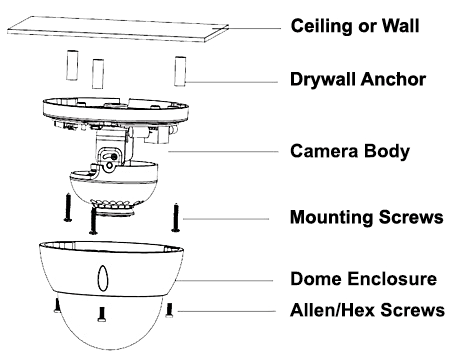
Vandal Dome Flush Mount Steps
- Apply the included wall placement sticker to your desired surface and mark the three screw hole locations.
- Drill pilot holes using a 3/16″ drill bit and insert plastic wall anchors, tapping them flush with a hammer.
- Remove the dome cover using the included Allen wrench and feed the Ethernet cable through the notch in the base plate to prevent pinching.
- Align the base plate with anchors, insert screws, and tighten with a Phillips bit. Reattach the dome cover and secure with hex screws.
Vandal Dome In-Wall Mount Setup
- Drill a 15/16″ paddle bit hole through the center of the wall sticker for cable passage.
- Feed Ethernet and power cables through the wall. Slide a rubber washer onto the cable, then screw on the top cover before inserting.
- Terminate the Ethernet with an RJ45 connector, add a large rubber O-ring, and attach the weatherproof RJ45 cover to block moisture.
- Mount the base plate with three screws, reinstall the dome, and connect cables.
Warning: Never skip the O-ring during in-wall installation. It prevents water ingress and maintains your IP67 weather resistance rating.
Standard Dome Flush Mount Process
- Mark four holes using the sticker, drill with a 3/16″ bit, and insert anchors.
- Insert one screw but tighten only one-third of the way to leave space for cable routing.
- Pass power and Ethernet through the base notches, then insert the remaining three screws and fully tighten all four.
- Place the camera body onto the base and twist clockwise until locked. Connect power and Ethernet.
Standard Dome In-Wall Installation
- Draw diagonal lines across the four mounting holes on the sticker to locate the center point.
- Drill a 15/16″ hole at the center for cable passage.
- Slide the rubber washer, attach the top cover, and feed cable through the housing.
- Install the RJ45 connector, add the O-ring, seal with the weatherproof cover, mount the base with four screws, and twist the camera to lock.
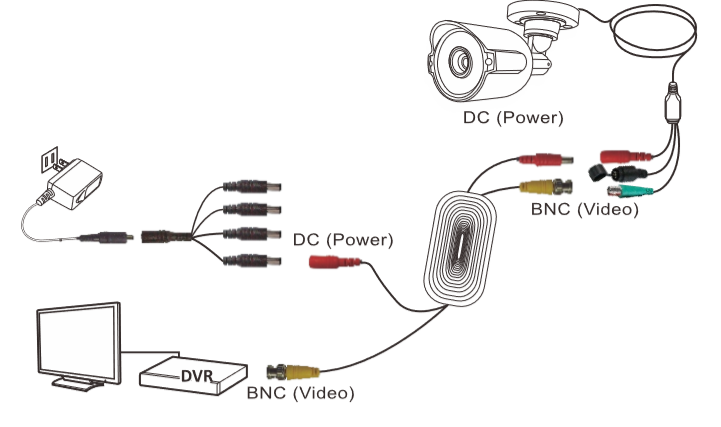
Power and Network: PoE vs. Wi-Fi Setup
Your camera’s power and network method determines installation complexity and long-term reliability.
Connect PoE Camera to Network
- Run a shielded Cat5e or Cat6 Ethernet cable from the camera location to a PoE-enabled switch.
- Connect one end to the camera’s RJ45 port and the other to a PoE switch port. The camera powers on automatically.
- If no PoE switch is available, use the DC 12V adapter as an alternative, though PoE is preferred for single-cable operation.
Scalability Tip: Use a 16- or 24-port PoE switch to support multiple cameras with room to expand your system.
Set Up Wi-Fi Indoor Camera
- Plug in the AC adapter and wait approximately 60 seconds for the light to change from solid red to blinking green.
- Download the Amcrest SmartHome app from the App Store or Google Play. Do not use Amcrest View Pro for Wi-Fi cameras.
- Tap Add Device, select Wi-Fi Setup, and scan the QR code on the camera base or enter the serial number manually.
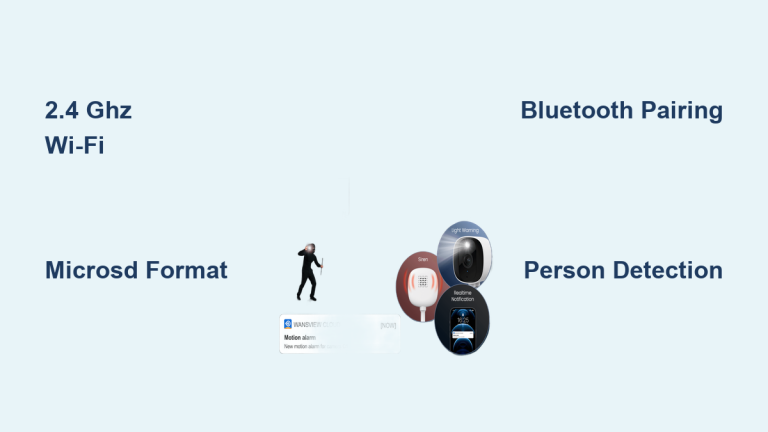
- Connect your phone to the camera’s temporary hotspot (Amcrest_XXXX), then enter your 2.4 GHz Wi-Fi credentials.
- Wait for the solid green light, then tap Next in the app to complete registration.
Common Mistake: Using 5 GHz Wi-Fi will cause setup to fail. Only 2.4 GHz networks are supported for Amcrest indoor Wi-Fi cameras.
Configure Cameras Using the Correct App

Using the right app is critical for successful amcrest security camera installation. Amcrest View Pro and Amcrest SmartHome are not interchangeable.
Amcrest View Pro for PoE Cameras
- Download and install Amcrest View Pro from your app store.
- Create an account or log in, then enable two-factor authentication if available.
- Ensure your phone is on the same network as the camera and tap Scan QR Code or search for devices.
- Log in with default credentials (username: admin, password: admin) and change the password immediately.
- If the image appears upside down, use on-screen tools to adjust pan, tilt, and zoom. Enable AI detection in Settings > Motion Detection > AI Mode.
Amcrest SmartHome for Wi-Fi Cameras
- Install the app, create an account, and allow location access for device discovery.
- Scan the QR code or enter the serial number to register the device.
- Follow prompts to connect to your 2.4 GHz network.
- Name the camera, set the correct time zone, and enable motion recording.
- Update firmware when prompted and wait for confirmation before using the camera.
Security Alert: Always change the default admin/admin password. Leaving it unchanged risks remote hacking of your camera system.
Set Up Storage: Local, NVR, or Cloud
Choose where your footage is stored based on your needs for accessibility, retention, and budget.
Use MicroSD Card for Local Storage
- Insert a Class 10 or higher microSD card (supports up to 256 GB) into the camera slot.
- Format the card in Settings > Storage Settings > Format SD Card before first use.
- Choose recording mode: continuous, motion-triggered, or scheduled.
Tip: Format the microSD card monthly to maintain optimal performance and prevent corruption.
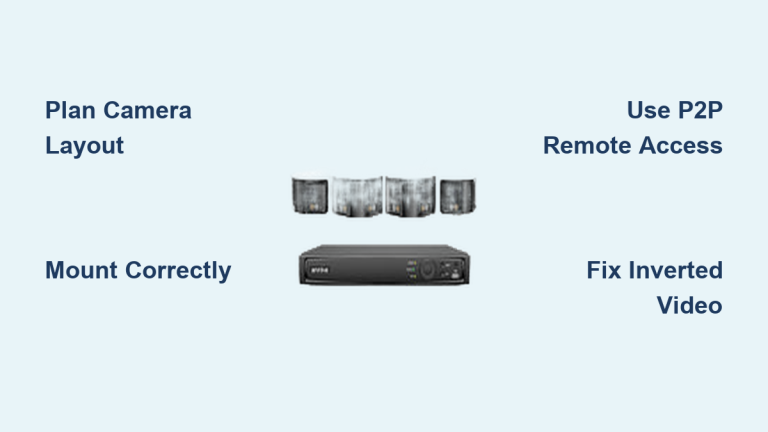
Connect to NVR or PC/NAS
- Plug PoE cameras directly into an Amcrest NVR’s PoE ports for automatic detection and configuration.
- For PC or NAS storage, create a shared folder with read/write permissions and enter the IP address and path in camera settings.
- Verify the connection by checking logs to confirm recordings are saving properly.
Enable FTP or Cloud Backup
FTP server backup requires server IP, port, username, password, and upload directory path. Amcrest Cloud offers subscription-based encrypted storage with motion-triggered recordings and remote playback from anywhere.
Optimize Video Quality and AI Features
Maximize your camera’s performance with these settings.
Enable H.265 Compression
H.265 compression reduces file size by up to 50% compared to H.264, saving bandwidth and storage. Enable this in Video Settings > Stream Type > Main Stream > H.265.
Turn On WDR and Night Color AI
Wide Dynamic Range (up to 120 dB) balances bright and dark areas in high-contrast scenes. Night Color AI uses an enhanced sensor to capture full-color video in total darkness without requiring a spotlight.
Test at Night: Compare Night Color versus IR mode after installation to see which provides better detail for your specific environment.
Expand and Maintain Your System
A well-maintained system delivers years of reliable security coverage.
Scale with PoE Switches
Add more cameras using 5, 16, 24, or 48-port PoE switches. Use Cat6 cables for future-proofing and label each camera’s port for easy troubleshooting.
Perform Routine Maintenance
- Check for firmware updates monthly via the app and never interrupt an update in progress.
- Clean the dome cover with a soft, lint-free cloth to maintain video clarity.
- Inspect O-rings, weatherproof covers, and cable seals for damage after storms.
- Change passwords annually or immediately if you suspect a breach.
Avoid Common Installation Mistakes
Even small errors can cause major issues with your amcrest security camera installation.
- Using the wrong app (Amcrest View Pro for PoE, Amcrest SmartHome for Wi-Fi)
- Pinching cables in the base plate notch, causing signal loss
- Skipping the O-ring on in-wall installs, voiding weather resistance
- Failing to change default passwords, leaving the system vulnerable
- Using 5 GHz Wi-Fi instead of 2.4 GHz for indoor cameras
Key Takeaways for Amcrest Security Camera Installation
Proper amcrest security camera installation combines the right hardware selection, mounting method, network setup, and software configuration. Whether installing a 5MP PoE outdoor dome or a 1080P indoor Wi-Fi unit, focus on correct power delivery, secure mounting, weatherproofing, and using the correct app for your camera type. Enable AI detection features to reduce false alerts and configure H.265 compression to maximize storage efficiency. With your system now live, regularly check camera angles, update firmware, and maintain strong passwords to keep your property protected.
Frequently Asked Questions About Amcrest Security Camera Installation
Can I install an Amcrest PoE camera indoors?
Yes, PoE cameras can be installed indoors, but you must ensure they are connected to a PoE switch or injector. They work well in garages, warehouses, and retail spaces where wired connectivity is preferred over Wi-Fi.
What app do I need for Amcrest 1080P indoor Wi-Fi cameras?
You need the Amcrest SmartHome app, available on both iOS and Android. This app is specifically designed for Wi-Fi camera models and is not compatible with PoE cameras, which require Amcrest View Pro.
How do I reset my Amcrest camera to factory settings?
Locate the hidden reset button under the removable back panel on most Amcrest cameras. Press and hold it for approximately 10 seconds until the status light flashes. Reconfigure the camera through the app after resetting.
Do Amcrest cameras support cloud storage?
Yes, Amcrest offers subscription-based cloud storage through Amcrest Cloud. This service provides encrypted motion-triggered recordings, event history, and remote playback from any location.
Can I use Amcrest cameras with third-party NVR systems?
Yes, Amcrest cameras support ONVIF protocol, making them compatible with many third-party NVR systems. However, using Amcrest-branded NVRs ensures the simplest setup and full feature compatibility.
How far can PoE cables run for Amcrest camera installation?
Standard Ethernet cables (Cat5e or Cat6) can reliably carry PoE up to 100 meters (328 feet) without signal degradation. For longer runs, you may need PoE extenders or a fiber optic solution.