
Changing a halogen flood light bulb the wrong way can burn your fingers, shatter the bulb, or cut the new bulb’s life short by months. Halogen bulbs burn hotter than standard incandescents and use a quartz envelope that reacts badly to skin oils. One fingerprint is sometimes all it takes to ruin a brand-new bulb.
This guide covers every step of a safe halogen flood light bulb replacement, from cutting power and letting the bulb cool to matching the right base type and reinstalling trim assemblies. You’ll learn why gloves matter, how to handle twist-lock versus push-in fixtures, and what to do when the new bulb doesn’t light up.
Power Down and Cool the Bulb Before Touching Anything
Cut Electricity at the Source
Flip the wall switch off first. For plug-in fixtures, unplug the cord. For hardwired units, shut off the matching breaker at the panel. Never trust the switch alone; someone could flip it back on while your hands are inside the fixture.
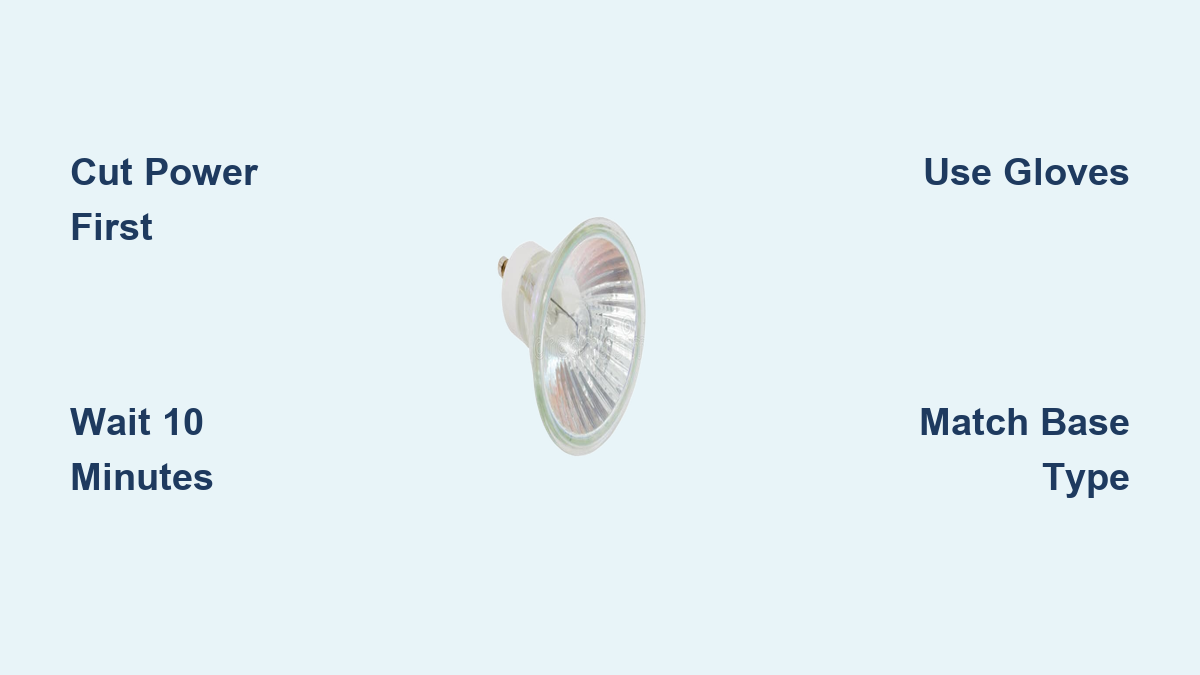
Wait at Least 10 Minutes
Halogen bulbs reach over 500°F during normal use. After powering down, give the bulb a full 10 minutes to cool. Handling it hot risks severe burns, and sudden temperature changes can crack the quartz glass on contact.
Gather the Right Tools and Protective Gear
What You Need on Hand
- Latex or fabric gloves to keep skin oils off the quartz
- Clean tissue or thin cloth as a backup barrier
- Needle-nose pliers for spring-loaded wire rings
- Stable step ladder for ceiling or wall-mounted fixtures
- Screwdriver if the fixture has a decorative cover or shell
Why Gloves Are Non-Negotiable
Skin oils leave residue on the quartz envelope. Once the bulb heats up, that residue creates hot spots that weaken the glass and shorten filament life. In worst cases, the bulb shatters inside the fixture. Always handle the new bulb through gloves, packaging, or a clean cloth.
Identify Your Halogen Bulb Type Before Buying a Replacement

Match the Base and Shape
Common halogen flood light bulb types include:
- M16: Small round bulbs with two pins, used in track lighting
- G4 and G9: Tiny bi-pin bulbs for under-cabinet and accent lighting
- GU10: Twist-lock base with two thick pins, common in recessed fixtures
- Two-sided utility bulbs: Rectangular bulbs with pins on both ends
Pull the old bulb out first, then bring it to the hardware store to match wattage, voltage, and base type exactly.
Confirm Wattage Stays Within Fixture Limits
Check the label inside the fixture for its maximum wattage rating. Installing a higher-wattage bulb can melt wiring, scorch the housing, or start a fire. Match the original wattage or go lower.
Remove the Old Bulb Based on Your Fixture Type
Small Round Floodlights (M16 and Track Lights)
Use needle-nose pliers to gently lift and release the thin wire ring holding the glass cover. Pull the glass disk straight out. Grasp the metal casing (not the glass) with gloved fingers and pull the bulb out. Some models require a quarter-turn counterclockwise before the bulb releases.
Two-Sided Utility Bulbs (Rectangular Work Lights)
Press one end of the bulb inward. The spring-loaded socket releases the opposite side. Slide the bulb out once one end disengages. Wear gloves in case the glass is cracked.
Twist-Lock Fixtures (GU10)
Hold the bulb with a cloth and turn it counterclockwise about 30 to 45 degrees until you feel it unlock. Pull straight out without wiggling, since sideways movement can bend the pins.
Gimbal-Mounted Ceiling Lights
Do not force the bulb through the trim ring; this damages the spring clips. Instead, pull the entire trim assembly down from the ceiling using your fingertips. At the back, rotate the ceramic socket 1/8 turn counterclockwise to release the bulb base. Then pry the bulb free from the spring clips holding it to the trim.
Push-In Bulbs (G4 and G9)
Grasp the bulb with gloves or a cloth and pull straight out. These have no locking mechanism; the prongs simply disengage from the socket notches.
Install the New Halogen Flood Light Bulb the Right Way

Keep It in the Package Until Ready
Open the new bulb only when you’re set to install it. This minimizes the chance of contamination or accidental drops.
Handle Only the Base or Casing
Touch only the metal portions. If you accidentally touch the quartz, do not install the bulb. Oil residue will cause hot spots and early failure.
Seat the Bulb Correctly
- Push-in types (G4, G9, M16): Align the pins and push straight in until fully seated.
- Twist-lock (GU10): Insert the bulb, then turn clockwise until it locks with firm resistance.
- Spring-loaded fixtures: Compress one side of the socket, insert one pin, then release so the other pin snaps in.
- Gimbal units: Reattach the bulb to the spring clips, insert the base into the ceramic socket, and turn 1/8 turn clockwise to lock.
Reassemble the Fixture and Restore Power
Replace Covers and Trim
Reinstall any glass disks or protective shells. Press the wire ring back into place with pliers until it clicks. For screw-on trims, tighten gently with a screwdriver. Push gimbal assemblies back into the ceiling until they sit flush.
Test the New Bulb
Turn the breaker back on and flip the switch. The bulb should light immediately with a bright, white glow.
If the bulb doesn’t light, check these items:
- Breaker is on and switch is flipped
- Bulb is fully seated in the socket
- Twist-lock bulb is turned fully clockwise
- Old bulb wasn’t defective; test it in another fixture
Prevent Early Failure and Protect the New Bulb
Keep Oil Off the Quartz
Even a clean-looking fingerprint can cause a hot spot. Always wear gloves or use a cloth when handling the bulb. If contamination happens, discard the bulb rather than install it.
Ensure Proper Ventilation
Halogen bulbs generate intense heat. Install them only in fixtures rated for halogen use. Enclosed or poorly ventilated housings trap heat and shorten bulb life dramatically.
Minimize Vibration
In workshops, garages, or ceiling fans, vibration can damage the tungsten filament. Use vibration-resistant fixtures or switch to LED in high-shake environments.
Dispose of the Old Bulb Safely
Wrap Before Trashing
Place the used bulb in paper or plastic before tossing it. Broken halogen glass can cut through trash bags or injure sanitation workers.
Check Local Recycling Rules
Some municipalities classify halogen bulbs as hazardous waste because of the quartz and metal content. Call your waste provider or check their website for drop-off locations.
Troubleshoot Common Problems After Installation
Bulb Doesn’t Light
- Confirm power is restored at the breaker
- Check for bent or corroded pins in the socket
- Reseat the bulb firmly
- Test the old bulb in a working fixture to rule out a defective replacement
Bulb Burns Out Quickly
- Oil contamination is the most common cause; always use gloves
- Wattage may exceed the fixture’s rating; check the label
- Loose connection causes flickering and arcing; reseat or replace the socket
Consider Upgrading to LED for Long-Term Savings
Why LED Makes Sense
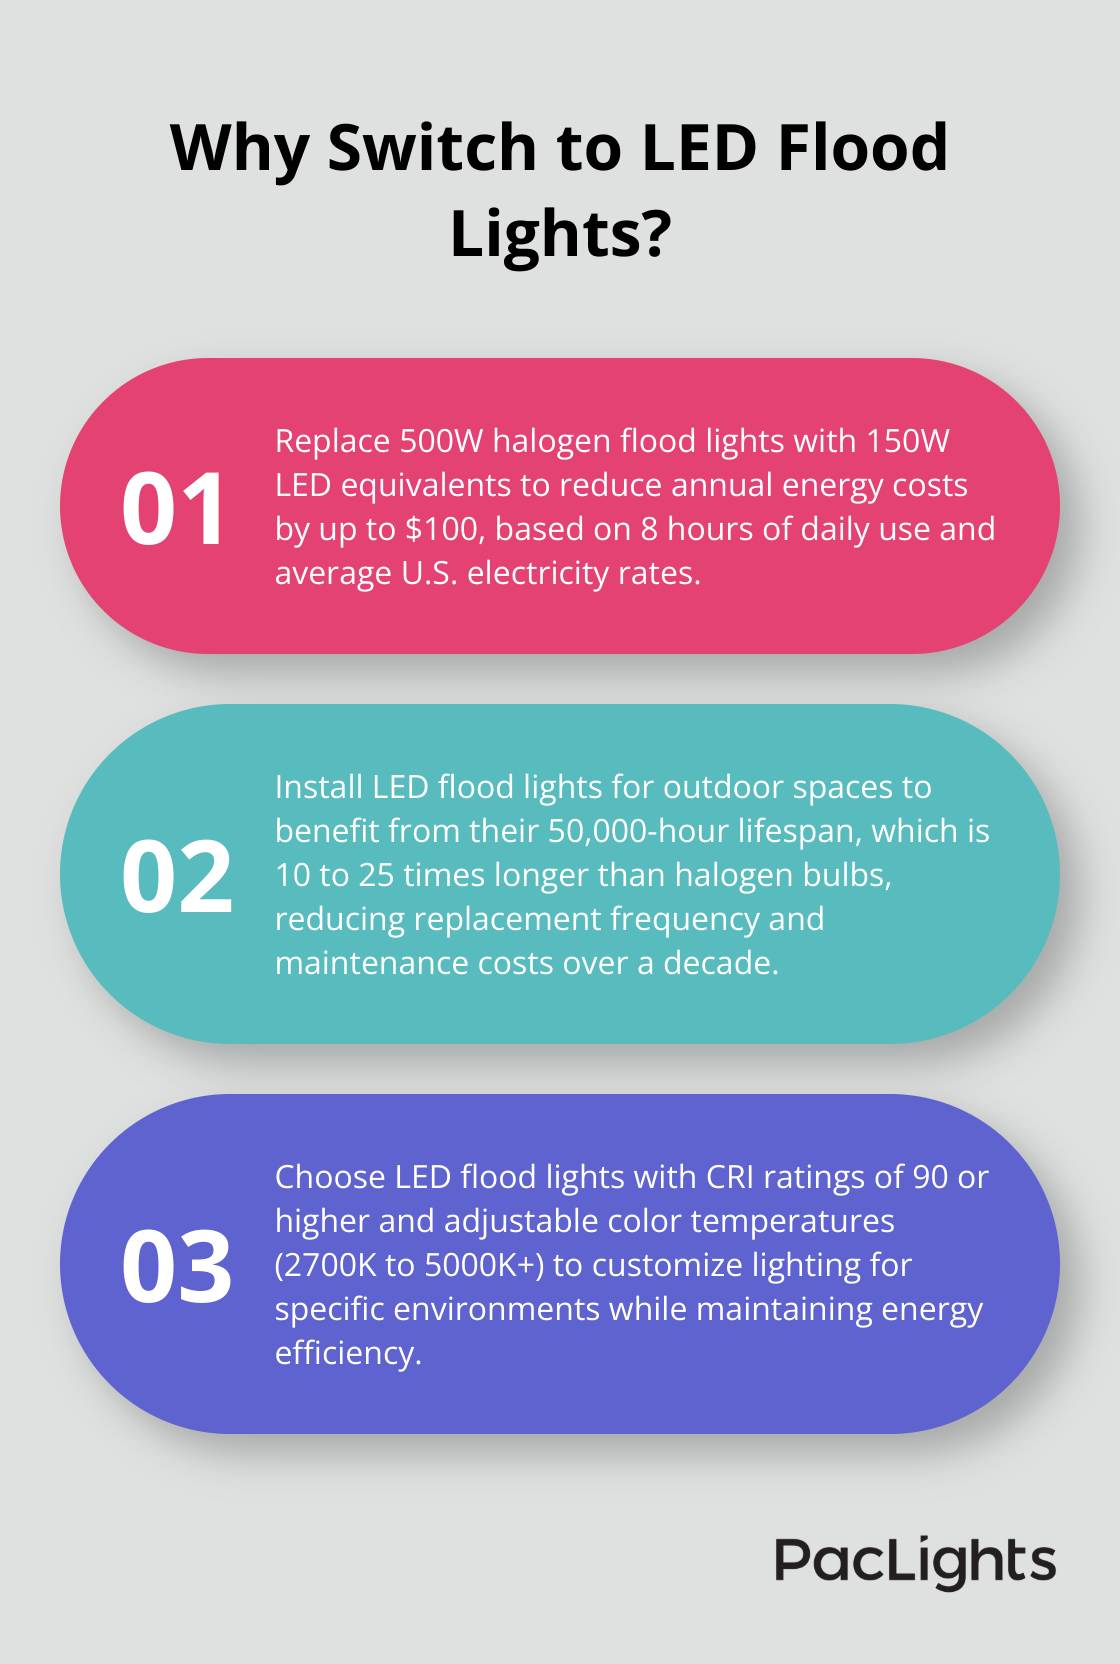
LED replacements use up to 80% less energy and last 15,000 to 50,000 hours compared to 2,000 to 4,000 hours for halogen. They run cooler, work safely in enclosed fixtures, and can be touched with bare hands without damage.
Retrofit Options to Look For
Many LED bulbs are designed as direct replacements for G4, G9, GU10, and M16 halogen bases. Before swapping, verify voltage compatibility (12V versus 120V), dimmer compatibility, and that the fixture is sealed properly for LED use.
Final Tips for Long-Lasting Halogen Performance
- Buy quality bulbs from reputable brands; cheap halogens often fail early due to weak filaments
- Keep spares on hand in original packaging with gloves stored nearby
- Inspect outdoor floodlights every 6 months for dimming, flickering, or discoloration
- Call an electrician if the socket is melted, the fixture buzzes, or multiple bulbs fail in the same unit
Frequently Asked Questions About Changing a Halogen Flood Light Bulb
How long should I wait before touching a halogen bulb after turning it off?
Wait at least 10 minutes for the bulb to cool completely. Halogen bulbs operate at over 500°F, and handling a hot bulb can cause severe burns or thermal shock that shatters the quartz glass.
Why can’t I touch a halogen bulb with my bare hands?
Skin oils transfer to the quartz envelope and create hot spots when the bulb heats up. These hot spots cause uneven stress on the glass, leading to premature failure or catastrophic shattering. Always handle the bulb with gloves, a tissue, or through the packaging.
How do I know which replacement halogen bulb to buy?
Remove the old bulb and bring it to the hardware store to match the base type (G4, G9, GU10, M16), wattage, and voltage. Never install a bulb with a higher wattage than the fixture’s maximum rating, since this can cause overheating and fire.
What should I do if the new halogen bulb doesn’t light up?
Check that the breaker is on, the bulb is fully seated, and the twist-lock mechanism (if applicable) is turned fully clockwise. Inspect the socket for bent or corroded pins. If the bulb still doesn’t work, test the old bulb in another fixture to rule out a defective replacement.
Can I replace a halogen bulb with an LED bulb?
Yes, many LED bulbs are designed as direct replacements for common halogen bases like GU10, G4, and G9. Verify voltage compatibility, dimmer compatibility, and that the fixture is rated for LED use before swapping.
How should I dispose of old halogen bulbs?
Wrap the used bulb in paper or plastic before placing it in the trash to prevent broken glass injuries. Some areas classify halogen bulbs as hazardous waste, so check with your local waste management provider for proper disposal or recycling options.
Key Takeaways for a Safe Halogen Flood Light Bulb Replacement
Changing a halogen flood light bulb is a quick DIY job when you respect three risks: electricity, extreme heat, and oil contamination. Always cut power at the breaker, wait 10 minutes for cooling, and handle the new bulb only with gloves or a clean cloth. Match the base type and wattage exactly, and follow the removal method that fits your specific fixture.
Once you’ve finished the replacement, consider switching to LED for your next swap. You’ll save energy, reduce heat output, and skip the glove requirement entirely. For now, store a spare bulb in its original packaging so you’re ready when the next one burns out.