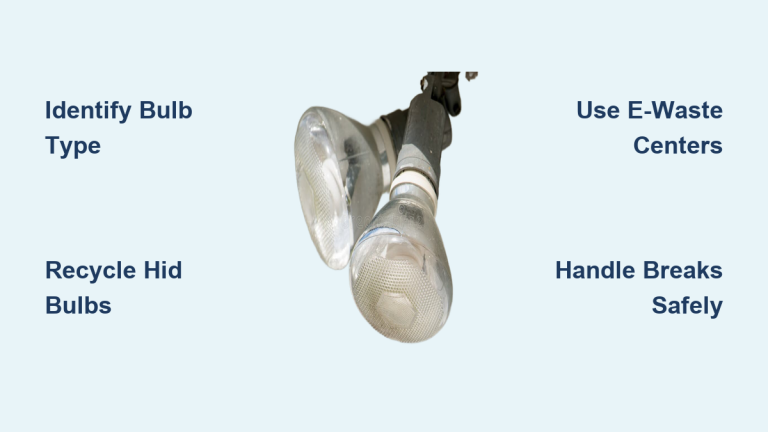
Halogen flood light bulbs power everything from recessed ceiling lights to outdoor security fixtures. They burn hot, last long, and deliver crisp, bright illumination, but they eventually fail and require replacement. Learning how to remove a halogen flood light bulb the right way protects you from burns, electrical shock, and broken glass. It also prevents premature burnout of the new bulb, since fingerprints on the quartz surface can cut its lifespan in half.
This guide covers every step needed to remove any halogen flood light bulb, including GU10, MR16, M16, G4, and G9 types. You will learn how to identify your bulb, power down safely, handle the removal by retention type, and prepare for a flawless replacement.
Power Off and Cool Down Completely
Switch Off Power at the Source
Before touching any fixture, turn off the wall switch. For hardwired ceiling or recessed lights, also shut off the circuit breaker controlling the fixture. Halogen sockets carry full household voltage, and a dead bulb does not mean a safe socket. Never rely on the switch alone.
If you are unsure which breaker controls the light, flip the switch off, then test breakers one at a time until the light no longer responds. Label the correct breaker for future reference.
Wait for the Bulb to Cool
Halogen bulbs reach temperatures above 400°F during operation. Touching a hot bulb causes instant burns. Wait at least 10 minutes after switching off before handling the bulb. If the fixture has metal clips, wire rings, or recessed housing, extend the wait to 20 minutes, because metal holds heat far longer than glass.
To confirm safety, hold your hand near (not on) the bulb. If you still feel radiant heat, wait longer. Only proceed when the fixture feels completely cool.
Identify Your Halogen Bulb Type
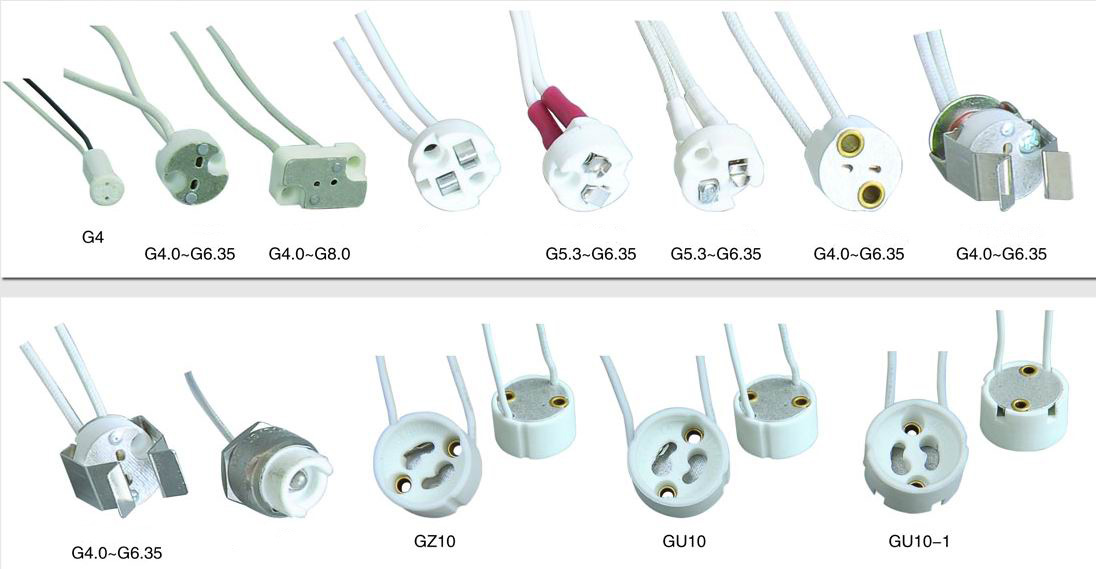
Check the Base and Fixture Label
Different halogen bulbs use different mounting systems, and using the wrong removal method can damage the socket or shatter the bulb. Look at the base for codes like GU10, MR16, G4, G9, or M16, or check the fixture label for specifications.
Common types include:
– GU10 and MR16: Round bulbs with two pins, used in recessed and track lighting. Require a quarter-turn twist to unlock.
– M16 Floodlights: Small round bulbs with a wire retaining ring, common in track fixtures.
– G4 and G9: Tiny pin-base bulbs in accent or under-cabinet lighting. Pull straight out.
– Two-sided utility bulbs: Rectangular with pins on both ends. Press one side to release.
If the bulb is burned out and unreadable, remove it carefully to inspect the base, or photograph the fixture for comparison at the hardware store.
Look for Visual Retention Cues
The fixture itself reveals how the bulb is secured:
– A round disk socket signals a twist-lock bulb (GU10 or MR16).
– A metal wire ring around the glass indicates an M16 or similar spring-retained bulb.
– No visible hardware usually means the bulb pulls straight out (G4 or G9) or sits behind a removable trim.
Remove Fixture Covers and Trim
Unscrew or Slide Off Protective Covers
Many recessed and ceiling fixtures have a glass shade, plastic dome, or metal trim ring covering the bulb. Remove this first to access the bulb.
- For screw-on covers, use a flathead screwdriver to gently loosen the finial or retaining screws.
- For twist-off trims, grip the edge and rotate counter-clockwise.
- For push-in trims, pull straight down. Some release with a slight twist.
Place removed parts on a soft surface to prevent scratches or cracks.
Access Recessed Housing Carefully
In recessed can lights, the bulb sits deep inside the housing. After removing the trim, inspect for a bulb guard or lens. Some models have a small glass cover held by a spring ring, which requires needle-nose pliers to release (covered in the next section).
Confirm the fixture is stable before reaching in. Never force components that feel stuck.
Remove the Bulb by Retention Type
Release Spring Wire Ring (M16 Floodlights)
Small round floodlights often use a spring-loaded wire ring to hold a protective glass cover and the bulb.
- Use needle-nose pliers to gently squeeze the ends of the wire ring together.
- Slide the ring downward and remove it from the fixture.
- Take out the small glass cover if present.
- Grasp the metal base of the bulb with gloved fingers or pliers.
- Pull straight out. No twisting is needed.
If the bulb resists, wiggle it slightly while pulling. Do not yank.
Twist and Unlock (GU10 and MR16)
Bulbs with a round base and two pins use a twist-lock mechanism.
- Wear gloves or wrap a tissue around the bulb.
- Turn counter-clockwise (left) about 90 degrees (a quarter turn).
- Feel for a click or release as the pins disengage.
- Pull the bulb straight out.
Some fixtures allow the socket to drop slightly when unlocked. Support the wiring gently to avoid strain.
Pro Tip: If the bulb spins but does not come out, you may not have turned it far enough. Twist the bulb, not the socket.
Pull Straight Out (G4, G9, and Pin Types)
Smaller halogen bulbs plug directly into the socket and require no twisting.
- Grasp the bulb body using gloves, a cloth, or pliers.
- Pull straight out with firm, even pressure.
- Check for bent pins if the bulb sticks.
For two-sided utility bulbs (rectangular with pins on both ends):
– Press one end inward to compress the spring.
– The opposite end will release.
– Remove the bulb from the socket.
Handle the Bulb Safely During Removal
Avoid Skin Contact with Quartz Glass
Never touch the quartz glass of a halogen bulb with bare hands. Skin oils create hot spots when the bulb heats up, leading to premature failure or shattering. Even during removal, use gloves, a tissue, or a cloth when handling the bulb, especially if it is intact and you plan to test or return it.
Prevent Breakage and Socket Damage
Halogen bulbs are fragile. If the bulb breaks during removal:
– Confirm power is off.
– Use needle-nose pliers to carefully remove shards from the socket.
– Inspect the socket for debris or bent contacts before installing a new bulb.
Never insert metal tools into the socket unless you have verified the power is off.
Install the Replacement Bulb Correctly

Match Wattage and Base Type
Use a replacement bulb with the same base type (such as GU10 or G4) and equal or lower wattage than the fixture’s rating. Exceeding wattage limits causes overheating and fire risk.
If you are unsure, bring the old bulb to the store. Check for labels on the fixture housing or socket.
Insert Without Touching the Glass
- Wear gloves or use a clean tissue when handling the new bulb.
- Align the pins with the socket slots.
- Push in gently. Do not force.
- For twist-lock bulbs, turn clockwise (right) 90 degrees until it clicks.
- For pin-type bulbs, ensure full insertion until snug.
Warning: If the bulb does not fit, double-check alignment. Forcing it can bend pins or damage the socket.
Reassemble the Fixture and Test
Replace Covers and Secure Trim
- Reinstall the glass cover, wire ring, or trim.
– For wire rings, use pliers to compress and slide back into place.
– For screw-on covers, tighten gently. Over-tightening can crack glass. - Confirm all parts sit flush and secure.
Restore Power and Test the Light
- Turn the circuit breaker back on.
- Flip the wall switch to test the new bulb.
- If the light does not turn on:
– Check the breaker.
– Reseat the bulb by wiggling or re-twisting slightly.
– Inspect for bent pins or loose connections.
Troubleshoot Common Removal and Replacement Issues
Bulb Will Not Come Out
- It is not unlocked: Twist-lock bulbs must turn 90° before pulling.
- Heat damage: Allow more cooling time or use pliers on the metal base.
- Corroded socket: Inspect for discoloration or crust. Clean with electrical contact cleaner if needed.
New Bulb Burns Out Quickly
- Skin oils on quartz: Always handle new bulbs with protection.
- Over-wattage bulb: Verify the fixture rating.
- Poor ventilation: Recessed fixtures can overheat. Ensure insulation is not blocking airflow.
Flickering or Intermittent Light
- Loose connection: Reseat the bulb.
- Worn socket: If the bulb wobbles, the socket may need replacement.
- Failing transformer (for 12V MR16): Test voltage output if applicable.
Prevent Future Halogen Headaches
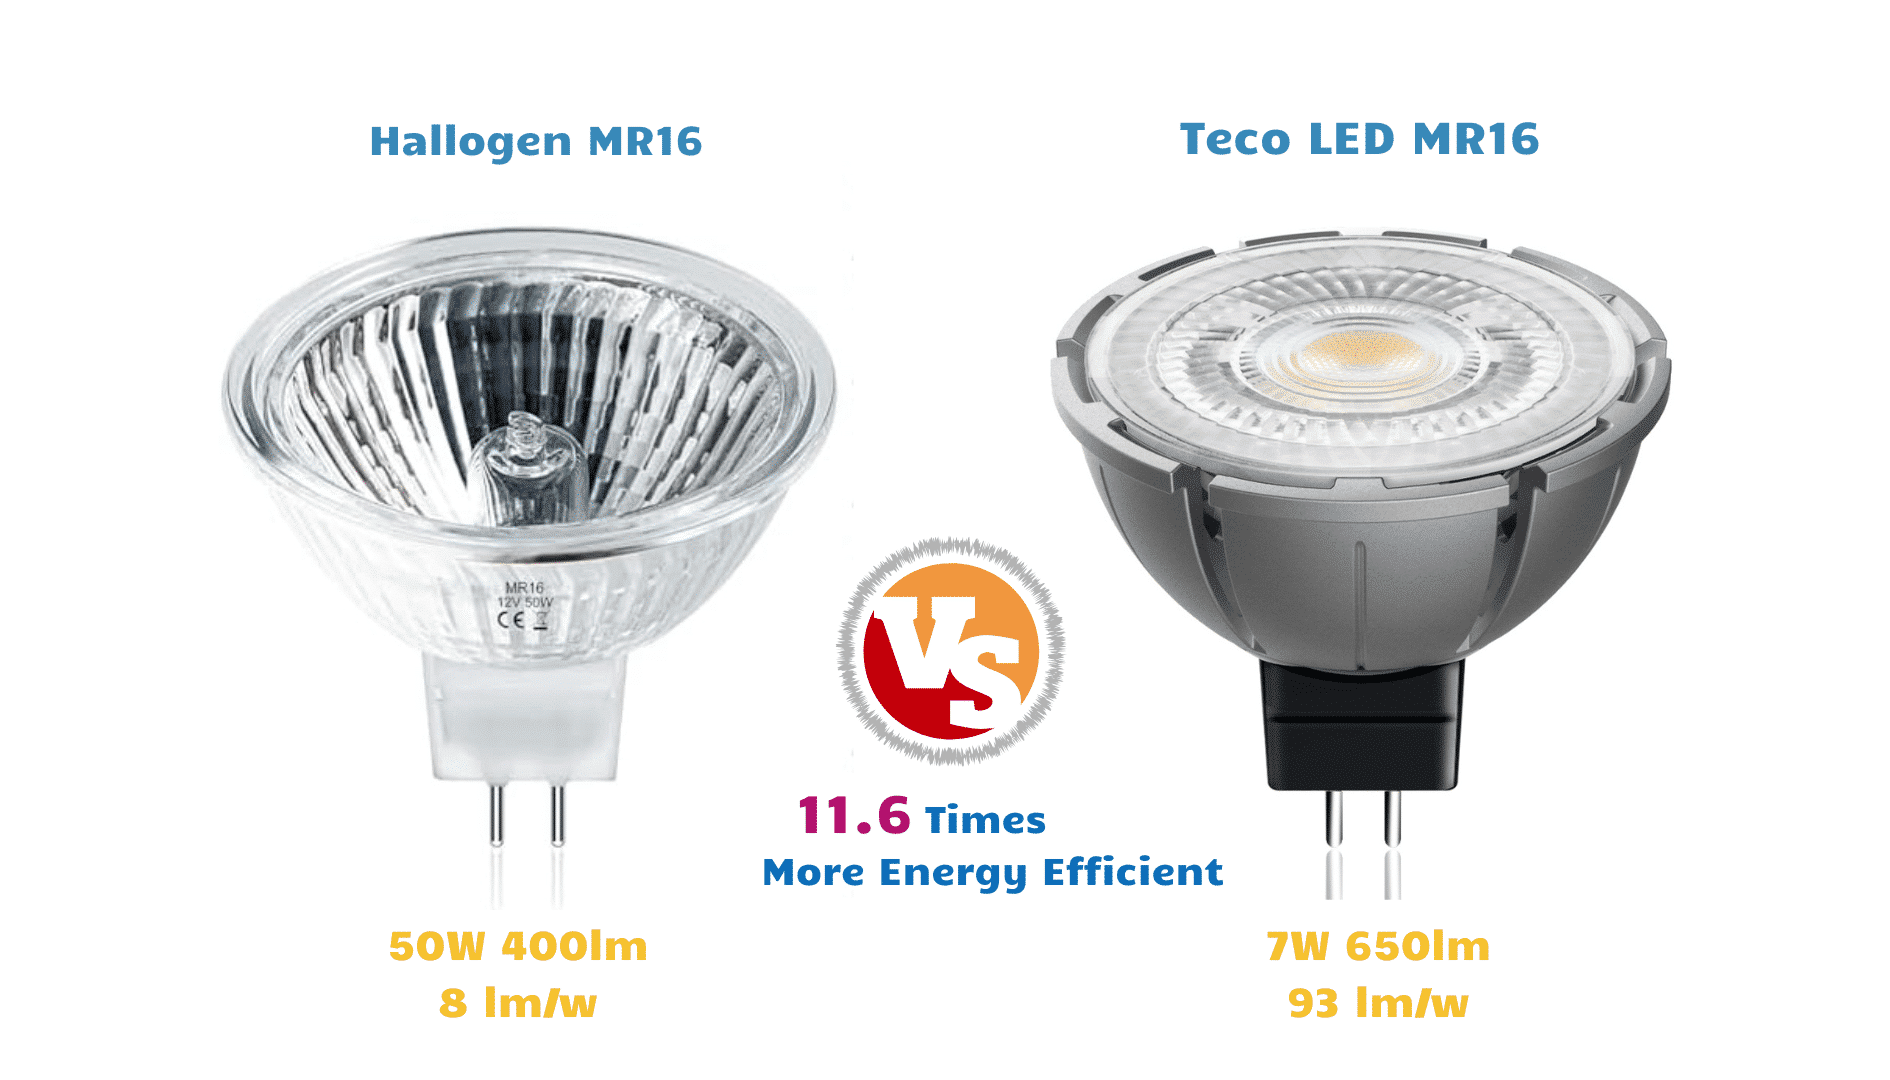
Consider Upgrading to LED
Many halogen fixtures accept LED retrofit bulbs with the same base, such as GU10 LED. Benefits include:
– Lower energy consumption
– Longer lifespan (15,000 to 25,000 hours)
– Minimal heat output
– No sensitivity to skin oils
Confirm the LED is dimmable if used with a dimmer switch, and check compatibility with enclosed fixtures.
Maintain Fixture Longevity
- Clean sockets and clips every 6 to 12 months with a dry cloth.
- Check spring tension and replace weak or corroded wire rings.
- Keep spare bulbs on hand for quick replacements.
Frequently Asked Questions About Halogen Flood Light Bulbs
How long should I wait before removing a hot halogen bulb?
Wait at least 10 minutes after switching off the power. If the fixture has metal clips or wire rings, extend the wait to 20 minutes because metal retains heat longer than glass. Always perform a touch test near the bulb before handling.
Can I touch a halogen bulb with my fingers?
Never touch the quartz glass of a new or working bulb with bare hands. Skin oils create hot spots that drastically shorten bulb life and can cause shattering. Use gloves, a tissue, or a clean cloth when handling.
How do I remove a stuck GU10 bulb?
Grip the bulb with gloves or a tissue and turn counter-clockwise about 90 degrees (a quarter turn). You should feel a click as the pins disengage. If it still does not release, allow more cooling time or use pliers on the metal base for extra grip.
What is the difference between GU10 and MR16 bulbs?
Both use a twist-lock mechanism with two pins, but GU10 bulbs run on 120V mains voltage while MR16 bulbs typically run on 12V through a transformer. The removal process is identical: a quarter-turn counter-clockwise, then pull straight out.
Can I replace a halogen bulb with an LED?
In most cases, yes. Look for an LED retrofit with the same base type (such as GU10 or MR16). Confirm the LED is dimmable if used with a dimmer switch, and check that it is rated for enclosed fixtures if your fixture has a glass cover.
Why does my new halogen bulb keep burning out?
The most common cause is skin oil contamination from handling the quartz glass with bare hands. Other causes include exceeding the fixture’s wattage rating, poor ventilation in recessed housings, or a failing transformer on low-voltage MR16 systems.
Key Takeaways for Safely Removing Halogen Flood Light Bulbs
Removing a halogen flood light bulb is straightforward once you know the bulb type and follow basic safety steps. Always power off at the breaker, wait 10 to 20 minutes for cooling, and handle bulbs with gloves or a tissue to prevent skin oil contamination. Identify whether your bulb uses a twist-lock (GU10, MR16), spring ring (M16), or push-pull (G4, G9) mechanism, then apply the matching removal technique. Match the replacement bulb’s wattage and base type exactly, and consider upgrading to LED for longer life and lower energy use.
Your next step: Pick up a replacement bulb and a pair of cotton gloves before starting. With the right supplies on hand, you can swap out a halogen flood light bulb in under five minutes and avoid the most common pitfalls.