
A burnt-out or outdated flood light leaves your home vulnerable to dark driveways, unlit walkways, and unwanted nighttime visitors. The good news is that learning how to change a flood light fixture is a practical DIY skill that delivers instant results. With the right tools and a few safety precautions, you can swap an old unit for a brighter, more efficient LED model in a single afternoon.
This guide covers every step of the process, from shutting off power and verifying it’s safe, to wiring, weatherproofing, and troubleshooting. You’ll also learn when a job calls for a licensed electrician and how to keep your new fixture performing reliably for over a decade.
Safety First: Power Off and Verify
Shut Off the Circuit Breaker
Head to your main electrical panel and locate the breaker controlling the outdoor light. Flip it to the OFF position. Wall switches alone are not enough because they may leave live voltage in the box. Only the breaker guarantees full disconnection.
Test for Live Wires
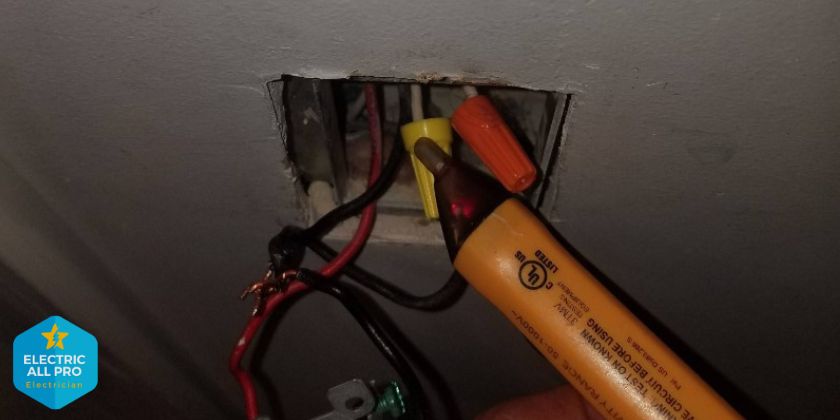
Climb your ladder and loosen the fixture cover or mounting screws just enough to reach the wiring. Hold a non-contact voltage tester near the wires inside the junction box. If it beeps or lights up, power is still present. Return to the panel and try another breaker until the tester confirms zero voltage.
Gear Up for Protection
Wear rubber-soled shoes, safety goggles, and insulated gloves before touching anything. Keep tools and hardware in a tool belt so you avoid repeated trips up and down the ladder.
Remove the Old Flood Light
Unscrew and Detach the Fixture
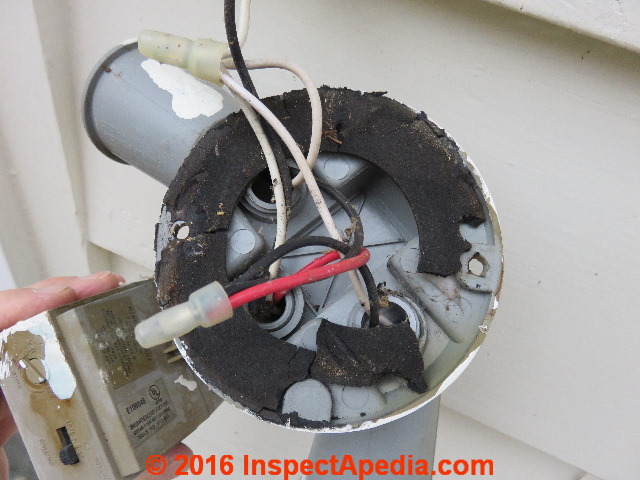
With power confirmed off, fully remove the mounting hardware and gently pull the fixture away from the wall. Support its weight with one hand so it doesn’t tug on the wires inside.
Document the Wiring Setup
Snap a clear photo of the wire connections before disconnecting anything. If colors are faded, label each wire with masking tape. This small step prevents confusion later, especially in older homes with non-standard wiring.
Disconnect and Inspect
Unscrew the wire nuts and separate the black, white, and ground wires. Inspect the junction box for rust, cracks, loose screws, or damaged insulation. Replace any compromised components with wet-location-rated parts. Trim corroded wire ends with wire strippers to expose clean copper.
Install the Mounting Bracket
Position the New Bracket
Most new flood lights include a universal mounting bracket. Align it over the existing junction box and confirm it sits flat and level. On masonry walls, drill pilot holes and insert outdoor-rated anchors before driving in the screws.
Secure Firmly
Tighten the bracket screws until snug. The bracket must support the fixture’s weight and resist wind movement. Avoid over-tightening, which can crack plastic or deform metal hardware.
Connect the Wires Correctly

Match Wires by Color
Follow standard electrical color coding for every connection:
- Black to Black: Hot wire from fixture to house supply
- White to White: Neutral to neutral
- Green or Bare to Ground: Connect to the grounding screw or bare copper wire in the box
Twist and Secure Connections
Strip wire ends if needed to expose about half an inch of clean copper. Twist matching wires together clockwise, then screw on outdoor-rated wire nuts. Tug each wire gently to confirm it won’t pull loose. In humid climates, wrap connections with electrical tape or use dielectric-grease filled connectors for extra moisture protection.
Tuck Wires Neatly
Carefully push all connected wires into the junction box without pinching. Leave enough slack to reposition the fixture later, but avoid overcrowding the box.
Seal and Mount the New Fixture
Apply Weatherproof Caulk
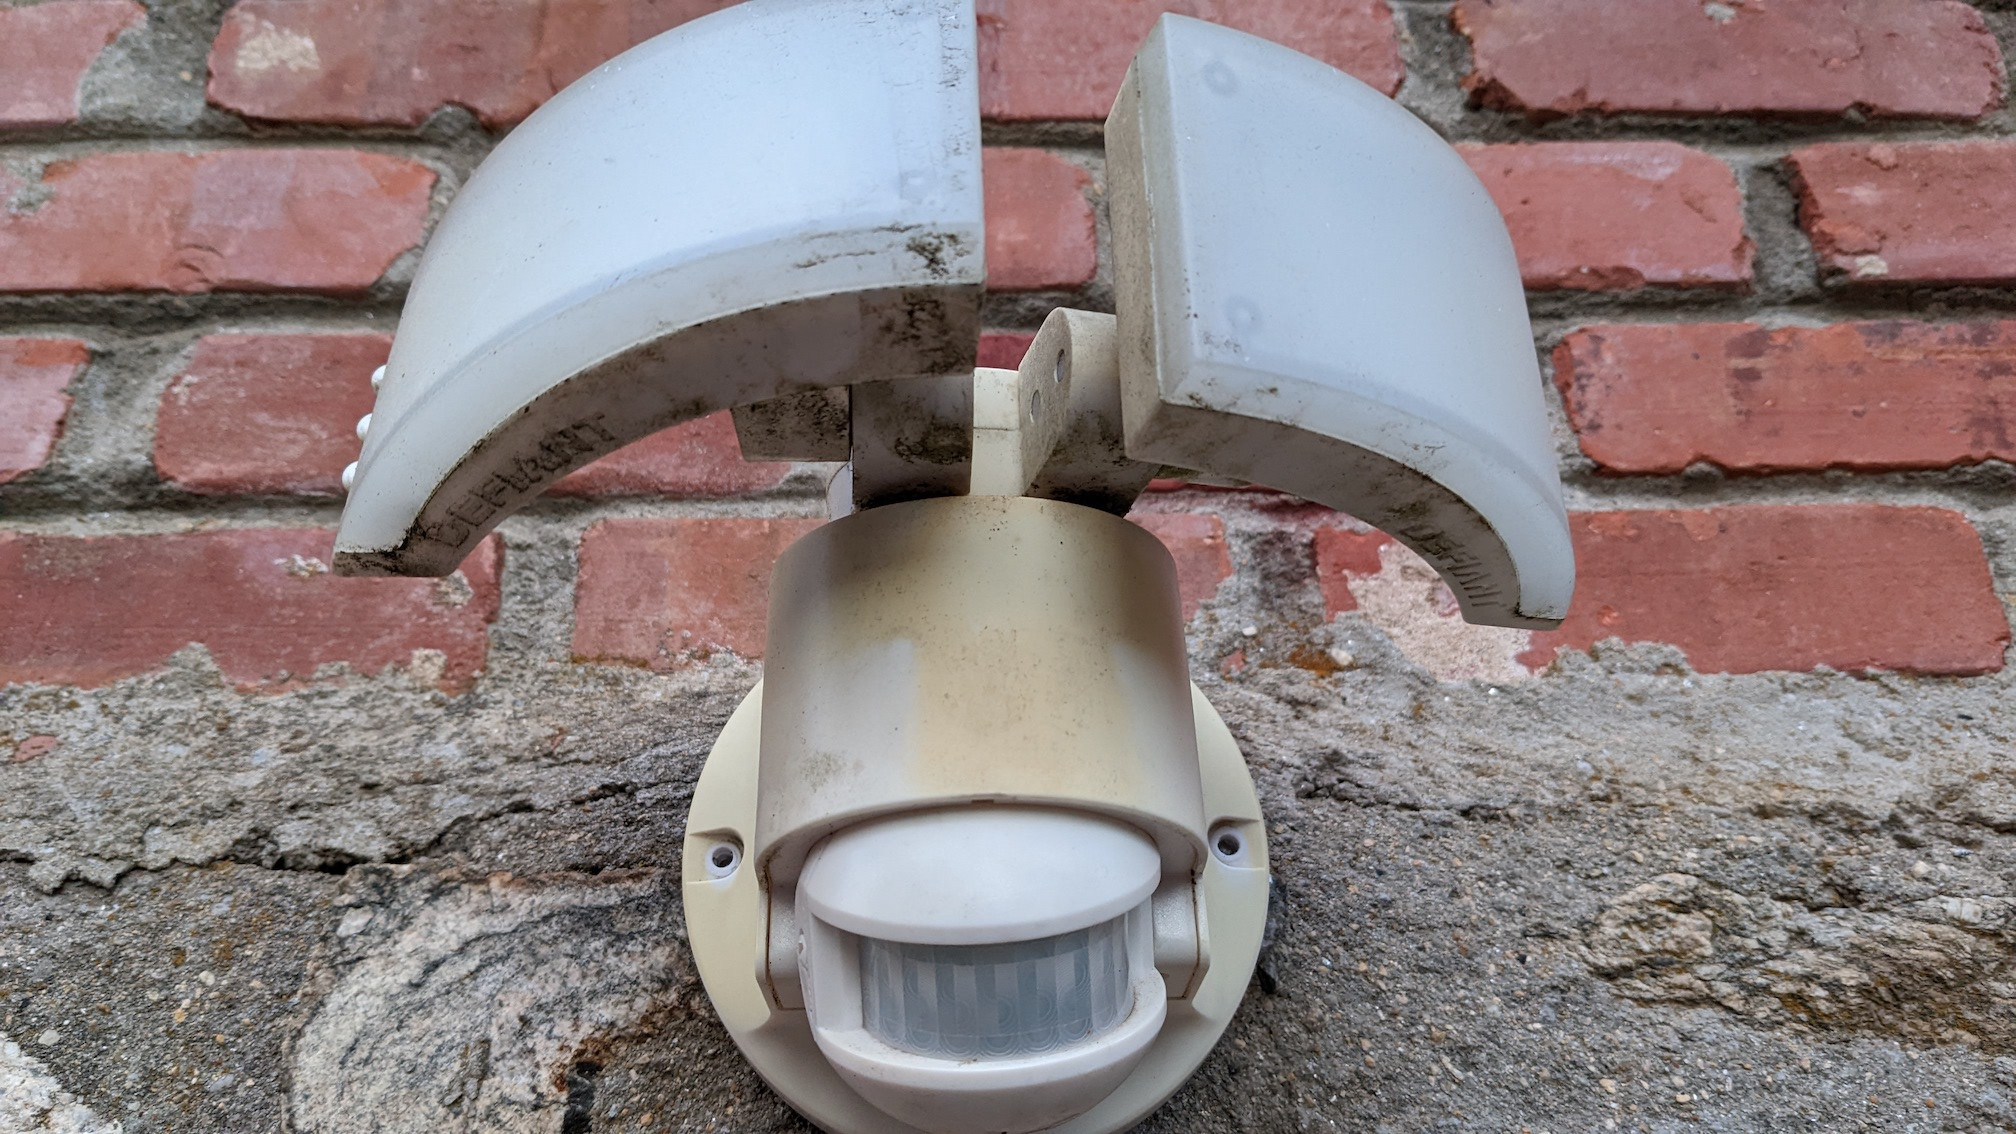
Run a continuous bead of exterior-grade silicone caulk around the back of the fixture base and where the mounting plate meets the wall. This blocks rain and prevents moisture from entering the housing. Skipping this step is the top cause of premature outdoor fixture failure.
Attach the Fixture
Align the fixture with the bracket and tighten the mounting screws evenly. Stop when snug. Over-tightening can crush gaskets and break the weather seal. Confirm the rubber gasket between the base and wall is seated properly.
Aim and Adjust the Beam
Set the Optimal Angle
Adjust the head to a 30–45° downward angle before final tightening. This range minimizes glare and focuses light where you need it most, such as walkways, doors, or driveways.
Avoid Light Spill
Point the beam away from neighbors’ windows and reflective surfaces like glass or vinyl siding. Use visors or shields if your fixture includes them. Test coverage at night and make small adjustments until the spread looks right.
Restore Power and Test
Turn On the Breaker
Return to the panel and flip the breaker back ON. Stand clear of the ladder during initial power-up.
Check Operation
Activate the light using the wall switch or motion sensor. Confirm it turns on instantly and illuminates the target area evenly. If your fixture has a photocell for dusk-to-dawn operation, cover the sensor with your hand to simulate darkness and confirm activation.
Configure Motion Sensors

Test Detection Range
Wave your hand in front of the sensor. The light should turn on immediately. Adjust the sensitivity dial to avoid false triggers from small animals or swaying branches.
Set Duration and Mode
Use the timer dial to control how long the light stays on after motion stops, typically 1 to 20 minutes. Make sure the unit isn’t stuck in “Test Mode,” which keeps it on continuously. Refer to the manual for model-specific instructions.
Eliminate False Triggers
If the light stays on unexpectedly, check for moving tree limbs, heat sources like dryer vents, or reflective surfaces bouncing signals back to the sensor. Reposition or narrow the sensor’s field of view as needed.
Troubleshoot Common Issues
Light Won’t Turn On
Verify the breaker hasn’t tripped. Test voltage at the fixture leads with a multimeter. If power is present, check for loose black or white connections. A failed photocell or internal driver can also cause failure, so replace the fixture if wiring checks out.
Breaker Trips Immediately
This points to a short circuit. Turn power off and inspect for exposed copper touching the junction box, accidentally crossed neutral and ground wires, or moisture inside the housing. Dry all components, correct wiring errors, and reseal before restoring power.
Light Flickers
Loose wire nuts or terminal screws are the usual culprits. Retighten every connection. Flickering can also stem from voltage drops when heavy appliances share the same circuit, so consider redistributing loads if the problem persists.
Light Stays On Constantly
Likely causes include the sensor being in “Test” or “Always On” mode, a dirty or blocked sensor lens, or the unit being aimed at moving traffic or swaying trees. Adjust settings, clean the lens, or reposition the fixture.
Moisture Inside the Housing
Minor condensation after rain is normal and clears as temperatures rise. Persistent fogging means a failed seal. Power off, dry the interior thoroughly, and reapply silicone around the base. Replace cracked lenses or gaskets as needed.
Maintain for Longevity
Clean Safely
Twice a year, wipe the lens and housing with a soft cloth and mild soapy water. Avoid harsh chemicals like acetone, ammonia, or alcohol-based cleaners, which damage polycarbonate lenses and degrade seals. Never use abrasive pads.
Inspect Wiring Annually
Turn off power, open the fixture, and check for corrosion, loose connections, or rust. Reseal with silicone if gaps appear, and replace any oxidized wire nuts or hardware.
Test GFCI Protection
If the circuit includes GFCI protection, press “Test” then “Reset” every six months. This ensures the device will cut power during a ground fault and prevent shock.
Know When to Call an Electrician
Running New Wiring
If you want a flood light where no electrical box exists, hire a licensed electrician. They will run outdoor-rated cable through conduit if required, install a weatherproof junction box, and ensure compliance with the National Electrical Code.
No Power at the Box
If testing shows no voltage and the breaker is on, the issue may lie deeper in the circuit, possibly a tripped GFCI outlet in the garage or basement. An electrician can trace and repair hidden faults safely.
Unclear Wiring Configurations
Older homes may have non-standard or degraded wiring. If colors don’t match or insulation is brittle, professional help avoids dangerous mistakes and ensures code compliance.
Frequently Asked Questions About Changing a Flood Light Fixture
Do I need to turn off the breaker to change a flood light?
Yes. Always shut off the breaker controlling the outdoor light before touching any wiring. A wall switch may leave live voltage in the box, so the breaker is the only way to guarantee full disconnection. Verify with a non-contact voltage tester before proceeding.
Can I replace a flood light fixture myself?
Most homeowners can replace an existing flood light using the current wiring. The job requires basic tools, safety precautions, and attention to weatherproofing. Installing a fixture in a new location with new wiring typically requires a licensed electrician.
How long does it take to change a flood light fixture?
A straightforward replacement using existing wiring usually takes 2 to 4 hours, including safety checks, wiring, sealing, and testing. First-timers may take longer, but experienced DIYers often finish in under two hours.
What is the best height to mount a flood light?
The optimal mounting height is 9 to 12 feet above ground. This range provides broad coverage without creating harsh shadows or excessive glare. Lower mounts offer focused light for specific paths, while higher mounts spread illumination over larger areas.
How do I keep moisture out of my outdoor flood light?
Apply exterior-grade silicone caulk around the fixture base and any screw penetrations. Ensure rubber gaskets are properly seated between the fixture and the junction box. Use outdoor-rated wire nuts or dielectric-grease filled connectors, and replace any cracked seals promptly.
Why does my flood light flicker after installation?
Flickering usually means loose wire connections. Turn off the breaker and retighten every wire nut and terminal screw. If flickering continues, the circuit may be overloaded by heavy appliances sharing the same line, requiring load redistribution.
Key Takeaways for a Successful Flood Light Replacement
Changing a flood light fixture is a rewarding DIY project when you follow three core principles: shut off power and verify with a tester, match wires by color and secure every connection, and seal every seam against moisture. These steps protect you from shock during installation and shield the fixture from premature failure afterward.
With LED flood lights lasting 10 to 15 years, your next step is simple. Pick an energy-efficient model rated for wet locations, gather your tools, and set aside an afternoon. You’ll enjoy brighter, more secure nights and lower energy bills for years to come.